Choose your AeroPress model and fresh coffee, then grind about 17 grams to a fine, even size. Heat water to 195–205°F, preheat your device, and securely rinse the filter. Add grounds evenly, pour hot water, and stir gently.
Seal with the plunger and wait 30–60 seconds for the vacuum to form. Then press slowly with steady pressure. After pressing, eject the grounds and clean thoroughly.
Master these steps to unlock rich, balanced coffee. You’ll also discover how subtle tweaks can elevate your brew even further.
Select Your AeroPress Model and Essential Accessories
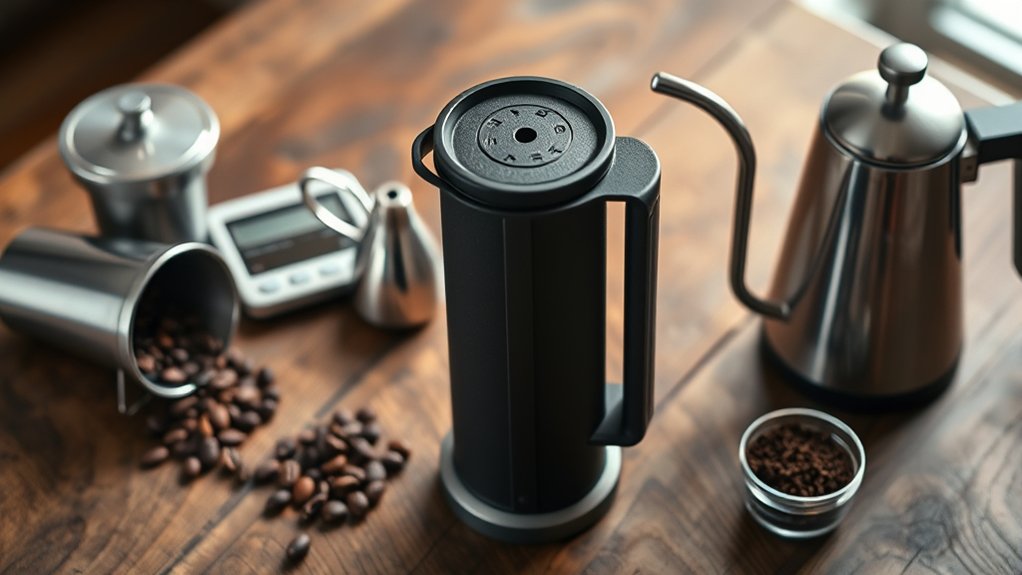
How do you choose the perfect AeroPress setup for your coffee ritual? Start by selecting the right AeroPress model to match your lifestyle and brewing preferences.
The AeroPress Original, priced around $40, suits most brewing styles and offers versatility with numerous accessories.
If you crave portability, the AeroPress Go’s compact design and included travel mug make it ideal for on-the-move brewing, though it serves a smaller 8 oz cup.
Essential AeroPress accessories like paper filters, a foldable stirrer, and scoop streamline your brewing process, ensuring consistent extraction and easy cleanup.
For precision, consider adding a temperature-controlled kettle like the Fellow Stagg.
Choosing a grinder that provides consistent grind size tailored to AeroPress brewing will significantly enhance your coffee flavor.
Measure and Grind Coffee for the Best Flavor
You’ll want to measure about 17 grams of coffee—roughly 2½ tablespoons—to nail the perfect AeroPress brew every time.
Grinding it to a fine consistency, kind of like coarse table salt, helps guarantee ideal extraction and rich flavor.
If you like, you can adjust the grind to medium-fine to tailor the strength to your taste.
But really, getting both the measurement and grind size just right is key to unlocking your coffee’s full potential.
Controlling grind size is essential because it directly influences the resistance and extraction quality of your coffee.
Coffee Measurement Tips
Why does precise coffee measurement and grinding matter so much for your AeroPress brew? Because consistency is key to unlocking the best flavor every time. Measuring your coffee in grams ensures you control strength and extraction perfectly.
Here’s how to master it: Use about 17 grams of finely ground coffee, roughly 2½ tablespoons, for balanced flavor. Grind your coffee to a super fine consistency, similar to espresso or coarse salt, ensuring optimal extraction.
Invest in a quality grinder like the Porlex Hand Grinder or Baratza Encore for uniform grind size. Adjust the coffee-to-water ratio starting at 1:16 (17g coffee to 270g water), tweaking to suit your taste.
Precision in grams of coffee and grind unlocks AeroPress’s full potential. Give it a try and taste the difference! Remember, even slight variations in dose can affect extraction and flavor, so maintaining precise dosing is essential.
Ideal Grind Size
Getting your coffee measurement right sets the stage, but nailing the grind size truly reveals the AeroPress’s potential.
For most brews, aim for a medium grind, think table salt, to guarantee balanced extraction and smooth pressing.
If you want a more concentrated flavor, switch to a medium-fine grind, resembling fine sand, which extracts quickly and intensifies taste.
Always grind your coffee fresh just before brewing. Pre-ground beans lose aroma and depth over time.
Remember, grind size affects brew time: coarser grind demands longer steeping, while finer grinds extract faster.
Consistency is key. A uniform grind prevents clogging and uneven extraction, letting you unveil the AeroPress’s full flavor range with precision and passion every time you brew.
Adjusting grind size and dose according to basket size principles can help optimize extraction and flavor balance.
Heat Water to the Ideal Temperature
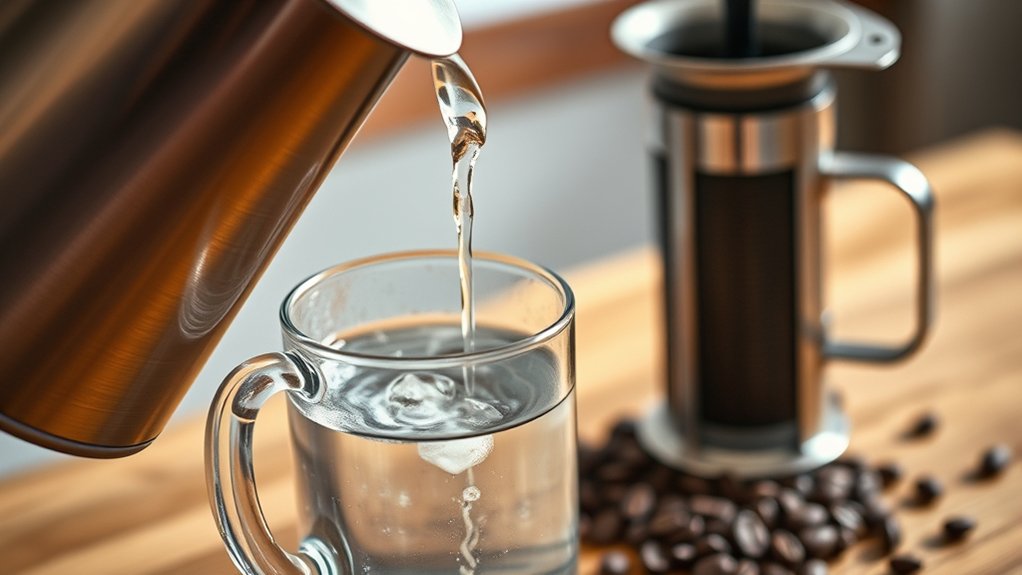
You’ll want to heat your water to between 195 and 205°F (90-96°C) to bring out all the flavors in your coffee. It’s a good idea to use a precise kettle, or just let boiling water cool down a bit. That way, you avoid bitterness that can happen if the water’s too hot and causes over-extraction.
Also, preheating your AeroPress with some hot water helps keep the temperature just right during brewing. This little step can make a big difference in getting a perfectly balanced cup. Maintaining water temperature within the ideal range is crucial because different compounds dissolve at varying rates, influencing the final flavor.
Optimal Water Temperature
Achieving the perfect AeroPress coffee starts with heating your water to an ideal temperature between 195°F and 205°F (90°C to 96°C). This ideal water temperature ensures you extract the fullest flavors without bitterness or flatness. Mastering the brewing temperature is key to balancing acidity and sweetness in your cup.
Focus on these essentials:
- Use water within the 195°F–205°F range for excellent flavor extraction.
- Avoid boiling water at 212°F, which causes over-extraction and bitterness.
- Preheat your AeroPress and mug with hot water to maintain consistent brewing temperature.
- Adjust water temperature slightly within the range to fine-tune acidity and sweetness.
Controlling the temperature for AeroPress precisely transforms your coffee from ordinary to exceptional every time. It really makes a difference once you get the hang of it! Keep in mind that water temperature below 93°C can lead to under-extraction, resulting in sour or flat flavors.
Temperature Effects On Flavor
While precise control over water temperature might seem subtle, it profoundly shapes your AeroPress coffee’s flavor profile. Water temperature directly impacts extraction, influencing brightness, body, and complexity. Brewing between 195°F and 205°F maximizes extraction, balancing acidity and richness.
Lower temperatures, near 175°F, yield flatter flavors and lose nuance. Higher temperatures increase extraction but risk bitterness. So, you’ll want to adjust brew time accordingly to keep your cup clear and enjoyable.
| Water Temperature | Extraction Impact | Flavor Profile |
|---|---|---|
| 175°F | Under-extracted | Flat, less nuanced |
| 195°F | Ideal | Balanced, vibrant |
| 205°F | High, risk of bitterness | Rich, bright but sharp |
Go ahead and experiment within this range to tailor your cup’s character just the way you like it.
Heating Methods Explained
Because water temperature critically shapes your AeroPress coffee’s flavor, mastering the heating method is essential for consistent, delicious results. You need to heat water to the ideal temperature for AeroPress brewing, between 195–205°F (90–96°C), to get the best extraction and aroma.
Here’s how to get it right:
Use a temperature-controlled kettle to heat water precisely within the ideal range. If you don’t have one, boil water then let it sit for 30 seconds to cool to about 200°F.
Always preheat your AeroPress by rinsing it with hot water to keep the brewing temperature stable.
Avoid using water below 195°F or above 205°F because it can cause under- or over-extraction.
Mastering these heating methods guarantees your AeroPress coffee is perfectly balanced every time.
Prepare AeroPress by Installing Filter and Cap
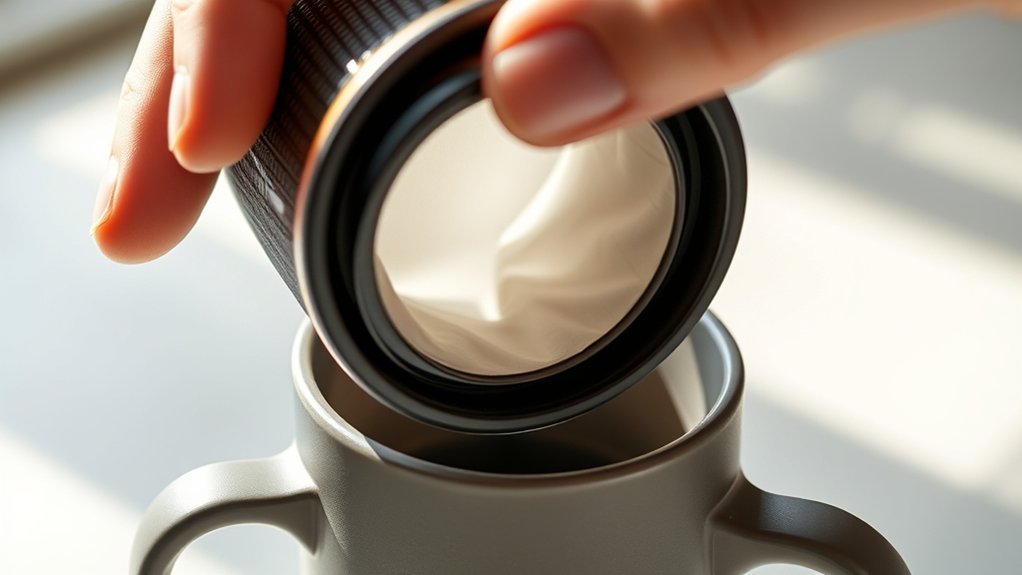
Before you start brewing, you’ll need to prepare your AeroPress by securely installing the paper filter and its cap. Begin by placing the filter onto the filter cap, making sure it’s seated perfectly to avoid leaks. Next, rinse the filter under cool water to get rid of any papery taste and help activate its filtering ability.
Then, screw the filter cap firmly onto the AeroPress chamber to create a tight seal. This is critical for maintaining optimal pressure during pressing. Make sure the assembled AeroPress sits steadily on your mug or carafe.
Proper assembly and cleanliness are essential to preserve flavor integrity and extend your equipment’s life.
| Step | Detail |
|---|---|
| Attach Filter | Secure paper filter onto filter cap |
| Rinse Filter | Remove papery taste with cool water rinse |
| Secure Filter Cap | Tighten cap onto AeroPress chamber |
| Stability Check | Place AeroPress firmly on mug/carafe |
| Cleanliness | Ensure all parts are spotless |
Add Coffee Grounds and Level Them Evenly
Once you’ve prepared your AeroPress, measure out 16 to 18 grams of coffee grounds using a scoop or scale for accuracy. Adding the grounds correctly guarantees a balanced, flavorful brew.
Follow these steps to distribute and level the coffee grounds perfectly:
- Gently add the coffee grounds into the AeroPress chamber to avoid spillage.
- Lightly shake or tap the chamber to help distribute the grounds evenly across the bottom.
- Use a flat tool or the back of a spoon to carefully level the coffee grounds.
- Create a smooth, even surface that promotes uniform extraction.
This way, you make sure every bit of coffee extracts just right. It’s the little details that make a big difference in your cup!
Pour Water and Stir Gently for Even Extraction
As you pour hot water over the leveled coffee grounds, take care to saturate them evenly. Then gently stir for about 10 seconds using a paddle or stirrer. Your goal is to promote uniformity in the slurry, ensuring every particle is fully immersed.
Stirring creates a consistent water distribution, which is vital for balanced extraction. Avoid vigorous agitation. A gentle circular motion prevents over-extraction and channeling, which can lead to bitter or uneven flavors.
By stirring thoughtfully, you maximize the coffee’s potential and encourage a harmonious bloom with a rich, full-bodied profile. This step is essential for achieving the perfect AeroPress brew.
Uniform extraction means a cup bursting with depth and clarity every time you press.
Create a Vacuum With the Plunger
Insert the plunger carefully to seal the AeroPress chamber tightly. This sets the stage for creating the perfect vacuum.
You’ll want to apply steady, gentle pressure and then wait about 30 to 60 seconds. This gives the vacuum time to form fully before you start pressing.
Mastering this timing and technique will help you get a smooth, rich extraction without any unwanted leaks or splashes.
Proper Plunger Insertion
When you slowly and firmly push the plunger into the AeroPress chamber, you create an airtight seal that’s essential for brewing. This airtight seal lets you apply pressure evenly, developing a vacuum that keeps your coffee grounds perfectly immersed during steeping.
To master proper plunger insertion, start by inserting the plunger gradually. This helps avoid breaking the airtight seal or causing leaks. Make sure the rubber seal at the plunger’s end sits flush inside the chamber for a reliable vacuum.
Apply consistent, gentle pressure downward to build and maintain that vacuum. After brewing, press the plunger fully to eject the coffee puck without breaking the seal.
This precise technique guarantees a clean, controlled extraction and helps you get the most out of your AeroPress. Give it a try, and you’ll notice the difference!
Vacuum Creation Technique
To create a perfect vacuum seal in your AeroPress, you’ll want to press the plunger down gently yet firmly. Make sure the rubber seal fits snugly and stays clean. Insert the plunger into the brew chamber carefully, making sure the rubber seal is properly aligned to stop any air leaks.
This vacuum seal is really important. It locks the environment inside, letting the extraction happen efficiently, kind of like a piston in a cylinder. Press the plunger slowly and steadily to keep that seal without causing spills or breaking the vacuum too soon.
This controlled pressure helps get the most flavor out by keeping the brew chamber airtight. Once brewing is done, press the plunger all the way to eject the coffee puck and release the vacuum seal. This makes cleanup easier and gets you ready for your next perfect cup.
Timing Before Pressing
Once you’ve established a solid vacuum seal by gently pressing the plunger into the chamber, it’s important to fine-tune the timing before you start pressing. This waiting period with the vacuum in place is essential for controlling the brew time and ensuring ideal extraction.
Here’s how to master it:
- Insert the plunger slightly after adding hot water to create a partial vacuum seal.
- Gently pull back the plunger to evacuate air, preventing premature dripping.
- Maintain this vacuum during the 30 to 60-second waiting period to allow full immersion.
- Begin the pressing process steadily, knowing the vacuum ensures consistent pressure and a smooth, full-bodied flavor.
Mastering this timing before pressing really elevates your AeroPress coffee to perfection. Just give it a little patience and you’ll notice the difference!
Let Coffee Steep for Optimal Flavor
Although it might be tempting to rush, letting your coffee steep for 30 to 60 seconds after adding hot water is essential to reveal its full flavor potential. This steeping time directly impacts full extraction, revealing the complex oils and acids that define your brew’s character.
You’ll find that adjusting your brew time fine-tunes flavor development. Shorter steeping yields a lighter cup, while extending it up to two minutes intensifies sweetness and body.
Consistency matters; choosing a set steeping duration ensures reproducible results every time.
Avoid cutting this step short, as under-extraction leads to weak, flat coffee. By mastering the balance between steeping time and brew time, you harness the AeroPress’s full capabilities, delivering a perfectly nuanced cup that highlights your coffee’s unique profile.
Press the Aeropress Plunger With Gentle, Consistent Pressure
After allowing your coffee to steep and reveal its full flavor, pressing the AeroPress plunger demands a steady, controlled touch.
To achieve a smooth, balanced brew, follow these key steps:
Press the plunger slowly, applying gentle, even pressure to avoid side leakage. Keep the pressure consistent throughout to make sure the flow stays even and you don’t over-extract your coffee.
Continue pressing gradually for 20-30 seconds until you hear a hissing sound—that’s your sign the brew is complete.
Just be careful not to use too much force, as that can damage your AeroPress or push grounds past the filter.
Push Out Used Coffee Grounds, Rinse Parts, and Store Your AeroPress
When you finish brewing, push the plunger fully through the chamber to eject the used coffee puck efficiently into your sink or trash bin. Discard the paper filter and rinse it under cool water to remove leftover oils.
Next, rinse all AeroPress parts, including the chamber, plunger, and filter cap, with warm water to prevent buildup that affects flavor. Pay special attention to cleaning the silicone end of the plunger with a gentle cloth or sponge to maintain its airtight seal.
Finally, dry the components thoroughly and store the AeroPress in a designated stand, container, or its travel case. Taking these expert steps guarantees your AeroPress stays pristine and ready for your next perfect cup.
Frequently Asked Questions
Can I Use Aeropress With Tea or Other Infusions?
Yes, you can definitely use your AeroPress for tea or herbal infusions! Just steep your leaves directly in hot water inside the chamber. Usually, 1 to 3 minutes is enough depending on the type of tea.
Press the plunger slowly to filter out the leaves and make sure your cup is smooth and grit-free.
Feel free to experiment with water temperature, steeping time, and how many leaves you use. This way, you can craft your perfect infusion.
Using a paper or metal filter helps keep your brew clean and flavorful.
Give it a try and enjoy your custom tea!
How Do I Adjust Brewing for Different Coffee Bean Types?
You adjust brewing by tailoring grind size and brew parameters to your bean’s roast and origin. Use a finer grind for lighter roasts to boost extraction, while opting for a coarser grind with darker roasts to avoid over-extraction.
Experiment with brew time and water temperature. Lower temps and shorter times help preserve delicate flavors in specialty beans.
Also, tweak your coffee dose and water ratio to balance strength and clarity, especially when switching beans. It’s all about finding what works best for each type.
What Are Common Mistakes to Avoid When Cleaning Aeropress?
When cleaning your AeroPress, don’t skip rinsing the paper filter. Residue buildup can ruin flavor and clog the cap.
Avoid harsh scrubbers because they scratch and damage parts. Always take apart and wash every component with mild soap and warm water after a few uses.
Make sure to pay special attention to the silicone plunger seal to keep vacuum pressure tight.
Finally, dry all parts thoroughly to prevent mold and help your AeroPress last longer.
Can Aeropress Be Used for Cold Brew Coffee?
Yes, you can definitely use your AeroPress to make cold brew coffee. Just steep coarsely ground coffee in cold water inside the chamber for 12 to 24 hours, then press it out.
This method gives you a smooth, full-bodied brew with less acidity. It’s quicker and more portable than traditional cold brew, letting you enjoy rich, clean coffee anywhere.
Give it a try. You’ll love the convenience and flavor!
How Long Does Aeropress Coffee Stay Fresh After Brewing?
Your AeroPress coffee’s flavor shines brightest within 15-30 minutes, like a sunrise fading into midday. After about an hour, the taste begins to dull as oxidation steals its vibrancy.
If you seal it tight in a thermos, you can stretch freshness up to 2-4 hours. But reheating often sours the experience.
For the richest cup, brew just what you’ll drink right away. Don’t let time steal your coffee’s soul.
Conclusion
Now that you’ve mastered each step, your AeroPress will sing like a finely tuned instrument. It delivers coffee that’s rich, balanced, and bursting with flavor.
Remember, the magic lies in your hands. Adjust grind, water, and pressure until you find your perfect note. Keep experimenting and savor every cup.
With care and passion, your AeroPress becomes more than a brewer. It’s your daily ritual, crafting coffee that fuels both body and soul.