To make espresso, start by grinding fresh beans finely and weighing 16-19 grams. Distribute and level the grounds evenly, then tamp with firm, consistent pressure to create a smooth coffee puck.
Lock the portafilter securely into a preheated machine, and extract for 25-30 seconds, watching for a steady, caramel-colored flow. Stop as soon as the stream lightens, then serve immediately for the best crema and flavor.
Mastering these basics sets you up for perfect shots every time. It’s all about practice and paying attention to the little details. Before you know it, pulling great espresso will feel like second nature.
Get Your Espresso Gear Ready
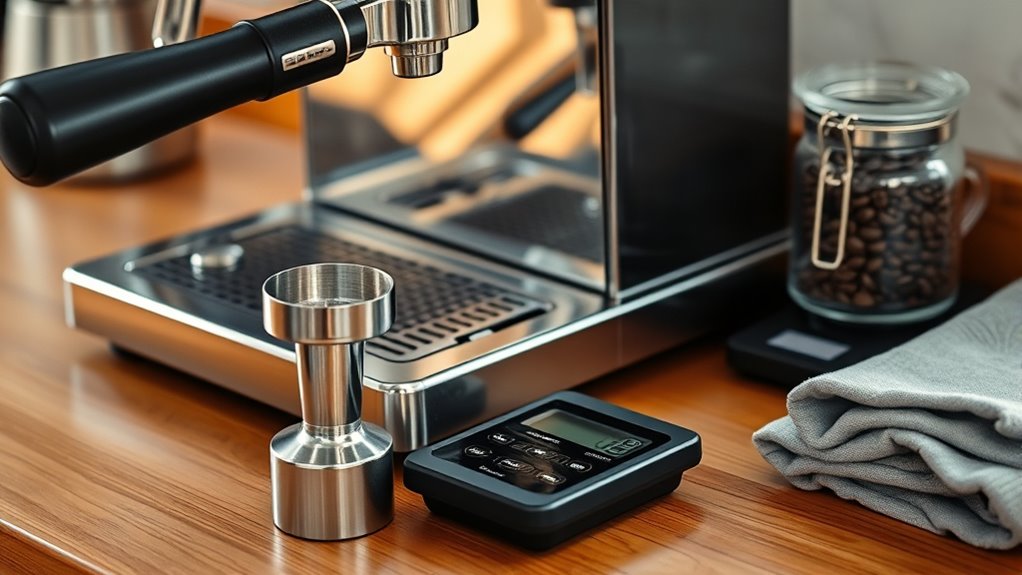
Before you pull your first shot, make sure you’ve gathered all the essential espresso gear. This includes a quality grinder, espresso machine, tamper, scale, and timer. Each tool plays a vital role in achieving precision and consistency.
Start with fresh, roasted coffee beans, grinding them just before brewing to lock in aroma and flavor. Use your scale to measure a precise dose, typically 16 to 19 grams for a double shot.
Grind fresh beans right before brewing and measure 16 to 19 grams for the perfect double shot.
After dosing, evenly distribute the grounds using a distribution tool or the Weiss Distribution Technique (WDT) to avoid channeling.
Then, apply firm, consistent pressure with your tamper to create a uniform coffee puck. Having all your gear ready and set up correctly is the foundation for pulling a balanced, delicious espresso shot every time. It really makes a difference!
Remember that maintaining consistent pressure around 9 bars during extraction is essential for optimal flavor and crema development.
Clean and Preheat Your Espresso Machine and Tools
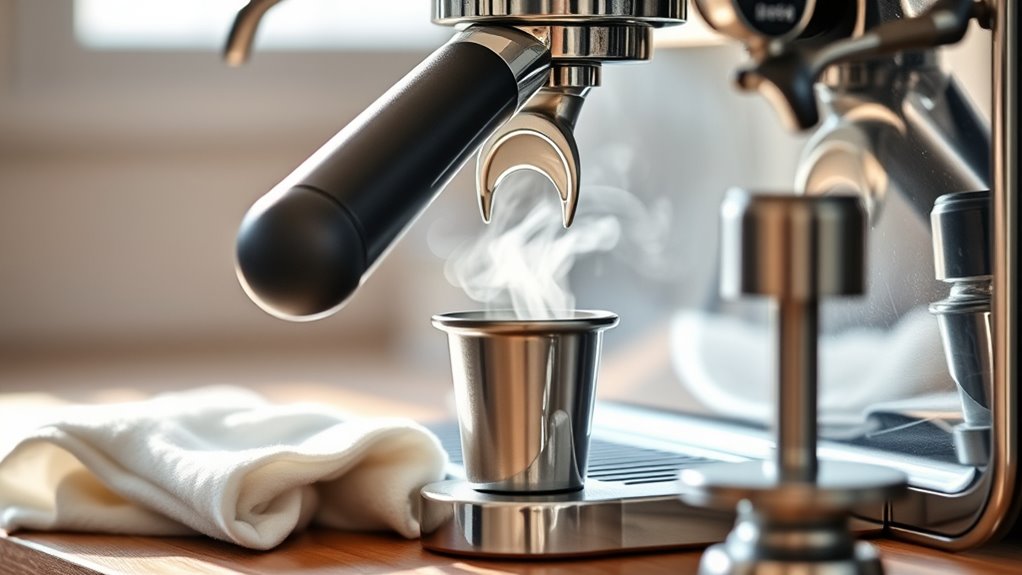
How do you guarantee your espresso machine and tools are perfectly primed for brewing? Start by rinsing the group head with hot water to clear away old coffee residues.
Then, preheat your porcelain cups and portafilter by running hot water through the machine or rinsing them for at least 30 seconds.
Next, run blank shots without coffee to heat essential components like the group head, shower screen, and portafilter. This helps ensure they reach the ideal brewing temperature.
Use a thermometer or wait for the machine to stabilize around 199-205°F to keep extraction consistent.
Finally, keep all your tools, such as the tamper, distribution tools, and cups, warm. This prevents temperature drops that can compromise espresso quality.
This clean, preheated setup is key for a perfect espresso shot every time. Regular maintenance, including descaling your espresso machine, ensures optimal performance and flavor quality over time.
Grind Fresh Coffee to the Correct Consistency
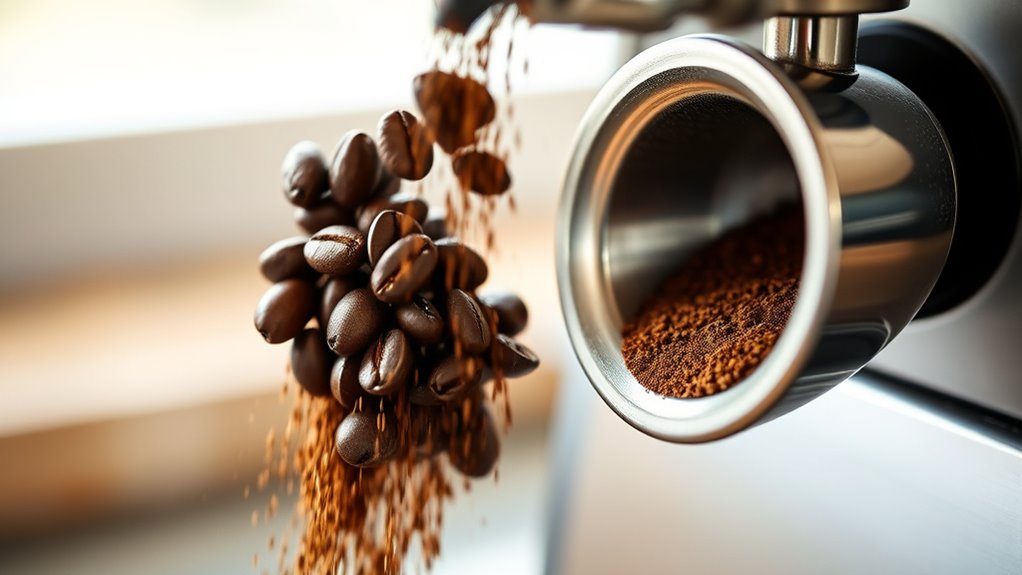
Since freshness directly impacts espresso quality, grinding your coffee just before brewing is essential to capture the full spectrum of flavors and preserve the vital CO2 that creates a rich crema.
Grinding coffee fresh before brewing preserves essential CO2 and unlocks the full flavor and crema in espresso.
Use a burr grinder set to a fine, powder-like consistency, similar to confectionery sugar, for ideal extraction. This consistency allows water to flow through evenly, balancing flavor and strength.
Pay close attention to your shot timing. Adjust the grind size incrementally to hit a brew time around 25-30 seconds. A grind that’s too coarse leads to under-extraction, while too fine can cause bitterness.
Make sure to regularly clean and calibrate your grinder to maintain consistent particle size and prevent stale or uneven grounds. This way, each shot tastes fresh and balanced every time you pull espresso.
For the best results, use a flat-burr grinder with 64 mm burrs to ensure grind consistency and precision.
Measure and Dose Your Coffee Grounds
You’ll want to weigh your coffee grounds precisely—aim for about 16 to 19 grams to get that perfect double shot. Using a scale is a great way to make sure you’re dosing consistently, which really makes a difference in how your coffee extracts.
Just keep your dose balanced and tweak it to fit your machine’s basket, and you’ll enjoy the best flavor every time. Remember that grind size and consistency are critical factors in achieving optimal extraction and flavor.
Accurate Coffee Measurement
Although dialing in your espresso starts with the grind, accurate coffee measurement is just as important for achieving a balanced shot. Use a digital scale to weigh about 16-19 grams of freshly ground coffee for a double shot. Adjust the amount based on your machine’s basket size.
Dose the grounds immediately after grinding to keep them fresh and preserve the CO2, which is essential for flavor.
Next, distribute the coffee evenly in the portafilter. You can use a WDT tool or gently tap the basket to prevent channeling and ensure uniform extraction.
Consistency is key here. Measure and dose each shot precisely so you can replicate your desired flavor profile every time.
This sets a solid foundation before you move on to tamping and extraction.
Keep in mind that the caffeine content in espresso can vary based on the coffee type and preparation, influencing the final flavor and effects.
Optimal Dose Range
How much coffee should you dose for the perfect espresso? The ideal range for a double shot is typically between 16 and 19 grams of coffee grounds. Using a scale to measure your dose guarantees consistency and helps you dial in the right amount for your machine.
If you dose over 19 grams, you risk over-extraction, which leads to bitterness. Under 16 grams, and your espresso may taste weak and under-extracted. Staying within this range allows for balanced extraction and consistent shot quality.
You can fine-tune your dose slightly to adjust flavor and texture, depending on your equipment and the beans you use.
Precise dosing is key to mastering your espresso and achieving the best results every time. Grinding your beans immediately before brewing with a high-quality burr grinder preserves aromatic oils and ensures consistent extraction.
Distribute and Level the Coffee Bed Evenly
When distributing and leveling the coffee bed, your goal is to create an even surface that allows water to flow uniformly during extraction.
Start by using a Weiss Distribution Tool (WDT) to gently fluff and break up any clumps in the coffee grounds. This helps promote a consistent texture throughout the basket.
Use a Weiss Distribution Tool to gently fluff grounds and eliminate clumps for a consistent coffee bed texture.
Next, tap the portafilter handle lightly on a tamp mat or use a distribution tool to spread the grounds evenly.
Before tamping, quickly level the coffee bed with your finger or a leveling tool to make sure there are no high or low spots.
Take a moment to check the surface one last time. Any unevenness can cause channeling, which leads to poor extraction.
Proper distribution and leveling are key steps for a balanced, flavorful espresso shot.
Consistent tamping pressure helps control flow and supports extraction and yield consistency.
Tamp the Grounds With Consistent Pressure
Since tamping sets the foundation for your espresso’s extraction, applying consistent pressure is essential. Aim to press down with about 30 pounds of even force using a calibrated tamper or a scale to maintain consistency shot after shot.
Tamp straight down in a quick, firm motion to avoid uneven pressure that can cause channeling and lead to weak extraction.
As you press, rotate the tamper slightly to create a smooth, level surface, ensuring ideal water flow during brewing.
Be careful not to over-tamp. Too much force increases resistance, slows extraction, and results in under-extracted espresso.
Mastering consistent tamping will give you a uniform coffee puck, setting you up for a balanced, flavorful shot every time.
Using a stable, sturdy base to apply tamping pressure helps achieve an even compression and prevents an uneven puck.
Lock the Portafilter and Start the Extraction
Once you’ve tamped the grounds, go ahead and lock the portafilter securely into the group head. Just be careful not to over-tighten it—you want a stable seal without forcing it.
Next, start the extraction right away by pressing the machine’s button or pulling the lever. This helps keep the coffee’s flavor fresh and vibrant.
As the espresso starts flowing, keep an eye on it. The flow should be steady and syrupy, with a rich caramel color—that’s the sign of a perfect shot.
Proper brewing involves precise grind size, tamping, and extraction time (around 25 seconds) to achieve optimal flavor and caffeine content.
Secure Portafilter Properly
Although securing the portafilter might seem straightforward, locking it properly is vital for a flawless espresso extraction. You need to insert the portafilter firmly into the group head until it clicks or feels securely locked. Proper alignment is essential to avoid leaks and guarantee even extraction.
Before you start brewing, double-check that the portafilter handle is level and not tilted. This keeps the tamped coffee bed undisturbed, which is super important.
Follow these key steps:
- Insert and twist the portafilter firmly until locked
- Ensure the handle is level, preventing disruption of the coffee bed
- Confirm a tight seal to maintain consistent water pressure during extraction
Securing the portafilter properly sets the foundation for a balanced shot and smooth espresso brewing. It really makes all the difference! Maintaining consistent tamping pressure also helps ensure uniform extraction and improves shot quality.
Immediate Shot Initiation
How quickly should you start the extraction after locking the portafilter? You want to begin immediately, within a few seconds, to preserve your coffee’s aromatic oils and CO2.
Once you’ve securely locked the portafilter into the group head without over-tightening, start the extraction right away to prevent the coffee from burning or losing freshness.
Keep a steady hand when locking to avoid disturbing the coffee bed. Any movement can cause channeling, which leads to uneven extraction.
As soon as you initiate the shot, start your brew timer, aiming for a 25-30 second extraction.
This precise timing helps you achieve balanced flavor and ideal espresso quality.
Immediate shot initiation is really vital for capturing the full essence of your espresso.
Monitor Extraction Visuals
Before you start the extraction, make sure to lock the portafilter securely into the group head. This creates a proper seal that keeps the water pressure consistent.
Once it’s locked, begin the brew cycle right away to keep the coffee puck warm and preserve the ideal extraction conditions.
As the espresso flows, keep a close eye on its appearance. You want a steady stream that looks like warm honey or syrup.
If you notice blonding or the flow thinning, that’s a sign of over- or under-extraction.
Keep these points in mind: lock the portafilter firmly to ensure even pressure. Start extraction immediately to maintain temperature. And stop extraction when you reach 25-35 ml or the flow starts to thin out.
Being this vigilant helps you pull a balanced, flavorful shot every time.
Observe the Espresso Shot for Quality Cues
When you pull your espresso shot, pay close attention to the stream’s flow and color, as these clues reveal the quality of your extraction. Watch for a steady, honey-like flow that starts thin and thickens gradually. The color should stay consistent, ideally a rich caramel or golden hue, signaling proper extraction.
Focus on a steady, honey-like espresso flow with a rich caramel color for perfect extraction.
If the stream twirls or dances, it often means uneven tamping or poor distribution. Timing matters too—a shot pulling between 25 and 30 seconds with a well-formed flow usually indicates good quality.
Finally, keep an eye on crema blonding; slight fading near the end suggests over-extraction or that the shot is nearing its *ideal* finish.
These visual cues help you refine your technique and achieve the perfect espresso. Paying attention to these small details really makes a difference when you’re dialing in your shot. So, keep watching and adjusting until you get it just right.
Stop Extraction at the Right Time and Serve Immediately
As you monitor the espresso shot’s flow and color, be ready to halt the extraction the moment the stream starts to blond or dance. These are signs that over-extraction or channeling is underway.
Ideally, you want to stop the shot between 25 to 30 seconds to capture the perfect balance of flavors without bitterness or weakness.
Once the flow stops, serve immediately to preserve the crema, aroma, and temperature. This ensures the best taste.
Remember to watch for a rich, syrupy stream with consistent color as your stopping cue. Stop extraction promptly when blonding begins to avoid off-flavors.
Also, discard the used puck right away to maintain cleanliness and prevent flavor contamination.
Stopping extraction at the right moment will really elevate your espresso experience.
Frequently Asked Questions
What Type of Coffee Beans Are Best for Espresso?
You want freshly roasted, high-quality Arabica or an Arabica-Robusta blend for espresso. Dark roast beans work best, delivering bold flavor and rich crema. Always use beans within 7-30 days of roasting for peak freshness.
It’s all about getting that perfect balance of taste and crema. So, choosing the right beans and timing your use can really make your espresso shine.
How Often Should I Clean My Espresso Machine?
Just like knights polished their armor daily, you should clean your espresso machine every day to avoid oil buildup. Backflush it monthly to keep things running smoothly.
You’ll also want to descale every 1-3 months to prevent mineral buildup. And don’t forget a deep clean of the internal parts biannually for peak performance.
Keeping up with this routine will make sure your espresso tastes great every time. It’s worth the effort!
Can I Use Pre-Ground Coffee for Espresso?
You can use pre-ground coffee for espresso, but it’s not ideal. For the best flavor, grind fresh just before brewing. If you do use pre-ground, make sure to pick a fine grind and use it quickly to preserve taste and crema.
It’s really all about freshness when it comes to espresso. Pre-ground coffee can lose its aroma and flavor faster, so using it soon after opening is key. Otherwise, you might miss out on that rich, bold espresso experience you’re after.
What Water Temperature Is Ideal for Brewing Espresso?
You don’t want to brew espresso with boiling lava, right? Aim for 190°F to 205°F. Light roasts like it hotter; dark roasts prefer cooler temps.
Keep it steady to avoid bitter or weak shots every time. It’s all about finding that sweet spot and sticking to it. That way, your espresso comes out just right every single time.
How Do I Fix Bitter or Sour Espresso Shots?
You fix bitter shots by coarsening your grind or shortening extraction time. For sour shots, fine your grind or extend brew time.
Always check water temperature and tamp evenly to balance flavors and avoid off-tastes. It’s all about finding that perfect balance so your espresso tastes just right. Keep tweaking little things, and you’ll get there!
Conclusion
Now that you’ve mastered the art of crafting espresso, you hold the key to revealing rich, bold flavors in every cup. Like a skilled painter with a brush, your hands bring life to coffee grounds, transforming them into liquid gold.
Remember, precision and passion blend perfectly here. Each step shapes your shot’s story. So, savor the process and enjoy the perfect espresso that dances on your palate with every sip.