To make espresso powder for baking, start by brewing strong espresso using dark roast beans and a high-pressure machine or Moka pot. Spread the damp grounds thinly on parchment and dry in a low oven (175°F) for 1–3 hours, stirring regularly until brittle.
Once cooled, grind the grounds finely and store them airtight in a cool, dark spot. This boosts chocolate flavor without bitterness. Keep going to uncover detailed tips for perfect powder and storage.
How Espresso Powder Enhances Baking
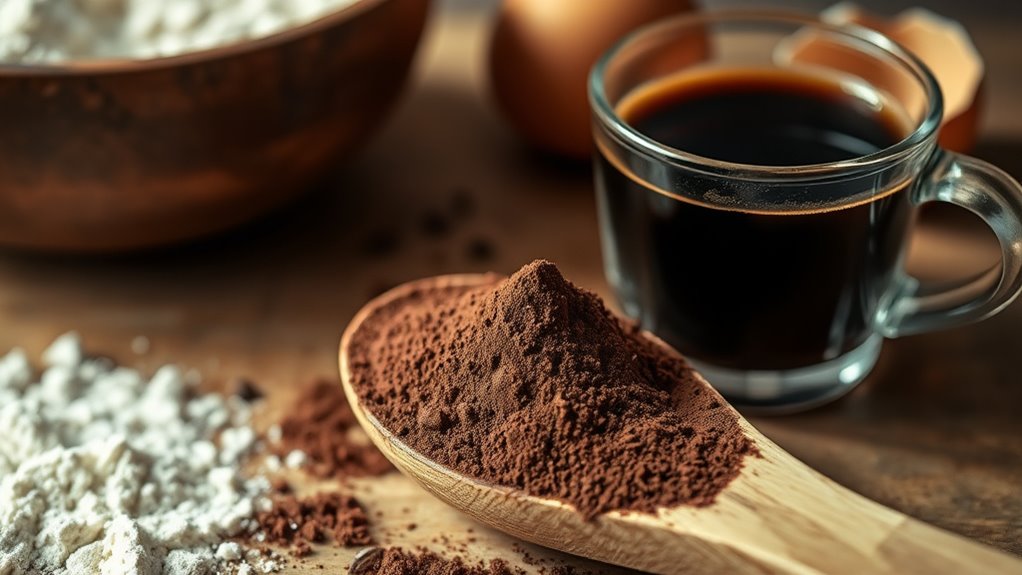
While espresso powder might seem like a minor addition, it dramatically enhances your baked goods by intensifying chocolate flavors and adding depth without imparting a coffee taste. Just 1-2 teaspoons amplify the natural cocoa notes in brownies, cakes, and other desserts, making them taste richer and more decadent.
You’ll notice a darker, more vibrant color in your treats, which signals deeper flavor development. Beyond taste, espresso powder subtly improves texture by adding moisture and richness, resulting in a more satisfying bite.
It acts as a flavor amplifier, helping ingredients like vanilla and chocolate stand out more prominently. Incorporating espresso powder is a simple yet powerful way to elevate your baking without complicating the recipe or altering the overall flavor profile.
Using finely ground coffee or espresso powder ensures optimal extraction of flavors, similar to how an espresso machine uses a fine grind to achieve rich taste.
How to Choose Coffee Beans for Homemade Espresso Powder
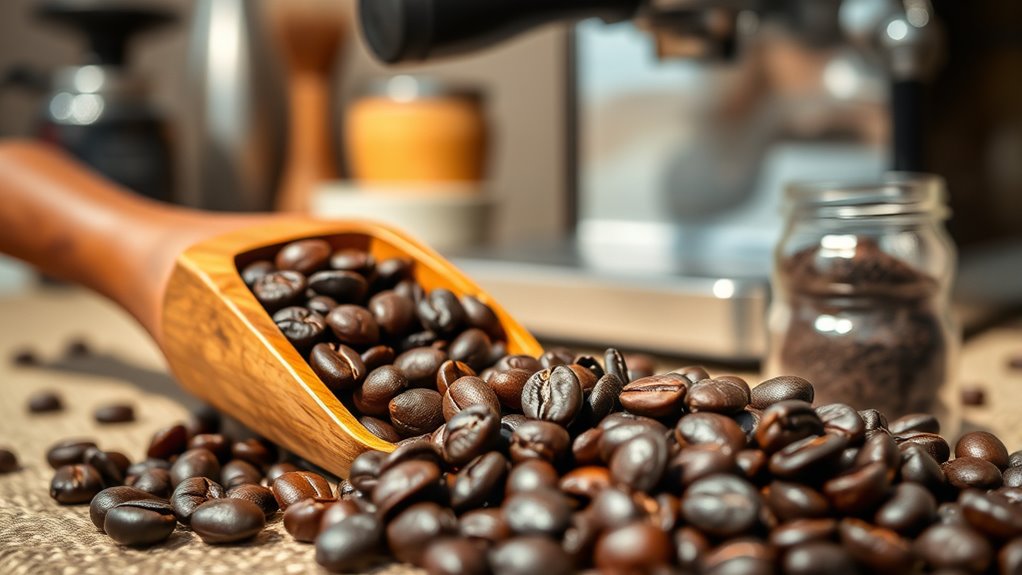
Choosing the right coffee beans is essential when making espresso powder at home, because the type of bean directly impacts the flavor and aroma of your final product.
Selecting the right coffee beans is key to achieving rich flavor and aroma in homemade espresso powder.
For a richer, bolder flavor, go for dark roast beans like French or espresso roast. These deliver the intensity your baking needs.
If you prefer a more balanced taste with fewer additives, try medium or organic beans. Locally roasted beans often offer fresher, more nuanced flavors compared to mass-produced store options.
Avoid light roast beans since their mild flavor won’t give you the depth you want in your espresso powder.
Always pick high-quality, freshly ground beans to make sure your homemade powder is aromatic and flavorful. That way, your baked goods get that perfect coffee-enhanced kick.
Additionally, using beans roasted within 3 to 21 days ensures optimal oils and CO₂ retention for the best flavor extraction.
Brewing Espresso Grounds for Drying
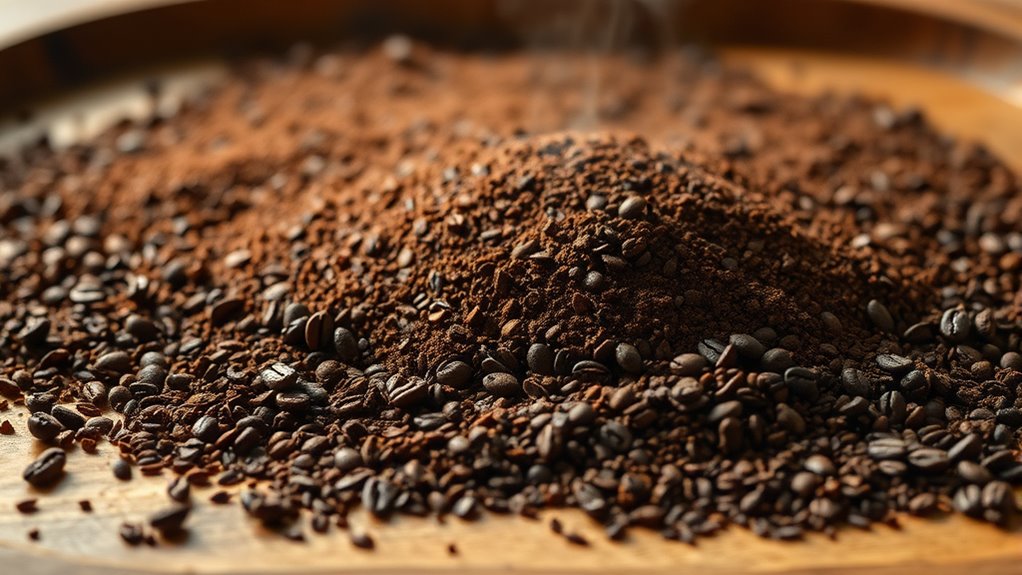
Start by brewing a really strong espresso using your espresso machine or a stovetop Moka pot to pack in all those rich flavors. Once your espresso is ready, make sure to drain the grounds well so there’s no extra moisture left.
Then, spread the grounds out evenly on a baking sheet lined with parchment paper. This way, when you bake them at a low temperature, they’ll dry out evenly and efficiently.
Keep in mind that using high-quality decaf beans can help reduce caffeine content while maintaining rich flavor in your espresso powder.
Brewing Strong Espresso
Because the strength and concentration of your espresso directly impact the quality of the final powder, you’ll want to brew a highly concentrated shot using either a high-pressure espresso machine or a stovetop Moka pot.
Use double or triple the usual amount of coffee grounds to create an intense espresso with a thick, syrupy consistency.
This concentrated brew guarantees maximum flavor retention when dried into powder.
After brewing, filter the grounds thoroughly to remove excess liquid, leaving them moist but not wet.
Avoid any residual water that could hinder drying.
Once filtered, spread the grounds evenly in a thin layer on a parchment-lined baking sheet to promote uniform drying.
This attention to brewing a strong, thick espresso really sets the foundation for rich, flavorful espresso powder.
For best results, maintain optimal extraction time during brewing to ensure the espresso’s full flavor profile is captured.
Preparing Grounds for Drying
How do you guarantee your espresso grounds dry evenly and retain maximum flavor? Start by brewing a small, concentrated shot using a moka pot or espresso machine to extract the strongest flavor possible.
Next, spread the brewed grounds thinly and evenly on a parchment-lined baking sheet to promote uniform drying. Avoid clumps to speed up dehydration and ensure consistency.
- Brew a strong espresso shot for maximum flavor concentration.
- Spread grounds in a thin, even layer on parchment paper, preventing clumping.
- Air dry at room temperature or use a low-temperature oven until grounds are brittle and break easily.
Check the texture regularly. Fully dried grounds should be crunchy. Proper preparation ensures your espresso powder packs rich flavor and dries efficiently. For best results, use freshly ground beans just before brewing to preserve the maximum aroma and flavor in your espresso powder.
Drying Your Espresso Grounds: A Simple Guide
You’ll want to spread your brewed espresso grounds in a thin, even layer on a parchment-lined sheet. This helps make sure they dry consistently.
Then, set your oven to a low 175°F (80°C).
Every 30 minutes, give the grounds a good stir to help remove moisture evenly. This careful process stops clumps from forming and makes sure you end up with a smooth, dry espresso powder that’s ready for grinding.
Keep in mind that factors like extraction time can influence the caffeine content in your espresso grounds, so drying them properly helps maintain their potency.
Oven Drying Techniques
When you spread brewed espresso grounds into a thin, even layer on a parchment-lined baking sheet, you set the stage for uniform drying.
Using your oven at a low temperature makes sure the grounds dry without burning or losing flavor.
Follow these steps for the best results: Preheat your oven to 175°F (80°C) and place the baking sheet inside.
Stir the grounds every 30 minutes with a spatula or fork to break up clumps and promote even drying.
Keep drying for 1 to 3 hours until the grounds are completely dry and slightly crunchy.
Once done, take the sheet out and let the grounds cool thoroughly before grinding them into a fine powder.
This method helps preserve the espresso’s rich flavor and gets it ready perfectly for baking.
Maintaining proper drying temperature is important because brew temperature influences the preservation of flavor compounds during processing.
Ensuring Even Moisture Removal
Spreading your brewed espresso grounds evenly on a parchment-lined baking sheet sets the foundation for uniform drying. But keeping the moisture removal consistent takes a bit of attention to a few key details.
Bake at a low temperature around 175°F (80°C) and stir every 30 minutes to avoid uneven drying. Also, don’t overcrowd the sheet—make sure there’s good airflow to help the moisture evaporate properly.
Dry grounds will be brittle and break easily, without feeling moist or sticky. Depending on how much you have, drying can take anywhere from 1 to 3 hours. Use this table to guide your drying process:
| Step | Action |
|---|---|
| Layer Thickness | Thin, even spread |
| Oven Temperature | 175°F (80°C) |
| Stirring Frequency | Every 30 minutes |
| Dryness Indicator | Brittle, breaks easily, no stickiness |
Proper maintenance, including regular descaling intervals, helps preserve the quality of your espresso grounds for baking.
Grinding Your Homemade Espresso Powder
Although grinding espresso powder might seem straightforward, achieving the perfect fine, powdery consistency requires the right tools and technique. Start by making sure your dried espresso grounds are completely cool to prevent clumping and avoid damaging your grinder.
Then, use a high-powered spice grinder or a Vitamix blender for the best results. Follow these steps:
- Grind the cooled espresso grounds in short bursts, pausing frequently to check the texture and prevent overheating.
- Sift the ground powder through a fine mesh sieve to remove any larger, gritty particles.
- Repeat grinding any coarse bits until you achieve a smooth, consistent powder.
This method guarantees your homemade espresso powder is perfectly fine and ideal for baking applications. It really makes a difference when you want that rich coffee flavor in your recipes!
For best flavor extraction, ensure your grind size matches the fine grind used in espresso brewing.
How to Store Espresso Powder for Freshness and Longevity
To keep your espresso powder fresh and flavorful, store it in an airtight container that blocks moisture and air exposure.
Place the container in a cool, dark spot like your pantry or cupboard to prevent light damage and extend its shelf life.
For even longer storage, keep it in the freezer. It can stay fresh for up to a year or more when frozen.
Always label the container with the date you stored the powder so you can track its freshness and avoid using expired espresso powder.
Before each use, check for mold, off-odors, or clumping.
If you notice any signs of spoilage, go ahead and discard the powder.
Proper storage guarantees your espresso powder retains its rich flavor and potency for baking.
Avoid refrigeration to prevent condensation and clumping, which can degrade the quality of your espresso powder over time, as explained in proper storage.
Using Homemade Espresso Powder to Boost Chocolate Flavor
When you add just half to one teaspoon of homemade espresso powder to your chocolate recipes, you’ll notice a remarkable boost in the cocoa’s richness and depth without any coffee aftertaste. This small addition amplifies the chocolate’s natural sweetness and darkens its color, creating an intense, bakery-quality flavor.
To get the best results, use freshly made, finely ground espresso powder. This helps ensure smooth blending and avoids any gritty textures. You can add the powder directly to dry ingredients or dissolve it in liquids to spread the flavor evenly.
Use fresh, finely ground espresso powder for smooth blending and even flavor distribution in your recipes.
Just stick to small amounts because too much can overpower the recipe and bring in unwanted bitterness. Incorporating homemade espresso powder this way really elevates brownies, cakes, and other chocolate desserts with a richer, more complex flavor profile.
Give it a try—you might be surprised how much of a difference it makes!
Frequently Asked Questions
Can I Use Instant Coffee Instead of Espresso Powder for Baking?
You can use instant coffee instead of espresso powder, but you’ll need more to match the flavor intensity. It won’t be quite the same, though.
Expect a sharper, more bitter taste and a less smooth texture in your baked goods compared to true espresso powder. So, it’s a decent substitute if you’re in a pinch, but the flavor might be a little different.
How Long Does Homemade Espresso Powder Last?
Your homemade espresso powder lasts up to 6 months in an airtight container stored in a cool, dark place. If you refrigerate or freeze it, it can stay fresh for over a year.
Just make sure to always check for mold or any off odors before you use it. That way, you know it’s still good and safe to add to your recipes.
Is Espresso Powder Gluten-Free?
Yes, espresso powder is naturally gluten-free since it’s made from pure coffee grounds. Just double-check store-bought brands for possible cross-contamination or additives if you’re sensitive.
Homemade versions are safe as long as you avoid gluten ingredients. So, it’s pretty straightforward!
Can I Substitute Espresso Powder in Non-Chocolate Recipes?
Yes, you can substitute espresso powder in non-chocolate recipes, but reduce the amount. You’ll enhance roasted flavors, boost complexity, and deepen taste without overpowering.
Just use less to avoid a strong coffee note. It’s a neat way to add depth without making it too bold. Give it a try and adjust to your liking!
What Equipment Is Best for Grinding Espresso Powder Finely?
You’ll want a high-powered burr grinder or a dedicated spice grinder to achieve a fine, uniform espresso powder. Avoid blade grinders since they produce uneven grinds and can overheat, which affects quality and consistency.
Using the right equipment makes a big difference in your espresso’s flavor. A consistent grind means better extraction, and that’s what you’re aiming for. So, investing in a good grinder is totally worth it.
Conclusion
Now that you know how to make espresso powder at home, you’ll see how it truly elevates your baking, especially chocolate recipes. While some believe instant coffee can substitute just as well, homemade espresso powder offers a richer, more nuanced flavor that instant versions often lack.
By choosing quality beans and drying them properly, you guarantee maximum freshness and potency. This simple process releases deeper, more complex tastes.
You’ll find it’s worth the extra effort in your kitchen. Trust me, once you try it, you won’t want to go back to store-bought stuff!