To make espresso drinks, start by pulling a double shot of finely ground coffee using about 9 bars of pressure and water heated between 190-200°F. Steam milk to 130-150°F, creating smooth, velvety microfoam by introducing air gently and maintaining a whirlpool motion.
Combine espresso with steamed milk for a latte or layered foam for a cappuccino. You can customize your drink with syrups or spices to suit your taste.
Try cooling espresso over ice for some refreshing variations. Master these basics, and you’ll find even more ways to craft café-quality drinks right at home.
What Is Espresso? Understanding the Basics
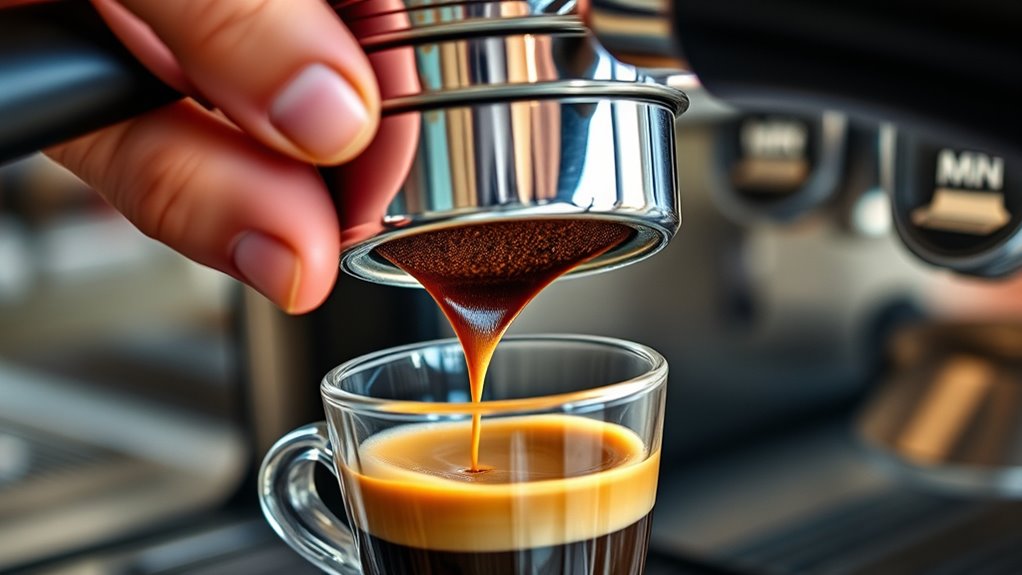
What exactly makes espresso different from regular coffee? Espresso is a concentrated coffee brewed by forcing hot water under high pressure, around 9 bars, through finely ground coffee. This process takes about 25-30 seconds for a double shot, extracting a rich, full-bodied flavor you won’t get from drip coffee.
The water temperature stays between 190-200°F (88-93°C), ensuring ideal flavor and a thick layer of crema, the golden foam on top. This crema adds to espresso’s unique texture and aroma. It really sets espresso apart from other coffee styles.
Espresso also stands out because of its complex flavor profile. It balances acidity, sweetness, and bitterness all in one shot.
Plus, it’s the foundation for many popular drinks like lattes, cappuccinos, and Americanos. So, understanding espresso is key before diving into espresso-based beverages.
Espresso’s high-pressure brewing process also concentrates bold flavors and preserves oils and acids that contribute to its rich taste.
How to Brew the Perfect Espresso Shot
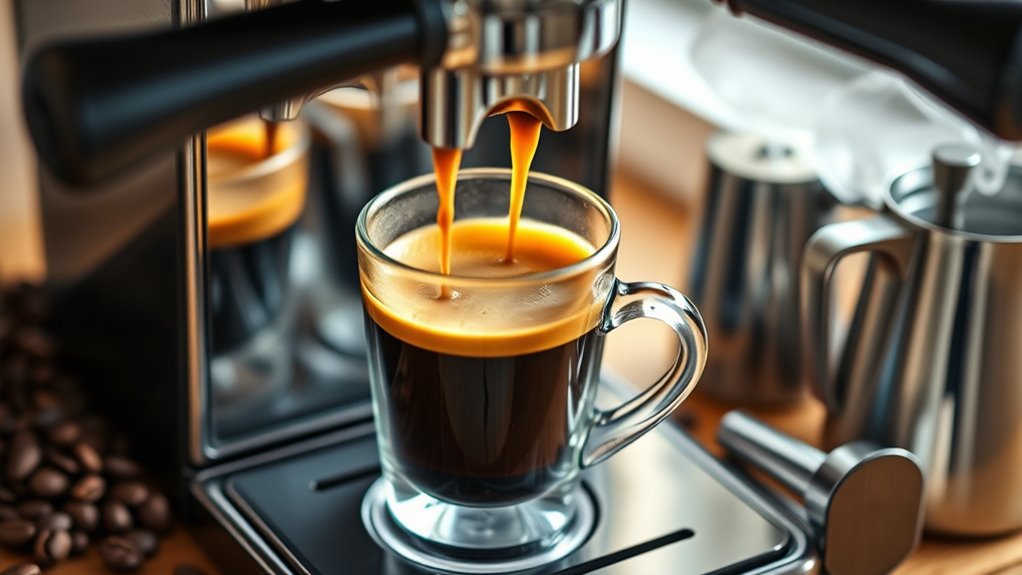
How exactly do you brew the perfect espresso shot? Start with freshly ground coffee, ground finely, like powdered sugar, to guarantee ideal extraction.
Next, distribute the grounds evenly and tamp them with about 30 pounds of pressure. This creates a consistent puck and prevents water from channeling through uneven areas.
Distribute grounds evenly and tamp with 30 pounds of pressure to ensure a consistent puck and even extraction.
Set your machine’s water temperature between 195°F and 205°F (90°C to 96°C) to avoid under- or over-extracting the coffee.
Brew under 9 bars of pressure for 25 to 30 seconds. This yields a rich, flavorful shot topped with crema.
Using a calibrated espresso machine helps maintain precise pressure, temperature, and timing. That way, you get consistent results every time.
Starting your timer from the pump activation, including pre-infusion time, ensures extraction consistency and flavor balance.
How to Steam and Froth Milk for Espresso Drinks
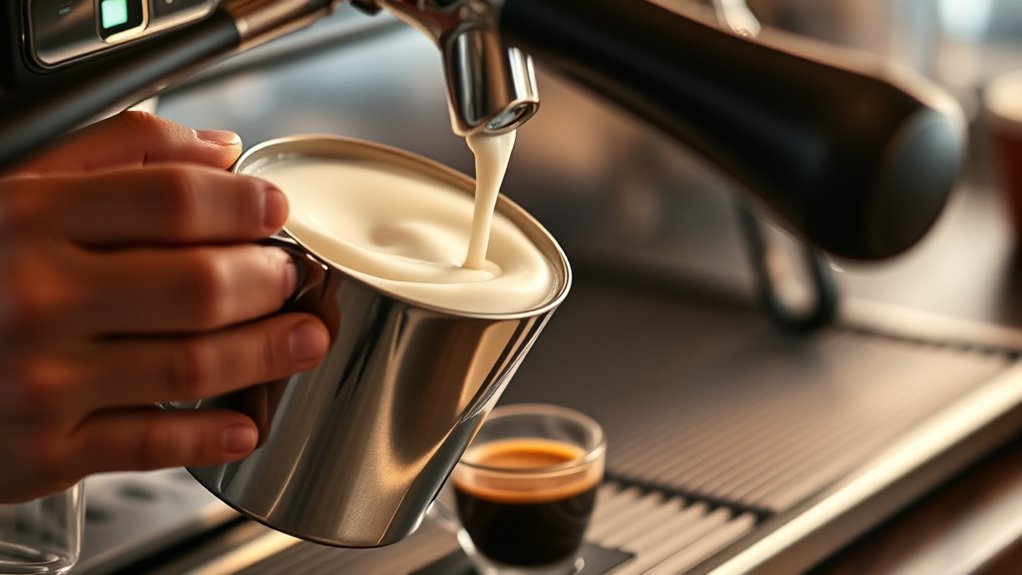
To steam milk properly, you’ll want to keep the temperature between 130-150°F. It’s all about introducing air carefully to build that velvety microfoam we love.
Start by positioning the steam wand just below the surface to create those fine bubbles. Then, once you’ve got that going, submerge the wand to heat the milk evenly without scalding it.
Once you get the hang of these techniques, you’ll have smooth, glossy foam that blends perfectly with your espresso. The result? A balanced, creamy drink every time.
Remember to maintain a steady whirlpool motion during steaming to break down larger bubbles and ensure even heating for the best texture.
Steaming Temperatures And Techniques
Although steaming milk might seem straightforward, mastering the right temperature and technique is essential for creating the perfect microfoam that enhances your espresso drinks.
Aim to steam your milk between 130-150°F to reveal ideal sweetness and texture. Hold the steam wand just below the milk’s surface to gradually introduce air, forming tiny bubbles that create fine microfoam.
Keep your pitcher steady and at a consistent angle to evenly distribute heat, ensuring a smooth texture throughout. Use a thermometer to monitor the temperature carefully. Overheating can scald the milk and spoil the foam.
For cappuccinos, aim for a velvety, glossy microfoam layer about 1 cm thick. These precise steps help you craft milk that perfectly complements your espresso.
It’s all about those little details that make a big difference in your cup. Proper control of temperature and technique is crucial for balancing the texture and flavor in espresso drinks.
Foam Texture And Control
When you master foam texture and control, your espresso drinks reach a new level of quality and flavor. To create smooth microfoam, hold the steam wand just below the milk’s surface at a slight angle. This introduces fine, velvety bubbles without large foam pockets.
Start with the wand tip near the surface to incorporate air, then submerge it deeper to heat evenly. Keep the milk between 130-150 °F (54-66 °C) to avoid a burnt taste and enhance sweetness.
Maintain consistent foam by moving the pitcher in a circular motion, ensuring uniform heat and microfoam.
Aim for about 1 cm of foam for cappuccinos and less for flat whites.
Controlling airflow and wand position is key to perfecting your milk texture every time.
Many commercial espresso machines, like the Mastrena used at Starbucks, feature a 360° swivel steam wand to help baristas achieve ideal milk frothing and microfoam texture.
How to Make Classic Espresso Drinks at Home
Now that you’ve got the hang of steaming and frothing milk, let’s move on to making some classic espresso drinks right at home. First up, you’ll want to pull a double shot of espresso. It’s the base for most drinks, so getting that right is key.
Next, pay attention to how you prepare your milk. Using the right techniques will help you get that perfect texture and temperature. Whether you’re aiming for a smooth latte or a bold macchiato, knowing the essential recipes and ratios makes all the difference.
With a little practice, you’ll be crafting balanced, delicious espresso drinks every time. It’s easier than you think, and definitely worth it! Remember, controlling variables like extraction time and pressure is crucial for consistently great shots.
Essential Drink Recipes
How do you craft classic espresso drinks like lattes, cappuccinos, and macchiatos right at home? Start by pulling a double shot of espresso using your home espresso machine or stovetop brewer.
For a traditional latte, combine 1-2 shots with 6-8 ounces of steamed milk. You can add flavored syrups if you like.
To make a cappuccino, use equal parts espresso, steamed milk, and microfoam in a 1:1:1 ratio. This creates that signature balance of rich coffee and creamy texture.
For a macchiato, simply top a single shot of espresso with a small dollop of milk foam or steamed milk.
Achieving the best flavor starts with using the correct grind size and extraction time for your espresso shot.
Milk Preparation Techniques
Why does milk preparation matter so much for crafting espresso drinks at home? Because the texture and temperature of your milk directly affect the flavor and mouthfeel of your drink. You want to heat milk between 130-150°F to create smooth, velvety microfoam without scalding it.
Position the steam wand just below the surface to incorporate air and produce fine bubbles. Tilt your pitcher slightly and move the wand in gentle circles to achieve consistent texture.
For cappuccinos and lattes, aim for about 1 cm of microfoam; for flat whites, keep it minimal, around ½ cm.
After steaming, tap the pitcher on a surface and swirl to eliminate large bubbles, resulting in glossy, uniform milk. Mastering these steps guarantees your espresso drinks taste professional every time.
It’s really all about practice and paying attention to these little details.
Additionally, pairing your espresso drinks with dark chocolate-covered espresso beans can enhance the flavor experience while providing a natural caffeine boost.
How to Customize Espresso Drinks With Flavors and Syrups
When you add flavored syrups like vanilla, caramel, or hazelnut to your espresso before steaming the milk, you instantly enhance the drink’s sweetness and aroma. You can adjust the syrup amount to suit your taste, from subtle hints to rich sweetness. Don’t hesitate to combine syrups for unique, layered flavors.
Besides syrups, sprinkling spice blends such as cinnamon or nutmeg adds warmth and complexity that complements the espresso’s boldness.
If you prefer, add flavor shots or syrup drizzles after brewing for quick customization without altering the milk.
By experimenting with these options, you tailor your espresso drinks exactly how you like them, whether you want a classic sweet touch or a bold, spiced twist.
Give it a try and find your perfect flavor combo! Keep in mind that espresso’s high caffeine concentration means flavor additions can also influence your overall caffeine experience.
Easy Iced Espresso Recipes to Try at Home
Looking for a revitalizing twist on your usual espresso? Start by brewing a double shot and letting it cool slightly. Then, pour it over ice and shake vigorously with a sweetener like brown sugar or your favorite syrup in a shaker or jar.
Brew a double shot, chill it slightly, then shake with ice and sweetener for a refreshing espresso twist.
This emulsifies the drink, creating a smooth, frothy, and chilled beverage.
After shaking, add milk, oat milk, or creamer for added creaminess, and stir well. You can customize your iced espresso by mixing in flavor add-ins such as vanilla, caramel, or chocolate syrup to suit your taste.
This simple method guarantees a rejuvenating, velvety texture every time, making it easy to enjoy café-quality iced espresso drinks right at home. Give it a try and see how quickly it becomes your go-to refreshment!
Remember, espresso is made by forcing hot water under high pressure through finely ground coffee, which gives it its intense flavor and bold character perfect for iced drinks.
How to Troubleshoot Common Espresso and Milk Frothing Problems
How can you tell if your espresso or milk frothing isn’t quite right? If your foam is too stiff or dry, you might be steaming too long or at too high a temperature. Conversely, thin or watery foam signals you need more steaming time or to adjust the milk-to-steam wand distance.
Always steam milk between 130-150°F to create smooth microfoam without scalding or large bubbles. Start by purging and cleaning your steam wand to prevent water dilution and bacteria buildup that degrade foam quality. Incorporate air slowly at the beginning, then submerge the wand to heat evenly.
Regular maintenance ensures consistent pressure and foam texture. By fine-tuning these steps, you’ll troubleshoot common issues and craft better espresso drinks every time. Just keep at it, and you’ll notice the difference!
Serving and Presenting Your Espresso Drinks
Mastering the texture and temperature of your espresso and milk sets the stage for creating drinks that not only taste great but look inviting. Use the right glassware, like small demitasses for espresso and larger cups for lattes, to match each drink’s size and style.
Aim for a smooth, glossy microfoam on cappuccinos and flat whites. It adds visual appeal and a luxurious mouthfeel.
If you’re confident, try your hand at latte art to impress guests and elevate your presentation. Serve drinks immediately to keep the ideal temperature, flavor, and foam integrity.
Finally, consider garnishing with cocoa powder, cinnamon, or caramel drizzle. These little touches add flavor accents and make your drinks look even better.
These finishing touches really show your skill and care in every cup. And honestly, it makes all the difference when serving espresso drinks to friends or customers.
Frequently Asked Questions
What Type of Coffee Beans Are Best for Espresso?
You’ll want dark roast beans with a shiny, oily finish for espresso. They bring bold flavors and rich crema.
Fresh, single-origin or espresso blends work well. Just make sure to use them within a few weeks of roasting for the best taste.
How Do Water Temperature and Pressure Affect Espresso Taste?
You control flavor by balancing temperature and pressure. If they’re too low, you get weak, sour notes. But if they’re too high, bitterness or harshness can take over.
Make sure the temperature stays between 195°F and 205°F, and pressure hits around 9 bars. This combo guarantees your espresso’s rich, balanced taste and creamy crema. It’s all about hitting those sweet spots to enjoy the perfect cup.
Can I Use Non-Dairy Milk for Espresso Drinks?
Yes, you can use non-dairy milk for espresso drinks.
Opt for barista-style oat or almond milk to get better froth and creaminess. Just steam carefully to avoid curdling and adjust your technique for texture differences.
It might take a little practice, but you’ll get the hang of it!
What Equipment Is Essential for a Beginner Espresso Setup?
You’ll need a quality espresso machine with a steam wand, a burr grinder for consistent grinds, and a tamper to compress grounds evenly.
Plus, a pitcher for milk and a timer to nail your shot duration perfectly.
These basics will set you up nicely to make great espresso at home.
How Long Should an Espresso Shot Ideally Take to Brew?
Your espresso shot should ideally take 25-30 seconds to brew. This timing ensures balanced extraction. It helps avoid sourness from under-extraction or bitterness from over-extraction.
To hit that sweet spot consistently, adjust your grind size and tamp pressure. It might take a little tweaking, but once you get it right, your shots will taste just right every time.
Conclusion
Now that you know how to make espresso drinks at home, you’re ready to enjoy café-quality beverages anytime. Did you know that over 54% of Americans drink espresso-based coffee daily? That’s a lot of happy sips!
With practice, you’ll perfect your shots, froth milk like a pro, and even customize flavors to suit your taste. Keep experimenting, and soon you’ll impress yourself and your guests with every cup you serve.