To use your Breville espresso machine, start by filling the tank and soaking the water filter. Grind fresh, medium-dark beans just before brewing, dosing about 18-20 grams for a balanced shot. Tamp evenly with firm pressure, then lock the portafilter and select your double shot at 200°F.
Froth cold milk carefully for creamy microfoam, keeping the steam wand clean. With proper setup, dosing, and maintenance, you’ll craft consistent espresso every time. Stick around to refine your technique and optimize flavor.
Getting Started: Setting Up Your Breville Espresso Machine
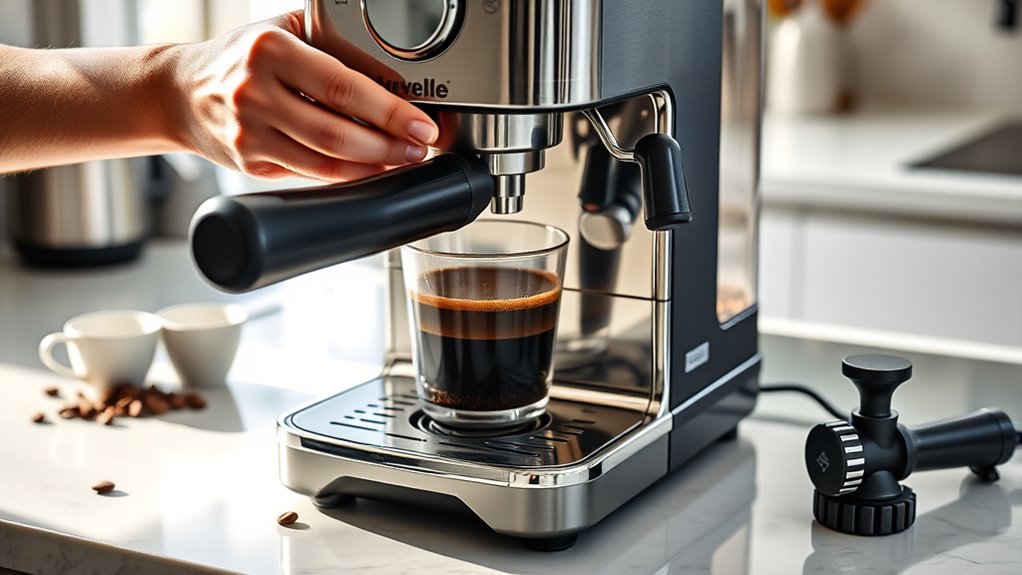
Before you power on your Breville espresso machine, make sure you fill the water tank to the MAX line by lifting the handle and pouring water carefully.
Fill the water tank to the MAX line before powering on your Breville espresso machine for optimal performance.
Next, soak the water filter in water for five minutes to guarantee ideal water quality, then insert it into the tank.
Rinse all accessories, like the portafilter, tamper, and milk jug, with soap and water to remove any residues from manufacturing.
After washing, set up the bean hopper on the machine.
Once everything’s in place, press the “Power” button to preheat the machine until the display reads 200°F.
This initial setup ensures your machine functions correctly and delivers the perfect espresso experience from the start.
Taking these steps helps you maintain your machine’s longevity and assures consistent, high-quality coffee.
It really sets you up for success every time you brew.
To keep your machine running smoothly, remember that regular cleaning after use is essential for optimal performance.
Choosing and Preparing Coffee Beans for Your Breville
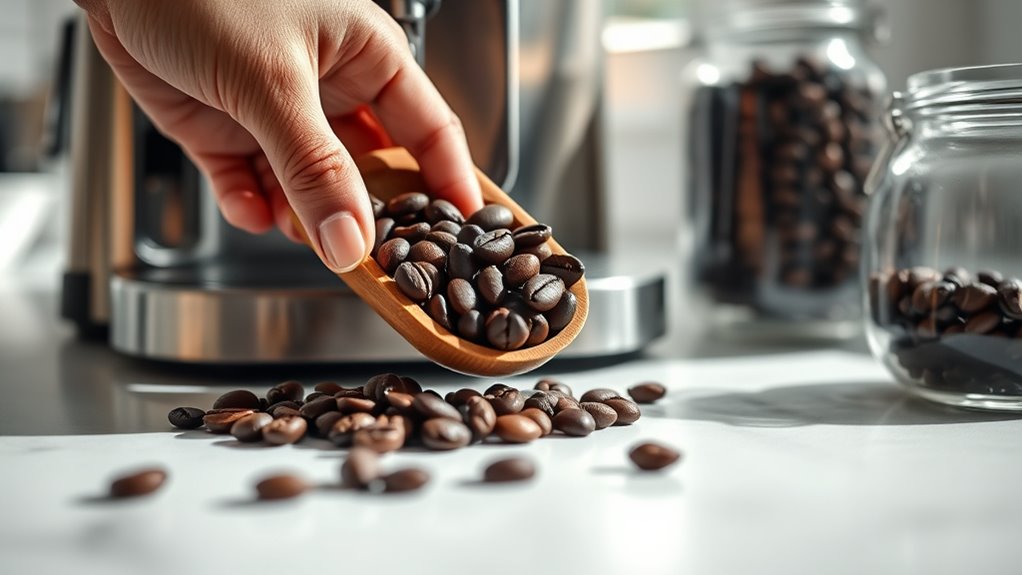
Now that your Breville espresso machine is set up and preheated, turning your attention to the coffee beans will make all the difference in your espresso’s flavor and crema. Always use fresh, roasted beans within 5-30 days of roasting, and store them airtight, away from light, heat, and moisture.
Choose medium to dark roast for a richer taste and better crema. Avoid pre-ground coffee; grind just before brewing. Here’s a quick guide:
| Bean Freshness | Roast Level | Storage Tips |
|---|---|---|
| 5-30 days after roast | Medium to Dark | Airtight container |
| Preserves flavor | Rich flavor, crema | Keep away from heat & light |
| Avoid long hopper time | Better crema | No moisture |
Using a burr grinder ensures a consistent grind size, which is essential for balanced extraction and flavor.
Follow this, and your espresso will shine.
Measuring and Dosing Coffee Grounds for Consistent Shots
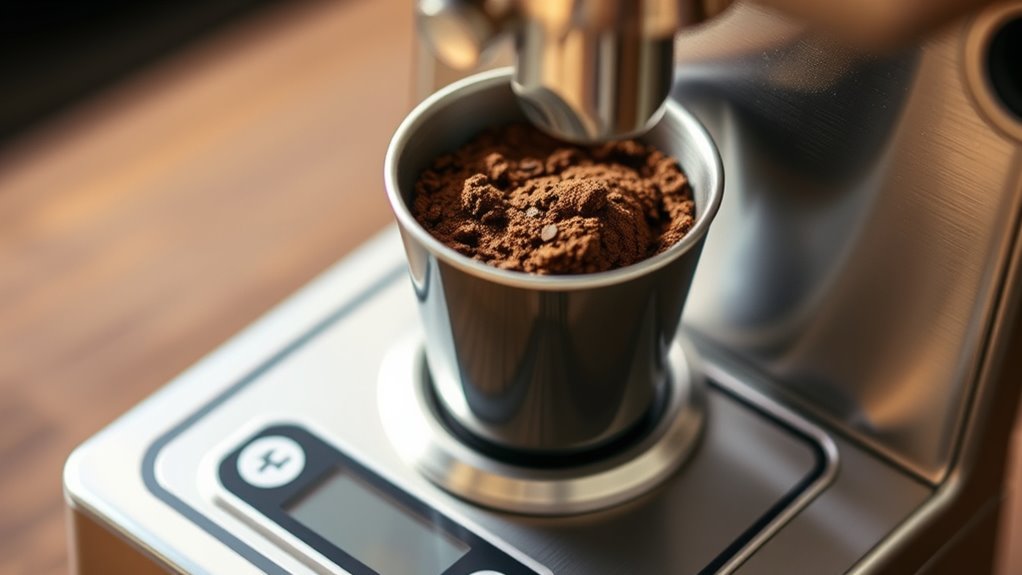
Although dialing in your espresso shot involves many variables, measuring and dosing your coffee grounds precisely lays a solid foundation for consistency. Start by weighing about 18-20 grams of coffee beans on a digital scale before grinding to guarantee accuracy. This helps prevent over- or under-extraction, which can ruin your shot’s balance.
Precise weighing and dosing of coffee grounds are essential for balanced, consistent espresso shots every time.
Keep your beans fresh in airtight containers away from heat. This preserves flavor and ensures consistent dosing quality.
Once ground, use a dosing cup or funnel to transfer coffee to the portafilter cleanly, avoiding spills and waste.
Don’t forget to regularly calibrate your grinder and double-check doses. This routine keeps your shot quality stable over time.
Mastering these steps sets you up for reliable, delicious espresso every time. Adjusting your dose based on portafilter size helps maintain ideal extraction and prevents channeling.
Grinding and Tamping Coffee for Perfect Extraction
Since the right grind size and tamping pressure directly impact extraction quality, you’ll want to measure about 18-20 grams of coffee and grind it to a texture similar to fine sand.
After grinding, tap the portafilter to settle the grounds evenly, creating a flat surface for tamping.
Use the included tamper to press firmly with roughly 30 pounds of pressure, ensuring a smooth, level coffee puck.
Remove any excess grounds around the portafilter’s edge with a razor blade to guarantee a tight seal.
If your espresso shot flows too fast, adjust the grind finer; if it’s too slow, make it coarser.
These precise steps help you achieve a balanced extraction, setting the stage for a perfect espresso shot every time.
Keep in mind that maintaining a consistent grind size prevents uneven extraction and improves flavor clarity.
Brewing the Perfect Espresso Shot With Your Breville
When you lock the portafilter into your Breville’s group head, you’re just moments away from pulling a perfect espresso shot. Start by selecting the double shot setting and verify your water temperature is steady at 200°F.
Lock in the portafilter, select double shot, and ensure your water temperature is steady at 200°F.
Aim for about 18-20 grams of freshly ground coffee tamped evenly and firmly for ideal extraction.
As you begin brewing, watch for a thick, honey-like flow that lasts around 25-30 seconds. Discard the initial few drops, then collect approximately 40 grams of espresso within that time frame.
This precise timing and measurement ensure balanced flavors and proper extraction.
Mastering this step guarantees a rich, smooth espresso that highlights your coffee’s best qualities every time you use your Breville. It’s all about paying attention to these little details to get that perfect cup.
Including a short pre-infusion period helps promote even saturation and improves extraction consistency.
Steaming and Texturing Milk With Your Breville Espresso Machine
Start by filling your milk jug just below the spout mark with cold, fresh milk. This helps ensure your steaming turns out perfect every time.
Next, pop the steam wand tip just beneath the surface of the milk. Then, turn the dial to the steam icon.
As it starts steaming, move the jug in a gentle circular motion to create that smooth, velvety microfoam we all love.
Once you’re done steaming, don’t forget to purge and wipe the steam wand. It keeps everything clean and working properly for your next cup.
Remember that the temperature and texture of your milk can affect the overall flavor and extraction of your espresso, similar to how extraction ratio influences caffeine concentration.
Milk Jug Preparation
How exactly do you prepare your milk jug for steaming and texturing with your Breville espresso machine? Start by filling your jug just below the spout mark with fresh, cold milk. This guarantees enough volume for frothing without overflow.
Before steaming, purge the steam wand by twisting the steam dial briefly to clear any residual milk or condensation.
Insert the steam wand tip just below the milk’s surface to create the right froth and texture. Turn the steam dial to the steam icon and let the milk heat for 5 to 10 seconds before adjusting your technique.
Once finished, immediately wipe the steam wand with a damp cloth to prevent milk residue buildup. This keeps your machine clean and ready for the next use. Easy, right? Regularly descaling your Breville espresso machine is also essential to maintain its performance and prevent mineral buildup.
Steam Wand Technique
Although steaming milk might seem straightforward, mastering the steam wand technique with your Breville espresso machine takes some attention to detail and proper positioning.
Start by inserting the steam wand tip just below the milk’s surface, then turn the dial to the steam icon.
After 5-10 seconds of heating, purge the wand to clear any buildup.
Next, position the wand tip slightly above the surface to create a whirlpool. This helps develop smooth, velvety microfoam.
Keep an eye on the temperature and stop when the milk reaches 140-150°F (60-65°C) or when the wand feels too hot to hold.
Finally, wipe the steam wand immediately with a damp cloth. If the tip gets clogged, just poke a hole in it with a toothpick.
This technique guarantees perfectly textured milk every time. It’s all about practice and paying attention to these small steps.
You’ll get the hang of it before you know it!
Remember to use a clean, cold milk jug filled halfway to facilitate vortex formation and consistent microfoam development.
Adjusting Grind Size and Machine Settings for Optimal Extraction
Start by adjusting the grind size using the internal burr setting. Just turn the black ring from 1, which is the finest, up to 9, the coarsest, to help control your extraction.
After that, move on to fine-tuning the external grind adjustment. Keep an eye on how the espresso flows and the color it has—these clues will tell you if your grind is too fine or too coarse.
Keep tweaking and jotting down your settings until you find that perfect shot time and get a consistent flavor you love.
Remember, balancing grind size with tamping pressure is essential to ensure uniform resistance and prevent channeling during extraction.
Grind Size Adjustment
When dialing in your Breville espresso machine, adjusting the grind size plays a crucial role in achieving ideal extraction.
Begin by rotating the black ring on the internal burr grinder between levels 1 (finest) and 9 (coarsest). Start with a medium-fine grind, resembling fine sand or table salt, aiming for about 40 grams extracted in 30 seconds.
If the shot flows too quickly, move the burrs closer for a finer grind. If it’s too slow, adjust to a coarser setting. Always realign the red dots when reassembling the grinder.
Test your adjustments with a shot, evaluating flow rate and flavor. Remember, switching beans or roast levels means you’ll need to re-tune the grind size to keep that extraction spot on every time.
Using a digital scale to measure espresso yield by weight ensures precise and consistent results during your adjustments.
Machine Setting Calibration
How do you guarantee your Breville espresso machine consistently produces the perfect shot? Start by calibrating your grind size using the internal burr grinder’s black ring, rotating between scale 1-9. Begin near 1 for finer grounds, then adjust the external grind setting gradually. Remember, lower internal numbers correspond to higher external ones.
Your goal is a 30-second extraction for a double shot, with 18-20 grams brewed. Watch the flow rate: slow and bitter means the grind’s too fine; fast and sour means it’s too coarse. Taste testing helps confirm.
Keep adjusting both grind size and dose, recording each change to find the sweet spot. This systematic calibration ensures every shot hits the perfect balance of flavor and extraction time.
Cleaning and Maintaining Your Breville Espresso Machine
Why does regular cleaning matter for your Breville espresso machine? It keeps your machine running smoothly, prevents buildup, and guarantees great-tasting espresso.
Start by washing all accessories, like the portafilter, tamper, and milk jug, with soap and water before first use and regularly afterward. Backflush weekly using a silicone blind filter to clear coffee residues and maintain peak performance.
After every use, wipe the steam wand with a damp cloth, purge steam to clear milk residue, and soak the tip if it’s crusted. Replace the water filter every three months or sooner if you have hard water to prevent mineral buildup.
Finally, descale your machine every 3-6 months with Breville’s recommended solution, following your model’s instructions. Keeping up with these steps prolongs your machine’s life and guarantees consistently delicious espresso.
Troubleshooting Common Espresso Issues and Improving Flavor
Maintaining your Breville espresso machine is just one piece of the puzzle to great coffee. Troubleshooting common issues and fine-tuning your technique can really elevate your espresso’s flavor and consistency.
If your espresso flows too quickly, try adjusting your grind finer and tamping evenly to improve extraction.
On the other hand, if the shot tastes bitter and slow, coarsen the grind or shorten the brew time to avoid over-extraction.
Always use fresh, high-quality beans roasted within 5 to 30 days to keep that crema and flavor intact.
Inconsistent taste often comes from incorrect dosing, so measure 18 to 20 grams for a double shot using a digital scale.
And don’t forget to regularly clean your steam wand and backflush the machine to prevent buildup.
This helps keep the flavor sharp and your shots consistent every time.
Frequently Asked Questions
Can I Use Pre-Ground Coffee Instead of Grinding Fresh Beans?
You can use pre-ground coffee, but it’s best stored airtight and ground specifically for espresso. Keep in mind, freshly ground beans deliver superior flavor, crema, and consistency. This really enhances your Breville espresso experience considerably.
How Do I Descale My Breville Espresso Machine Safely?
You should descale your Breville every 3-6 months since about 80% of machines suffer from scale buildup.
Use a vinegar-water mix or a descaling solution, then run it through your machine. After that, make sure to flush it thoroughly with fresh water to protect your espresso maker.
Keeping up with this routine will help your machine last longer and keep your coffee tasting great!
What Accessories Are Recommended for Beginners Using Breville Machines?
You should get a tamping station and a precision tamper like the Crema 2-in-1. A puck screen is also great for even extraction.
Adding a dosing cup or funnel helps keep things neat, and a precise espresso scale is a must-have. These accessories really boost consistency and help keep your workspace tidy.
Trust me, they make a big difference when you’re starting out with your Breville machine.
Is It Possible to Make Cold Brew or Iced Espresso With This Machine?
You can’t make true cold brew with a Breville espresso machine, but you can brew hot espresso and pour it over ice for iced espresso.
Chilling the shot first helps prevent dilution and keeps flavors vibrant.
It’s a simple way to enjoy a cold coffee without needing special equipment. Just brew, chill, and pour over ice!
How Do I Store Coffee Beans to Maintain Freshness?
You should store coffee beans in an airtight container. Keep it in a cool, dark place away from heat and sunlight. Avoid refrigeration because it can introduce moisture and affect the flavor.
Try to use the beans within 5 to 30 days of roasting for the best freshness and flavor. That way, you’ll enjoy the full taste and aroma. Fresh beans really make a difference in your coffee experience!
Conclusion
Now that you’ve mastered each step, from bean to cup, your Breville espresso machine is ready to deliver café-quality shots. But here’s the secret: the journey doesn’t end here. Every tweak, every grind adjustment, every steam of milk will reveal new flavors you never expected.
Stay curious and experiment boldly. Watch as your espresso skills transform. Your perfect shot is just one small change away. Are you ready to discover it?