You can make espresso-like coffee at home using manual tools like a Moka pot, AeroPress, or French press without an espresso machine. Use freshly roasted, finely ground espresso beans, preheat your equipment, and heat water to about 200°F.
Press firmly with the AeroPress, or let the Moka pot build steam pressure. Remove it when foam appears to avoid bitterness. With the right grind, water ratio, and technique, you’ll get bold, concentrated coffee.
To master the techniques and troubleshoot, keep exploring the essentials. It’s all about practice and finding what works best for your taste.
What You’ll Need to Make Espresso Without a Machine
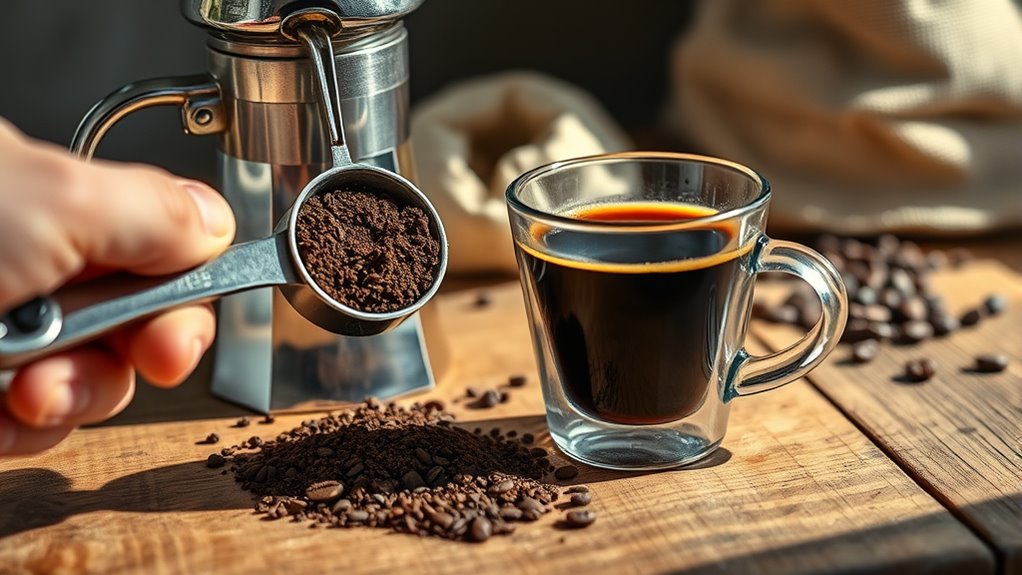
Although you don’t need a traditional espresso machine, you’ll still require specific tools like a Moka pot, AeroPress, or French press to brew espresso-like coffee at home. Each tool lets you manually apply pressure to extract concentrated coffee, mimicking espresso’s intensity.
You’ll want high-quality, freshly roasted beans ground very finely, almost like salt, to guarantee maximum flavor. Measure about 2 tablespoons (20 grams) of coffee for a strong brew. Preheat your equipment and heat water to roughly 200°F to maintain consistent extraction temperature.
With the AeroPress, pressing down firmly forces water through the grounds, while the Moka pot’s design builds steam pressure to push water upward. These tools enable you to replicate espresso’s rich, concentrated essence without investing in an expensive machine.
Be mindful that maintaining consistent extraction temperature is key to achieving balanced flavor and avoiding bitterness or sourness.
Choosing the Right Coffee Beans and Grind Size for Espresso
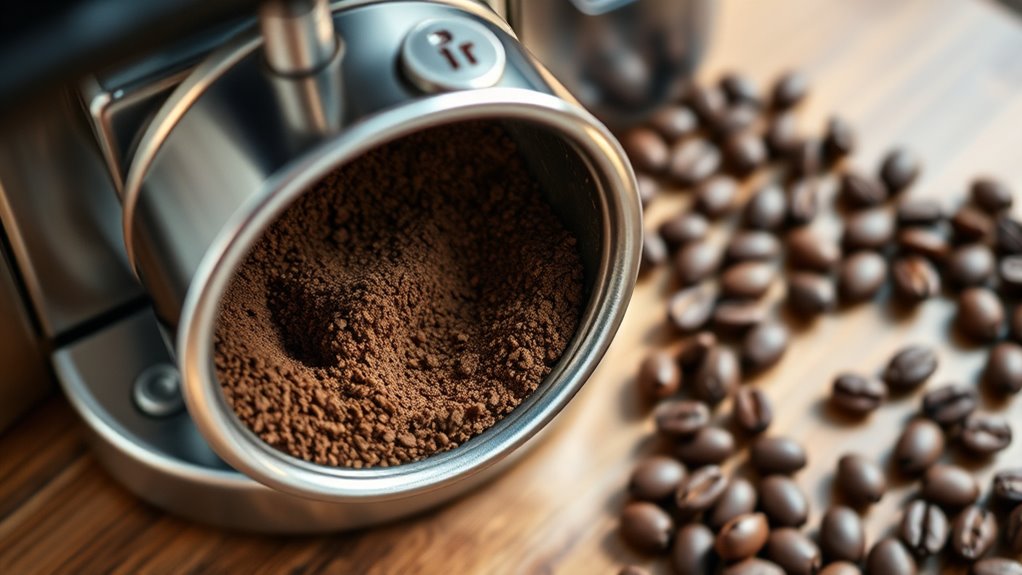
Once you’ve gathered the right tools for making espresso without a machine, selecting the proper coffee beans and grind size becomes your next priority. Use freshly roasted, espresso-specific beans from a reputable supplier like Atlas Coffee for maximum flavor and crema.
Grind the coffee very finely, finer than table salt, to guarantee proper extraction. Consistency in grind size is vital to avoid channeling and uneven flow. Adjust grind size based on shot timing: too slow means coarse, too fast means too fine.
Store your beans airtight, away from light and moisture to maintain freshness. Keep in mind that grind size and pressure play a more critical role than bean type in achieving a quality espresso extraction.
| Aspect | Recommendation |
|---|---|
| Bean Type | Freshly roasted, espresso-specific |
| Supplier | Reputable, e.g., Atlas Coffee |
| Grind Size | Very fine, finer than table salt |
| Grind Consistency | Uniform for even extraction |
| Storage | Airtight, cool, dark place |
How to Make Espresso With an Aeropress
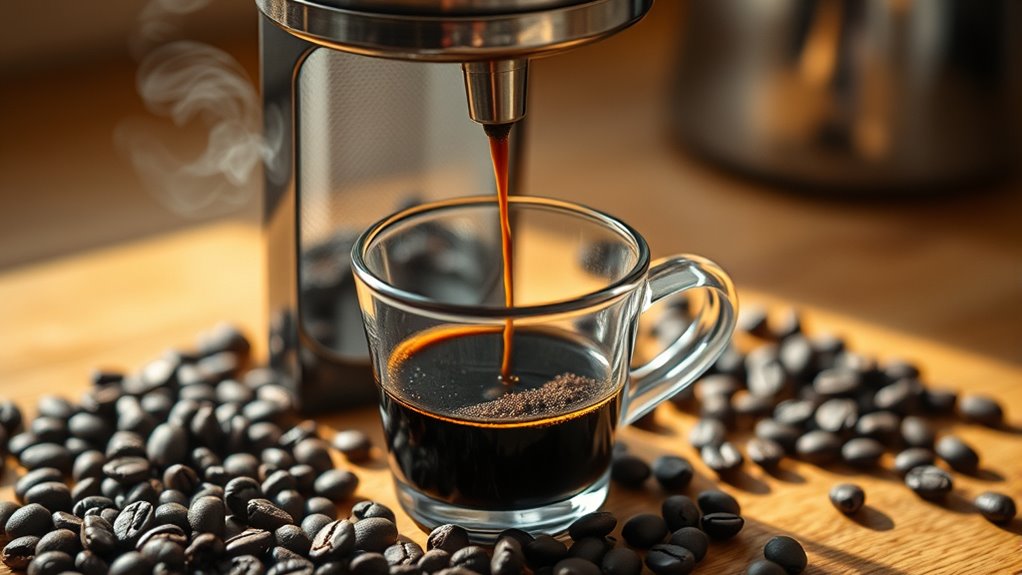
To make espresso with an AeroPress, start by using a fine, salt-like grind. Heat your water to about 200°F—that’s the sweet spot for the best extraction.
Next, add around 2 tablespoons of coffee into the AeroPress. Pour in the hot water, give it a good stir, and then let it bloom for about 30 seconds.
After that, press firmly to pull a concentrated shot.
Oh, and don’t forget to preheat your AeroPress and cup. Choosing the right filter also makes a difference—it can really enhance the flavor and even bring out a nice crema on your espresso.
Maintaining proper brew temperature and water quality is essential to achieve a balanced and rich espresso extraction.
Aeropress Espresso Essentials
When you want a rich, concentrated espresso without an espresso machine, the AeroPress offers a simple yet effective solution.
Start by using a fine, salt-like grind and about 2 tablespoons of coffee. Heat water to roughly 200°F, then add approximately 3½ ounces to the AeroPress.
Stir thoroughly to guarantee even extraction. Insert a filter, then press down firmly with steady pressure for about 30 seconds, producing a concentrated shot.
For maximum flavor, preheat the AeroPress and your cup beforehand.
Brew immediately after grinding to lock in freshness. Once brewed, transfer your espresso-like coffee into a demitasse or small cup to enjoy.
These essentials help you achieve a bold, smooth espresso-style coffee with minimal equipment and effort. Adjusting grind size and extraction time can further optimize the flavor and strength of your AeroPress espresso.
Brewing Steps Overview
Although brewing espresso with an AeroPress isn’t the traditional method, you’ll find the process straightforward and rewarding.
Start by preheating your AeroPress and cups to retain heat.
Use a fine, salt-like grind and measure about 2 tablespoons of coffee grounds.
Heat water to around 200°F, then pour approximately 3½ ounces into the chamber.
Stir gently to ensure even saturation.
Let the coffee steep for 1 to 2 minutes, allowing the flavors to concentrate.
After steeping, press the plunger firmly and steadily to extract a rich, espresso-like shot.
Immediately transfer the brew into a demitasse or small cup to preserve its intense flavor and aroma.
This precise approach delivers a balanced, bold espresso alternative using your AeroPress.
While this method mimics espresso, it lacks the high pressure extraction that defines traditional espresso brewing.
How to Brew Espresso With a Moka Pot
To brew espresso with a Moka pot, start by filling the bottom chamber with water just below the safety valve.
Then, add finely ground coffee to the filter basket—no need to tamp it down.
Next, make sure to assemble the pot securely. It’s a good idea to check the gasket and filter to avoid any leaks.
Place the pot on medium heat and keep an eye on it.
Soon enough, you’ll see the coffee start to foam into the upper chamber—that’s your espresso signaling it’s ready.
Keep in mind that traditional espresso contains significantly more caffeine than canned espresso martinis, so brewing your own can give you a stronger coffee kick.
Moka Pot Setup
Since brewing espresso with a Moka pot requires careful preparation, you’ll want to start by filling the bottom chamber with 3.5 ounces (100 ml) of water just below the safety valve.
Next, grind high-quality coffee beans to a fine, espresso-like consistency, measuring about 20-22 grams or 2 tablespoons.
Fill the filter basket evenly with the ground coffee, leveling it off without tamping.
Then, securely screw the top chamber onto the base to prevent leaks.
Make sure the rubber gasket and filter are clean and properly seated to guarantee a tight seal.
Position the Moka pot on medium heat, keeping the handle away from direct flame.
This setup ensures ideal pressure and extraction when brewing your espresso.
Keep in mind that the coffee amount and grind size significantly influence the caffeine content and extraction quality of your brew.
Brewing Process Tips
How exactly do you achieve the perfect brew with your Moka pot? Start by grinding high-quality coffee beans to a fine, salt-like consistency. Use about 20-22 grams for a standard pot.
Pour roughly 3.5 ounces of water into the bottom chamber, making sure it stays just below the safety valve to avoid pressure issues.
Next, add the ground coffee evenly into the filter basket without tamping it down.
Then securely screw the top chamber on to create an airtight seal.
Place the pot on medium heat and watch closely. Once the coffee begins to foam and fills the upper chamber, remove it from heat immediately to prevent bitterness.
Pour your espresso right away for a rich, concentrated flavor that captures the essence of your brew.
For best results, use water heated to the ideal brewing temperature for your bean roast level to optimize extraction and flavor.
Using a French Press for a Strong Coffee Concentrate
When you want a strong coffee concentrate that mimics the intensity of espresso, a French Press can be an excellent tool. To get there, you just need to tweak your brewing approach a bit for maximum flavor and strength.
Use 2 to 3 times the normal coffee grounds, about 4 tablespoons for 8 ounces. Pick a fine grind, something like sea salt, to help boost extraction.
Steep for 4 minutes at roughly 200°F, just below boiling.
Then press the plunger down slowly so you don’t over-extract and end up with bitterness.
Once it’s brewed, go ahead and serve your concentrate right away in small servings. Or, if you prefer, dilute it with hot water or milk for a smoother espresso-style drink.
This method really shows how versatile the French Press is, giving you a rich, intense coffee experience without needing an espresso machine. Keep in mind that caffeine content can vary based on factors like grind size and extraction time, so adjusting these can help tailor your coffee’s strength and caffeine levels.
Adjusting Water Temperature and Coffee-to-Water Ratios
Although dialing in your espresso involves several variables, adjusting the water temperature and coffee-to-water ratio plays a crucial role in extracting the perfect shot.
Aim for water around 200°F to optimize extraction and bring out clear, vibrant flavors. Temperatures between 195°F and 205°F subtly affect crema and taste, so experiment within this range to find your ideal profile.
Use a 1:2 coffee-to-water ratio, like 18 grams of coffee to 36 grams of espresso, to balance strength and consistency.
Increasing the coffee dose while keeping water constant intensifies flavor but may lengthen brew time and risk over-extraction.
By fine-tuning these parameters, you control your espresso’s strength, flavor depth, and crema quality.
This way, you can make sure each shot matches your personal preference with precision.
Maintaining temperature stability during extraction is essential to achieve consistent flavor and prevent unwanted bitterness or sourness.
Fixing Common Problems When Making Espresso Without a Machine
Mastering water temperature and coffee-to-water ratios sets a solid foundation, but you might still run into some common issues without an espresso machine. Here’s how to fix them:
Use a fine, salt-like grind and tamp firmly to avoid water channels that cause under-extraction. Keep water temperature steady around 200°F and preheat your equipment and cups to maintain shot quality and crema.
If your espresso flows too quickly or too slowly, adjust the grind size and coffee dose. Aim for a 25-30 second shot time for the best results.
Don’t forget to clean your coffee maker regularly. Focus on the filter basket and water flow parts to prevent blockages and off-flavors.
Following these steps will help you pull rich, balanced espresso and troubleshoot common problems when brewing manually.
Frequently Asked Questions
Can I Use Pre-Ground Coffee for Espresso?
Yes, you can use pre-ground coffee for espresso, but it must be finely ground and fresh. Store it airtight and use it quickly to avoid stale, bitter flavors.
That said, freshly ground beans still deliver the best crema and taste. So, if you can, grind your beans just before brewing for the best results.
How Do I Clean My Espresso Machine Properly?
Don’t let your espresso machine gather dust. Flush it regularly and scrub the portafilter weekly. Also, run descaling cycles as instructed to keep everything working smoothly.
Make sure to wipe down all surfaces to keep oils and buildup at bay. This helps ensure every shot tastes perfect. Taking these small steps really makes a difference!
What’s the Best Milk Frothing Technique for Espresso Drinks?
You should immerse the steam wand just below the milk’s surface. Start low to create microfoam, then heat to 150°F while swirling to maintain a whirlpool.
Tap and swirl the pitcher for smooth, velvety foam. It really makes a difference in the texture and taste of your espresso drinks. Give it a try next time you’re frothing milk!
How Long Should I Wait Between Pulling Espresso Shots?
Don’t rush like you’re defusing a bomb. Wait 20-30 seconds between shots.
This brief pause lets your machine stabilize temperature and pressure. It ensures each espresso bursts with rich flavor, perfect crema, and balanced extraction every single time.
Can I Store Espresso Shots for Later Use?
You can store espresso shots in an airtight container in the fridge, but make sure to drink them within 24 hours.
Try to avoid reheating because it can mess with the flavor. Honestly, it’s best to brew only what you’ll enjoy right away for the freshest taste.
Conclusion
Now that you’ve mastered these espresso hacks, brewing rich, bold shots without a machine will be as easy as pie. With the right beans, precise grind, and a bit of attention to water temperature and ratios, you can craft café-quality espresso at home.
Remember, each method, from Aeropress to French press, is a brushstroke painting your perfect cup. Keep experimenting, and soon your espresso will be a masterpiece in every sip.