To make espresso with your AeroPress, use 18-22 grams of finely ground dark roast coffee, similar to powdered sugar. Heat water to 195-205°F, then pour 90 grams over the grounds. Stir vigorously for 10-15 seconds.
Next, flip the AeroPress and press firmly and slowly. For richer crema, try pressure-enhancing accessories and rinse filters beforehand. You can adjust grind size and extraction time for flavor tweaks.
Keep going to discover tips that elevate both crema and your overall espresso experience. It’s easier than you think once you get the hang of it!
Choosing Equipment and Coffee for AeroPress Espresso
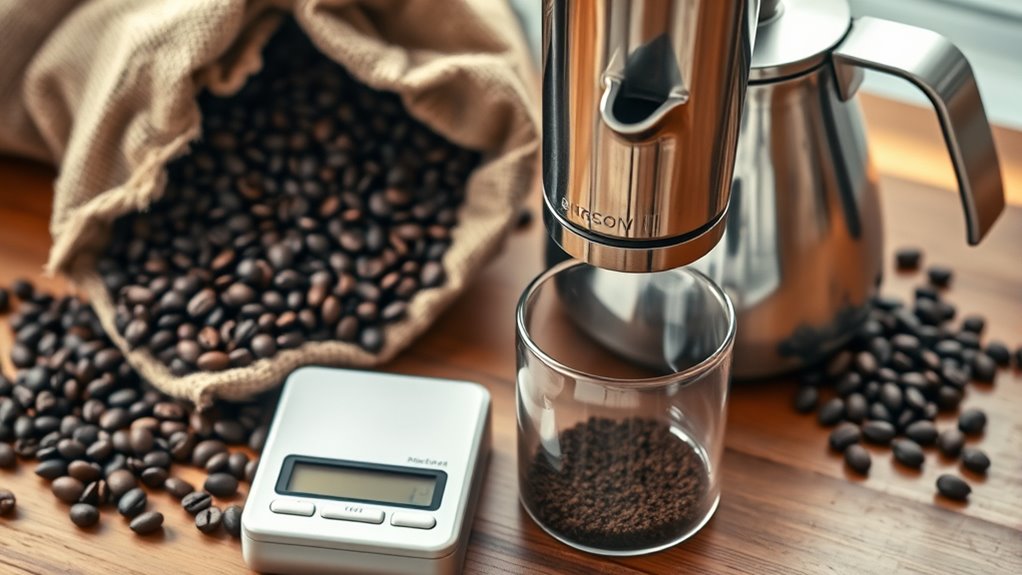
When you’re aiming to make espresso with an AeroPress, choosing the right equipment and coffee is essential to achieving that rich, bold flavor. Start with 18-22 grams of finely ground, dark roasted coffee. Its consistency should mimic espresso’s fine texture.
Use a high-quality burr grinder to get a uniform, super-fine grind like sand or powdered sugar. Attach a metal or paper micro-filter to the AeroPress cap. This controls sediment and enhances crema formation.
Heat your water between 190°F and 205°F (88°C to 96°C) to optimize extraction and develop balanced flavors.
For an even better espresso experience, consider accessories like the Prismo or Joepresso. These increase pressure and improve crema quality, pushing your AeroPress espresso to professional levels.
Keep in mind that the extraction time plays a crucial role in caffeine content and flavor intensity when brewing espresso with AeroPress.
Grinding Coffee for Best AeroPress Espresso Flavor
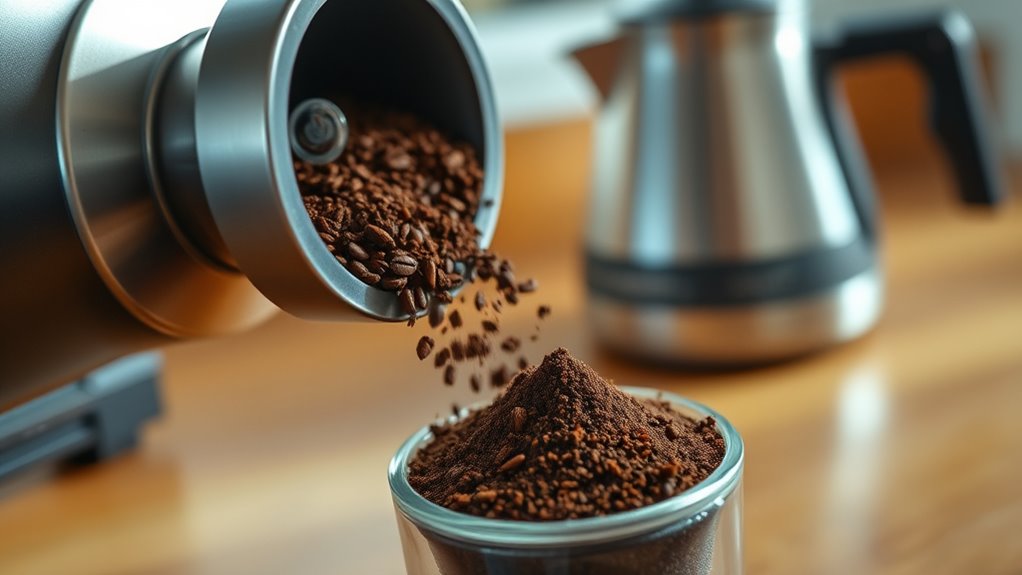
You’ll want to use a fine grind, kind of like powdered sugar, to really bring out the full flavor of your AeroPress espresso. It’s all about getting that perfect texture.
If you tweak the grind size a little, you can balance the extraction and even make pressing a bit easier. This can be especially helpful depending on the roast level you’re working with.
Grinding your coffee just before brewing is key—it keeps things fresh and gives you more control over the strength and crema of your shot.
For best results, aim for a grind size that suits the roast level, as lighter roasts typically require a finer grind and slightly higher brewing temperature.
Grind Size Importance
Although dialing in the perfect grind size can be challenging, it’s vital for crafting rich, espresso-style AeroPress coffee. You’ll want a very fine grind, similar to powdered sugar or sand, to maximize pressure and extraction.
This super fine grind helps create the thick, viscous texture characteristic of espresso-style brews.
Grinding just before brewing locks in freshness and guarantees uniform particle size, which is essential for consistent results.
However, be wary of going too fine. Excessively fine grounds can clog your AeroPress, causing too much pressure and disrupting flow.
Adjust your grind size depending on your brewing time. Finer grounds increase resistance and speed up extraction.
Finding the right balance in grind size ultimately delivers the best flavor and smooth, satisfying AeroPress espresso.
Remember that maintaining a consistent, uniform particle size helps prevent channeling and ensures even extraction, enhancing flavor clarity.
Roast Level Selection
Mastering grind size sets the foundation, but selecting the right roast level has a big impact on the flavor and texture of your AeroPress espresso. Dark roast beans are ideal because they release more oils, which gives you a richer crema and fuller body.
You’ll want to grind them fine, almost like powdered sugar, to get the most out of extraction and pressure buildup.
Just remember, consistency is key. If your grind is too coarse, your espresso will taste weak. But if it’s too fine, you risk clogging or bitterness from over-extraction.
If you prefer lighter roasts, expect to use hotter water and longer steeping to bring out their nuanced flavors.
Always choose freshly roasted beans to guarantee vibrant oils and aromas. That’s what makes every cup more flavorful and aromatic.
Regular cleaning of your AeroPress and grinder is essential to maintain optimal flavor and prevent buildup of coffee oils and residue.
Controlling Water Temperature and Pressure for AeroPress Espresso
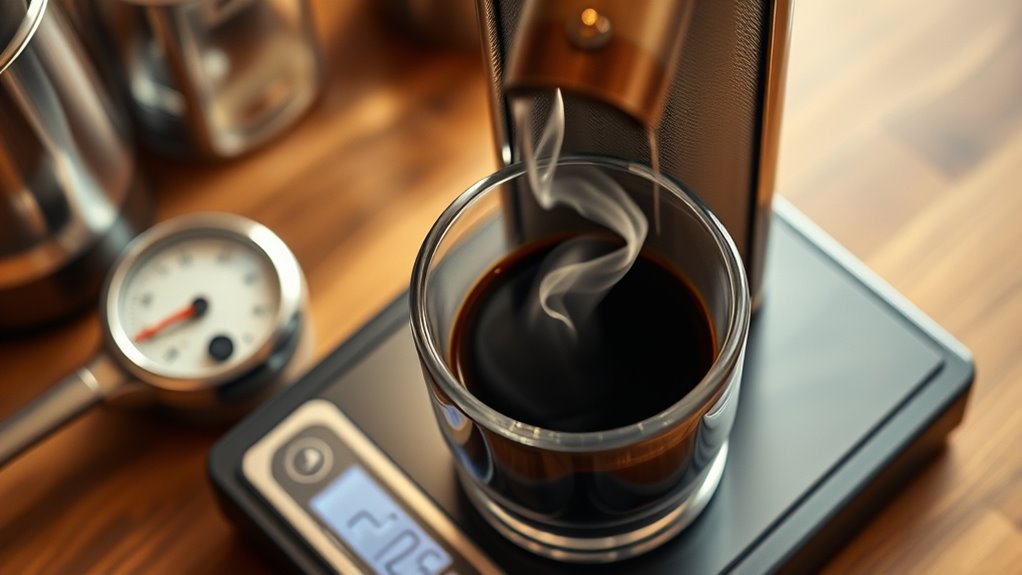
When brewing espresso with an AeroPress, controlling water temperature and pressure plays a crucial role in extracting rich flavors and achieving a satisfying crema.
Use water between 195°F and 205°F (90°C to 96°C) to optimize extraction, mirroring traditional espresso temperatures.
Use water heated between 195°F and 205°F for optimal espresso extraction with your AeroPress.
Lower temperatures around 170°F to 180°F yield a milder taste but can reduce crema and body.
While the AeroPress can’t reach espresso machine pressures on its own, you can attach pressure-enhancing accessories like the Prismo or Joepresso to boost pressure up to 9-10 bars.
Press slowly and steadily to maintain consistent pressure, which enhances richness and crema.
Experimenting with temperature and using these attachments gives you precise control over your AeroPress espresso’s flavor and texture.
It really elevates your brewing experience and lets you dial in the perfect cup.
Including a controlled extraction time helps ensure balanced flavor and crema development in your AeroPress espresso.
Brewing AeroPress Espresso: Step-by-Step Guide
Before you start brewing your AeroPress espresso, make sure to rinse the paper filter with hot water. This helps eliminate any paper taste and makes sure it stays firmly attached to the cap.
Next, add 18 grams of finely ground coffee into the brew chamber. The grind should be slightly coarser than traditional espresso.
Pour roughly 90 grams of hot water, between 195 and 205°F, over the grounds. Then stir vigorously for 10 to 15 seconds to ensure even extraction.
Attach the filter cap, flip the AeroPress upside down carefully, and press the plunger slowly and steadily. Keep pressing until you hear a hissing sound.
Finally, remove the AeroPress and savor your concentrated espresso-style coffee.
For optimal flavor, focus on controlling grind size and extraction time to maximize the espresso quality.
Improving Crema and Mouthfeel in AeroPress Espresso
Although the AeroPress isn’t a traditional espresso machine, you can considerably enhance crema and mouthfeel by making a few targeted adjustments. Start by using a metal filter or a flow control attachment like Prismo to increase pressure and boost crema formation.
Choose a dark roast with a very fine grind to extract more oils, enriching both mouthfeel and crema thickness. Pre-wet and thoroughly rinse your filter to avoid paper taste, allowing coffee oils and fines to shine.
Opt for a dark roast with a fine grind and rinse your filter well to enhance crema and flavor.
Keep your water temperature between 195-205°F for the ideal extraction of creamy compounds. Apply firm, consistent pressure while plunging, and try longer steep times to deepen flavor and body.
With these precise tweaks, you’ll craft a richer, fuller AeroPress espresso with impressive crema and texture every time. It’s all about experimenting a bit and finding what works best for your taste.
Give it a try—you might be surprised how close you can get to that espresso experience at home! Maintaining consistent extraction timing between 20-30 seconds can further improve crema quality and balance flavors.
Creative AeroPress Espresso Variations to Try
Mastering the basics of AeroPress espresso opens the door to exciting variations that let you tailor each cup to your preferences. Once you’re comfortable with the standard method, try experimenting to discover new flavors and textures that suit your taste.
Use different roast levels: dark for richness, light for acidity. Add spices like cinnamon or cardamom during brewing for unique flavors. You can even incorporate milk or plant-based alternatives to craft lattes, cappuccinos, or flat whites.
Brew directly over ice for an invigorating iced AeroPress espresso. Don’t be afraid to adjust grind size, brew time, and water temperature to create lungo, ristretto, or Americano-style drinks.
These variations invite you to explore and personalize every cup, making your AeroPress experience truly your own. Have fun experimenting and finding what works best for you! Remember, while AeroPress can mimic espresso, achieving authentic espresso’s high pressure extraction requires specialized equipment.
How to Clean and Maintain Your AeroPress
To keep your AeroPress brewing perfectly, it’s a good idea to rinse and take it apart after each use. This helps get rid of any coffee oils and leftover residue.
You’ll also want to give the plunger seal and chamber a good scrub every now and then. That way, you prevent any buildup that could affect your brew.
Don’t forget about the filter cap, either. Deep-cleaning it ensures no coffee grounds get trapped inside.
For an optimal coffee experience, consider using freshly brewed espresso with full crema for a richer and smoother flavor.
Daily Cleaning Routine
Because coffee oils and residue can build up quickly, you should rinse your AeroPress chamber, plunger, and filters with warm water immediately after each use. This helps prevent buildup and keeps your espresso tasting fresh.
Make sure to take apart your AeroPress by removing the plunger and filter cap. Wash each part separately to avoid mold and bacteria growth.
Use mild dish soap sometimes for stubborn stains, but always rinse everything thoroughly. Avoid abrasive scrubbers or harsh chemicals since they could damage the plastic or change the flavor.
Finally, dry all parts completely or just let them air-dry. This will help keep your AeroPress lasting longer.
Regular cleaning prevents the buildup of coffee oils and mineral deposits, ensuring hygiene and consistent flavor extraction.
- Rinse parts immediately after brewing
- Disassemble and clean each component
- Use mild soap for tough residue
- Avoid abrasive cleaning tools
- Dry parts thoroughly or air-dry
Deep Cleaning Techniques
Although regular rinsing keeps your AeroPress in good shape, deep cleaning is essential to remove stubborn coffee oils and buildup. These can affect both the flavor and performance of your brew.
Start by disassembling the plunger, brew chamber, and filter cap. Rinse everything thoroughly with warm water. Use a soft brush to clean the rubber seal and the inside of the plunger.
Next, soak all parts in a 1:1 water-vinegar solution for 30 minutes. This helps dissolve oils and residue. After soaking, make sure to rinse well.
| Step | Purpose |
|---|---|
| Disassemble & rinse | Remove loose grounds and oils |
| Brush seal & plunger | Clean hidden residue |
| Soak in vinegar mix | Break down stubborn buildup |
| Rinse & dry thoroughly | Prevent lingering flavors |
Try to follow this routine regularly to keep your AeroPress brewing at its best.
Filter Maintenance Tips
When you want your AeroPress to consistently deliver clean, vibrant coffee flavors, maintaining its filters is key. Proper care removes oils and mineral buildup that dull taste and affect performance. Here’s how to keep your filters and AeroPress in top shape:
Rinse the AeroPress and filter cap with warm water after every use to clear coffee oils.
Clean paper or metal filters with warm, soapy water, making sure no grounds remain.
Soak AeroPress parts periodically in a 1:4 vinegar-to-water solution to dissolve mineral deposits.
Gently scrub the plunger and chamber with a soft brush or sponge, avoiding abrasives.
Dry all components thoroughly before storing to prevent mold and extend durability.
Stick to these steps and you’ll guarantee every espresso shot is fresh and flavorful.
Frequently Asked Questions
Can I Use Pre-Ground Coffee for Aeropress Espresso?
Yes, you can use pre-ground coffee for AeroPress espresso, but make sure it’s very fine and fresh. Store it airtight to preserve flavor.
Grinding beans just before brewing usually gives you the best taste, though. It’s worth it if you want the fullest flavor.
How Does Altitude Affect Aeropress Espresso Brewing?
Altitude lowers pressure and boiling point, so your AeroPress espresso risks under-extraction. But don’t worry.
You can outsmart it by tweaking grind size, water temperature, and brew time. This way, you’ll unleash rich, bold flavors every time.
Is an Aeropress Espresso Shot Suitable for Espresso-Based Drinks?
Yes, you can use AeroPress espresso shots for lattes or americanos. While it lacks true crema and pressure, it delivers a rich, concentrated coffee. It works well as a quick, convenient espresso substitute for your drinks.
Can I Make Iced Espresso With the Aeropress?
Yes, you can make iced espresso with the AeroPress. Brew a strong shot using hot water, then pour it directly over ice or into a shaker with ice to chill instantly. This helps preserve the rich flavor for a revitalizing iced coffee.
It’s super simple and quick, perfect if you want a cool caffeine kick without the wait. Just make sure to use enough coffee grounds to get that bold espresso taste.
How Long Can I Store Aeropress Coffee Grounds Before Brewing?
You should use your Aeropress coffee grounds within one week for the best flavor. After two weeks, they lose much aroma.
Make sure to store them airtight, away from heat and light. This helps keep your brew fresh and vibrant.
Conclusion
Now that you’ve mastered AeroPress espresso, imagine impressing friends with rich, velvety shots during your next brunch. Just like Sarah, who switched from her bulky machine to AeroPress for quicker, delicious espresso at home, you’ll appreciate its simplicity and flavor control.
Keep experimenting with grind size and pressure. Soon, you’ll craft espresso that rivals your favorite café. With proper cleaning, your AeroPress will deliver perfect shots every time, effortlessly.