To make a cappuccino with your espresso machine, start by grinding 14-18 grams of coffee for a double shot. Extract for 20-30 seconds to get that rich crema.
Next, steam whole milk to about 150°F. Use your steam wand just below the surface and create a smooth vortex to form glossy microfoam.
Pour the espresso first, then add the steamed milk. Finish with foam on top using a slow, steady pour.
Master these steps now, and you’ll soon perfect the art of frothing and pouring like a pro. It’s easier than you think once you get the hang of it!
Prepare Your Espresso Shot for Cappuccino

Before you pull your espresso shot, make sure you grind fresh coffee beans with a burr grinder to a fine consistency ideal for espresso.
Start with freshly ground coffee beans using a burr grinder for the perfect espresso consistency.
Measure about 14-18 grams of grounds for a double shot, matching your portafilter size.
Distribute the coffee evenly, then tamp it with 15-30 pounds of pressure to create a smooth, compact bed.
This step guarantees excellent water flow and extraction.
Lock the portafilter in place and start the shot, aiming for 20-30 seconds of extraction time.
Watch for a thick, golden crema on top. That’s a sign of a well-balanced shot.
Avoid under-extraction, which tastes sour and weak, or over-extraction, which turns bitter and harsh.
Perfect your espresso, and you’ll have the ideal base for a delicious cappuccino.
Keep in mind that a double shot typically contains about 70 to 120 mg of caffeine, providing a strong and energizing foundation for your drink.
Choose the Right Milk and Steam It Perfectly for Your Cappuccino
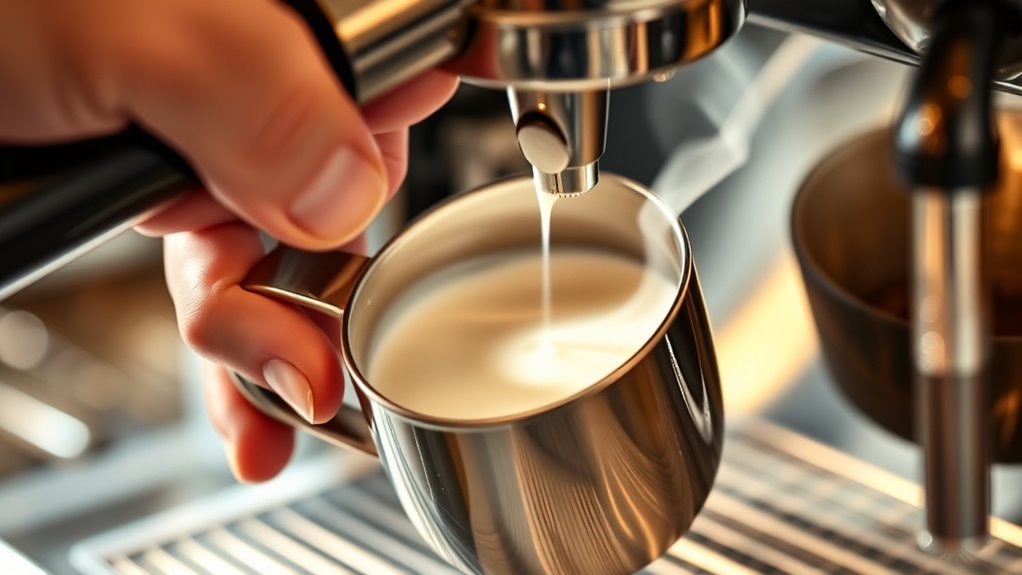
Although choosing the right espresso shot is essential, selecting and steaming your milk correctly transforms your cappuccino into a creamy masterpiece. Use whole milk for its smooth texture and heat it to about 150°F (65°C) to keep sweetness intact while frothing.
Position your steam wand just below the milk surface and tilt the pitcher at 45 degrees to create a vortex, encouraging fine bubbles. After steaming, tap and swirl the pitcher to eliminate large bubbles and refine the foam before pouring.
Controlling portion size is important, as using accurate measurements can help manage your overall caffeine intake and avoid unwanted jitters.
| Step | Tip |
|---|---|
| Milk choice | Whole milk for creamy, glossy microfoam |
| Heating temperature | Heat to 150°F (65°C) to avoid scalding |
| Steaming technique | 45° tilt, just under surface for vortex |
Create Silky Microfoam With Your Steam Wand
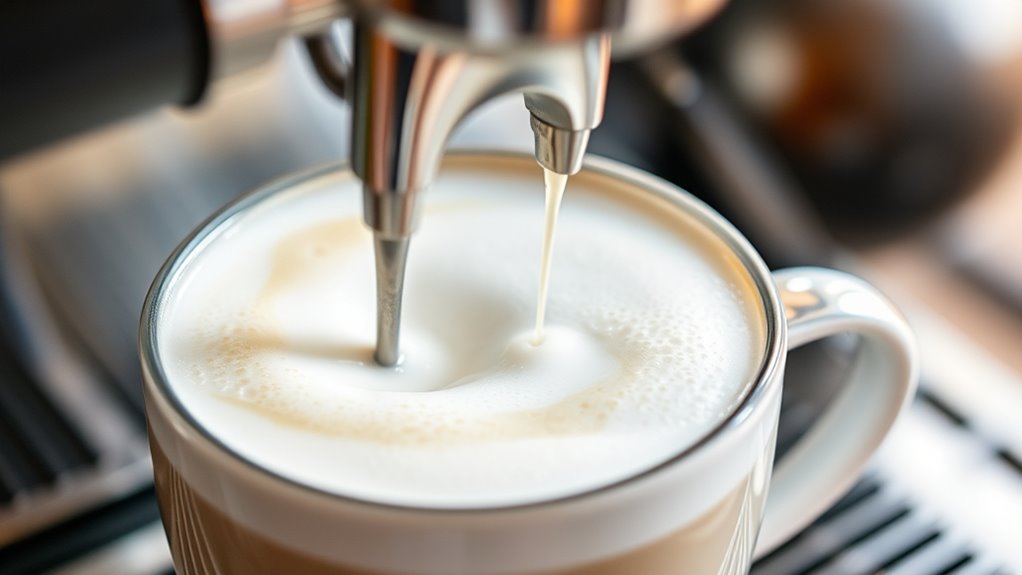
Steaming your milk properly sets the stage, but creating silky microfoam takes careful control of your steam wand. Position the wand just below the milk surface and open the steam valve gently to introduce air, avoiding harsh bubbles. Keep the milk swirling in the pitcher, forming a smooth vortex that breaks down larger bubbles into tiny, uniform ones.
Master the steam wand to create silky microfoam by gently introducing air and swirling milk into a smooth vortex.
Hold the wand at a 45-degree angle and slightly off-center to optimize aeration and foam quality. Heat the milk to about 145°F, making sure the foam stays glossy and smooth without big bubbles.
Once done, tap the pitcher firmly on a surface and swirl the milk to eliminate any remaining large bubbles. This leaves you with a velvety, microfoam-perfect texture for your cappuccino.
It might take a little practice, but once you get the hang of it, your drinks will taste that much better! Remember to stop steaming before the milk reaches scalding temperature to preserve its natural sweetness and texture.
Combine Espresso and Steamed Milk for a Classic Cappuccino
Start by pouring your espresso into the cup, filling about one-third to set a strong base.
Then, give your steamed milk a gentle swirl to mix in the microfoam before you pour it steadily into the espresso. This helps create that smooth, creamy texture we all love.
Finally, just spoon the frothy milk foam on top to finish your classic cappuccino with its signature cap. Easy and delicious!
Using an espresso machine with consistent pressure between 15-20 bars ensures optimal flavor extraction for your cappuccino.
Espresso Pouring Techniques
When you pour espresso into your cup, keeping a steady, controlled flow sets the foundation for a smooth cappuccino. Start by tilting the cup slightly and pouring the steamed milk slowly into the espresso’s center. This begins the layering process.
As the cup fills, level the pour and slow down to blend milk and espresso evenly.
When it’s about half full, bring the pitcher closer to the surface to add foam and create a nice layered effect.
Finally, gently top with microfoam. You can use a flicking wrist motion for latte art if you like.
Follow these key steps:
- Pour espresso steadily for a smooth base.
- Layer milk slowly, adjusting tilt and pour speed.
- Add foam near the top for texture and visual appeal.
Ensuring your espresso shot is extracted within the ideal 25-30 second timing helps develop balanced flavor that complements the milk.
Milk Steaming And Frothing
Although achieving the perfect cappuccino requires attention to detail, mastering milk steaming and frothing is essential to bring together espresso and steamed milk flawlessly.
Begin by steaming your milk to about 145°F, focusing on creating microfoam with tiny, stable bubbles.
Position the steam wand just below the milk’s surface to introduce air and develop a dense, velvety texture.
After steaming, swirl the milk pitcher to refine the foam and guarantee even distribution.
When pouring, layer the steamed milk carefully over the espresso to balance richness and strength.
Finally, use a spoon to gently lay the foam on top, creating a smooth, consistent layer that complements the espresso’s bold flavor.
Using a doppio espresso as the base enhances the cappuccino with a richer flavor and stronger caffeine content.
Pour Like a Barista for Perfect Cappuccino Foam
Because pouring milk with control is key to achieving that perfect cappuccino foam, you’ll want to tilt the cup slightly in your non-dominant hand to manage the flow better.
Start by pouring steamed milk from a higher position into the espresso’s center to create a smooth, even layer.
As the cup fills, lower the pitcher gradually, maintaining a steady stream to build the foam on top.
Follow these steps:
- Tilt the cup for better flow control.
- Pour from high to low, starting at the center.
- Use a gentle wrist wiggle to craft latte art designs, like hearts or rosettas.
Pour slowly and steadily to ensure the foam blends seamlessly with the espresso.
This way, you’ll deliver a balanced, visually appealing cappuccino every time.
Keep in mind that espresso has a high caffeine concentration per ounce, so controlling the amount you use is important for managing your caffeine intake.
Perfect Your Cappuccino and Avoid Common Mistakes
To perfect your cappuccino, you’ll want to get the hang of a few key techniques, like pulling a great espresso shot and frothing your milk just right. It’s all about using whole milk steamed to the perfect temperature—too hot or too cold can throw things off.
And when you pour, take your time. Pouring with control helps keep everything balanced, so your foam stays creamy and consistent every single time.
Paying attention to these little details really makes a difference and takes your cappuccino to the next level. Understanding the caffeine content in espresso can also help you tailor your drink to your desired stimulant effect.
Common Frothing Errors
When frothing milk for your cappuccino, small mistakes can quickly undermine your efforts and affect both texture and taste. Avoid these common errors to achieve silky microfoam every time.
- Over-steaming: Heating milk too long creates large bubbles and a grainy texture. This destroys the smooth foam that’s essential for a balanced cappuccino.
- Incorrect milk temperature: Starting with milk that’s too cold or frothing milk past 65°C (149°F) disrupts foam formation. This results in inconsistent texture.
- Neglecting steam wand prep and post-froth steps: Always purge the steam wand before use to prevent water dilution.
After steaming, swirl and tap the pitcher to break large bubbles and unify the foam.
Master these details to perfect your milk frothing and elevate your cappuccino’s flavor and presentation. It really makes a difference! Regularly descaling the steam wand also helps maintain optimal steam pressure and prevents mineral buildup that can affect frothing performance.
Espresso Extraction Tips
Although mastering milk frothing is essential, your cappuccino won’t shine without perfectly extracted espresso. Aim to pull your shot within 20-30 seconds to capture ideal flavor and a rich crema.
Use a well-calibrated grinder to achieve a fine, consistent grind tailored to your espresso machine.
When tamping, apply even pressure between 15 and 30 pounds to ensure uniform extraction.
If your espresso tastes sour or bitter, adjust the grind size and shot time accordingly to avoid under- or over-extracting.
Don’t overlook your machine’s temperature and pressure stability. Fluctuations here can ruin the flavor balance.
Observe the thick, golden-brown crema and aroma before brewing to gauge the quality and freshness of your espresso.
Milk Pouring Techniques
Mastering milk pouring techniques transforms your cappuccino from good to exceptional by ensuring a smooth, velvety foam layer that complements your espresso.
To perfect your pour, start by tilting the cup slightly; this gives you better control and precision for latte art.
Begin pouring milk from the center of the espresso, then gradually lower the pitcher as the cup fills, forming an even foam layer.
Maintain a steady, slow pour to avoid breaking foam or creating large bubbles.
Use a gentle wrist motion when creating patterns like hearts or rosettas, starting high and finishing close to the surface.
Avoid pouring too fast or from too high to keep your cappuccino creamy and visually appealing.
- Tilt the cup for control.
- Pour steadily from center, lowering pitcher gradually.
- Use wrist motion for latte art patterns.
Frequently Asked Questions
Can I Use Non-Dairy Milk for Cappuccino?
Yes, you can use non-dairy milk for cappuccinos. Oat and soy milk froth best, offering creamy, stable foam.
It’s a good idea to choose barista or fortified versions. These guarantee a rich texture and lasting foam for your perfect cup.
Give it a try and see which one you like best!
How Do I Clean the Espresso Machine After Making Cappuccino?
You should flush the steam wand and group head with hot water immediately after making your cappuccino. This helps clear out any milk residue and coffee grounds that might be stuck.
Next, scrub the wand tip with a brush to make sure it’s completely clean. Don’t forget to clean the portafilter and drip tray as well. These parts can get pretty messy, so giving them a good rinse is important.
Lastly, run periodic descaling cycles to keep your espresso machine in top shape. This prevents mineral buildup and keeps everything running smoothly. Taking these steps regularly will make a big difference in the taste and quality of your coffee.
What’s the Ideal Cup Size for Serving Cappuccino?
Imagine savoring a perfectly balanced cappuccino in a 6-ounce cup. You’ll want that size. It keeps espresso, milk, and foam in harmony, delivering rich flavor without dilution.
It also preserves the classic, satisfying experience every time.
Can I Make Cappuccino Without a Steam Wand?
Yes, you can make cappuccino without a steam wand by heating milk and frothing it manually, shaking it in a jar, or using a French press. Your foam won’t be perfect, but it’ll still taste great.
It’s actually pretty simple once you get the hang of it. Just warm your milk gently—don’t let it boil—and then froth it up using whichever method you prefer. You’ll get that creamy texture that makes cappuccinos so enjoyable.
How Long Should I Wait Before Drinking a Cappuccino?
Why rush a perfect cappuccino? You should wait about 1 to 2 minutes before drinking. This gives the temperature time to settle around 130°F.
That way, you avoid burns and get to enjoy the rich, stable foam. Plus, the flavors will be more balanced and delicious.
Conclusion
Now that you know how to craft the perfect cappuccino with your espresso machine, you can turn every cup into a moment of joy. Remember, the secret isn’t just in the espresso or steamed milk. It’s in the silky microfoam that brings them together.
Don’t be afraid to experiment and perfect your technique. Every attempt brings you closer to barista-level skill. Trust the process, and soon your cappuccinos will be as comforting as a warm hug on a chilly morning.