To make espresso with a stovetop, use a Moka pot with medium-fine coffee grounds, filling the filter basket without tamping. Add cold water just below the safety valve in the bottom chamber, then securely assemble the pot. Place it on medium-low heat, keeping the lid closed, and listen for a steady coffee flow.
Once the sputtering slows, remove it from heat for rich, bold espresso. Follow these steps to master brewing, maintenance, and troubleshooting for perfect results every time. It’s easier than you might think, and once you get the hang of it, you’ll love the coffee you make at home. Give it a try and enjoy your espresso!
What Is a Moka Pot and Why Choose It?
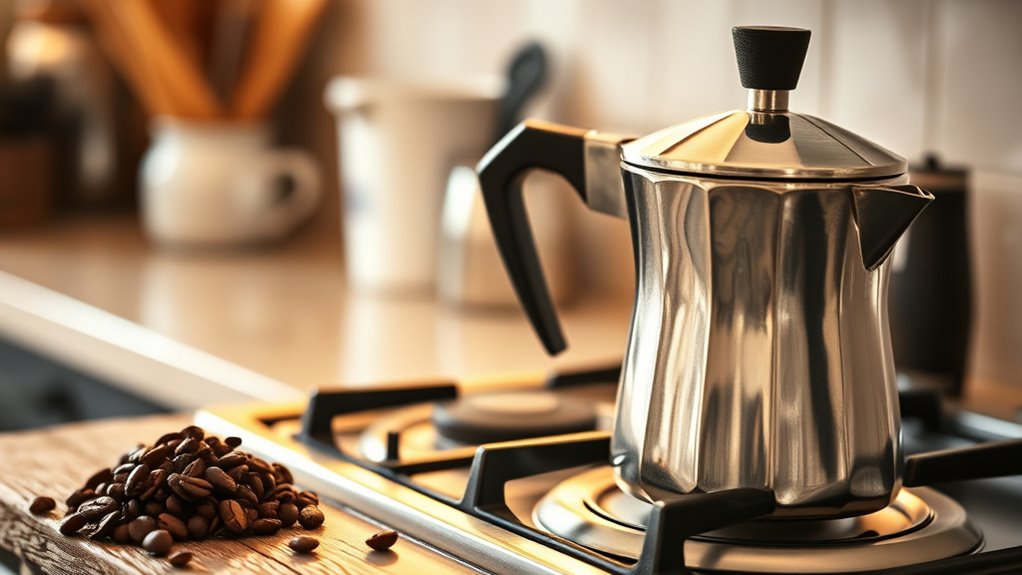
Although it’s not a traditional espresso machine, a Moka pot offers a convenient way to brew strong, espresso-like coffee right on your stovetop. Invented in Italy in 1933, it uses steam pressure, about 1-2 bars, to push hot water through coffee grounds, producing a rich, bold brew.
Its design is simple: a bottom chamber holds water, a funnel carries the grounds, and the top chamber collects the coffee.
While it doesn’t reach the high pressure of espresso machines, it still delivers a robust, aromatic cup. You’ll find Moka pots in aluminum or stainless steel, each with unique heat conduction and durability benefits.
Choosing one means you get an affordable, compact, and easy-to-use device that brings intense coffee flavor to your kitchen without fuss. Although the Moka pot doesn’t produce traditional espresso, understanding espresso yield basics can help you optimize your brew strength and flavor.
Choose and Prepare Coffee Grounds for Espresso
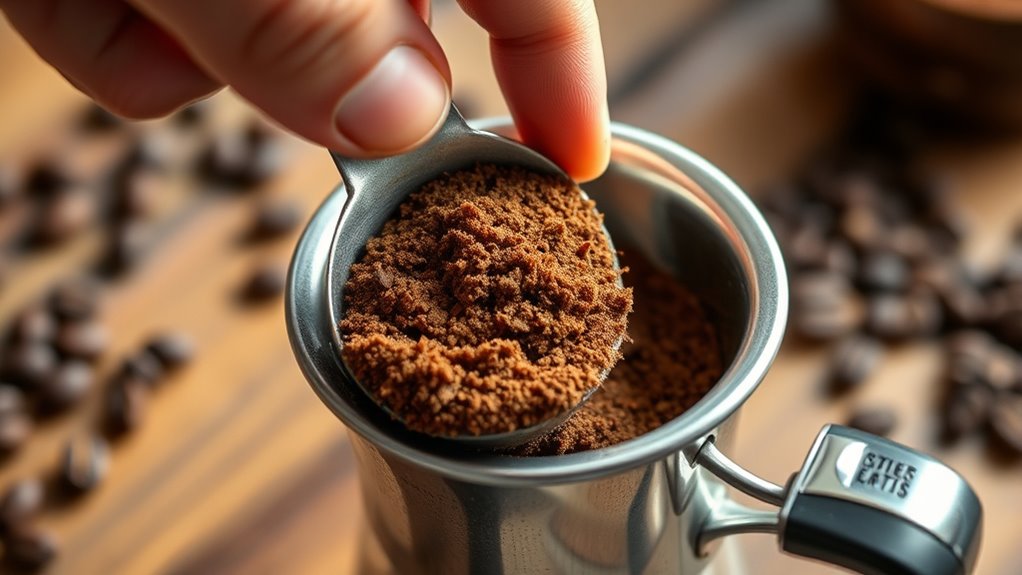
You’ll want to use a medium-fine grind—finer than drip but coarser than espresso—to get the best extraction from your stovetop espresso maker.
Just fill the filter basket completely and level the grounds with your finger.
But don’t tamp them down, since that can mess with the water flow.
Getting the measurement just right and spreading the grounds evenly are key to a balanced, flavorful brew every time.
Adjusting the grind size properly helps optimize extraction time and flavor balance for stovetop brewing, similar to how it affects espresso extraction.
Grind Size Selection
When preparing coffee grounds for stovetop espresso, choosing the right grind size is essential to achieving a rich and balanced extraction. Use a burr grinder to get a consistent, fine grind that’s coarser than traditional espresso but finer than drip coffee.
Avoid pre-ground coffee meant for drip machines. It’s too coarse and will produce a weak brew.
Grind your beans just before brewing to lock in the fresh flavors and prevent oxidation, which dulls aroma. If your coffee flows too quickly or slowly during brewing, tweak the grind size gradually until you find the sweet spot. This careful adjustment guarantees the best extraction.
It delivers the bold, balanced taste you want from your stovetop espresso. Just keep experimenting a bit, and you’ll get there!
Also, maintaining a consistent grind size and tamp pressure is key to achieving a balanced shot within the ideal extraction time of 25-30 seconds, ensuring optimal flavor and crema quality.
Proper Coffee Measurement
Since proper coffee measurement directly influences the strength and flavor of your stovetop espresso, it’s essential to use the right amount of grounds for your moka pot.
For a 3- to 6-cup moka pot, measure about 20 grams of medium-fine coffee, finer than drip but coarser than espresso, to guarantee balanced extraction.
Fill the filter basket evenly without tamping or pressing; just level the grounds gently.
Avoid overfilling, as it can clog the filter and disrupt pressure buildup, ruining your brew.
Always use fresh, high-quality coffee grounds to release richer aromas and fuller flavor.
Achieving a consistent coffee to water ratio is key to controlling the strength and flavor profile of your stovetop espresso.
Fill the Moka Pot’s Bottom Chamber With Water
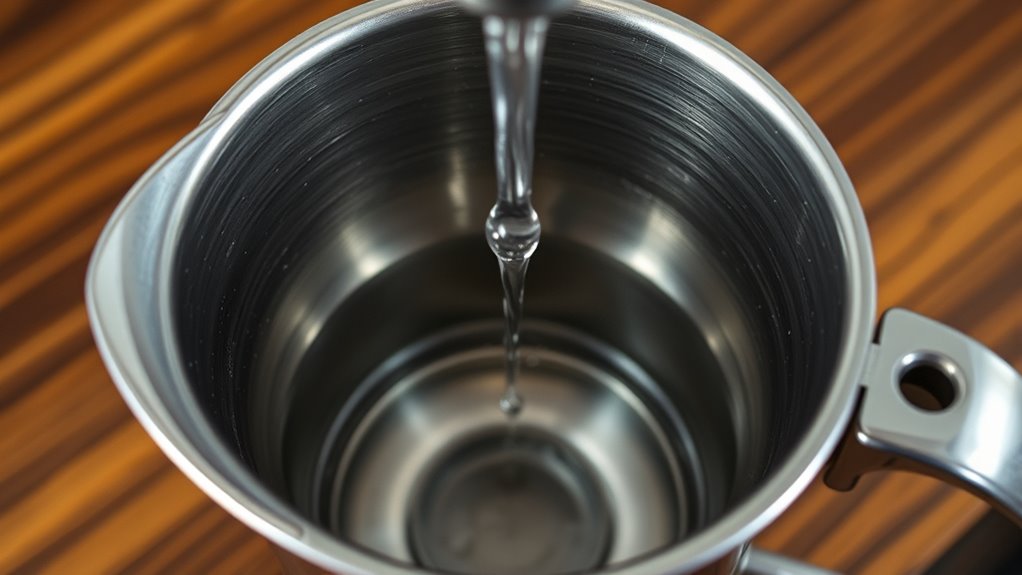
Start by filling the moka pot’s bottom chamber with cold or preheated water. Just stop right below the safety valve to make sure the pressure stays just right.
Using preheated water actually speeds up the brewing process and helps avoid that bitter, over-extracted taste.
Be careful not to overfill it. It’s best to measure gradually so the water level stays perfect and you don’t run into any leaks or safety problems.
Controlling the water temperature between 195°F and 205°F helps optimize extraction and flavor balance even in stovetop brewing.
Use Cold Or Preheated
Although you can speed up the brewing process by preheating the water, it’s best to fill the moka pot’s bottom chamber with cold or room temperature water just below the safety valve. Using cold water ensures proper pressure buildup and prevents premature heating of the metal components. This protects the safety valve’s integrity during brewing.
Cold water also helps avoid over-extraction, which can cause bitter flavors. That means you get a smoother espresso.
While preheating water slightly can reduce brewing time, always avoid overfilling to maintain safety and ideal pressure.
Sticking to cold or room temperature water promotes consistent brewing temperature. This gives you better control over the process and ultimately delivers a richer, more balanced espresso shot every time. It’s a simple step that makes a big difference!
Additionally, maintaining the correct brew temperature is crucial for extracting balanced flavors and preventing bitterness or sourness in your espresso.
Water Level Guidelines
When filling the moka pot’s bottom chamber, you’ll want to add cold water up to just below the safety valve to maintain proper pressure and guarantee safety. Using preheated water can speed up brewing but never exceed the valve level. Overfilling risks leaks and dangerous pressure buildup.
Always double-check the water level before assembly to avoid issues.
Here’s a quick guide for common moka pot sizes:
| Moka Pot Size | Water Volume | Safety Tip |
|---|---|---|
| 3-Cup | ~150 ml | Fill below safety valve |
| 6-Cup | ~300 ml | Use cold or preheated water |
| Any Size | N/A | Never overfill chamber |
Stick to these guidelines for safe, efficient espresso brewing every time. It really helps make sure everything goes smoothly. The pressure created by the water level directly influences caffeine extraction and the overall espresso quality.
Securely Assemble Your Moka Pot for Brewing
How exactly do you guarantee your moka pot is securely assembled for brewing? Start by inspecting essential components to assure a flawless seal and safe operation. Follow these precise steps:
First, check the rubber gasket and safety valve for proper seating and any damage. Replace them if they look worn out.
Begin by inspecting the rubber gasket and safety valve for damage or improper fit, replacing if worn.
Next, position the filter basket correctly and make sure it sits level inside the bottom chamber.
Now, twist the top and bottom chambers together firmly until you achieve a tight seal. Be careful not to overtighten because that can damage the threads or the gasket.
Finally, examine all parts for cracks or wear regularly. This helps maintain an effective seal and prevents leaks. For consistent flavor and optimal extraction, using fresh coffee grounds and maintaining clean equipment is essential to avoid bitterness and ensure a smooth brew, similar to the care needed for maintaining fresh espresso crema.
Heat the Pot and Watch It Brew
With your moka pot securely assembled, it’s time to place it on the stove over medium-low heat. This gentle setting ensures a gradual buildup of pressure, allowing the coffee to brew evenly. Keep the lid closed so you can observe the process without losing pressure.
Listen closely for a bubbling, gurgling sound; this means the espresso is being pushed up into the upper chamber.
You’ll see a steady stream of coffee flowing from the spout, signaling brewing is almost done.
Once the sputtering sound tapers off, remove the pot to avoid over-extraction and bitterness.
For the best flavor, use freshly roasted beans ground to a fine, consistent texture before brewing.
Know When Your Espresso Is Ready to Serve
As the brewing sounds shift to a steady gurgle or bubble, you’ll know your espresso is ready to serve. This signals the flow has slowed or stopped, and it’s time to act quickly.
To guarantee perfect espresso:
To guarantee perfect espresso, watch and listen carefully for the signs of readiness before removing from heat.
- Check the top chamber. Coffee should fill up to the spout without sputtering or splashing.
- Listen for the flow to become thin and wispy, with no more coffee rising.
- Remove the moka pot from heat immediately to prevent over-extraction and bitterness.
- Visually confirm a rich, dark espresso with a slight sheen or crema-like layer on top.
Keep an eye and ear out during this stage—it really makes all the difference. Once you spot these signs, you’re good to go! Proper brewing involves precise grind size, tamping, and extraction time to ensure optimal flavor and caffeine content.
Clean, Maintain, and Troubleshoot Your Moka Pot
Though brewing the perfect espresso is rewarding, maintaining your moka pot is essential to keep it performing at its best. After each use, disassemble and rinse all parts with warm water. Skip soap or the dishwasher to protect the pot’s natural coating.
Check the safety valve regularly to verify it’s clear and working properly. This helps maintain safe pressure. Replace gaskets and seals every six months or whenever you spot wear to avoid leaks.
To prevent mineral buildup, descale monthly by running a solution of equal parts white vinegar and water through the pot. This is especially important if you have hard water.
These simple steps help you troubleshoot common issues and guarantee that each espresso you brew tastes fresh and rich.
Frequently Asked Questions
Can I Use Cold Water Instead of Pre-Heated Water?
You can use cold water, but it’ll increase brewing time and risk uneven extraction. This can result in weaker or bitter espresso.
Using pre-heated water guarantees a richer, balanced flavor. It also helps avoid over-extraction or burning during brewing.
What Type of Stovetop Works Best for a Moka Pot?
You’ll get the best results using a gas stove with adjustable flames, giving you precise heat control.
Stainless steel Moka pots work well on induction cooktops. Flat electric coils and stable ceramic tops also brew consistently.
How Do I Store Coffee Grounds to Keep Them Fresh?
Think of your coffee grounds as delicate treasure. Store them airtight in a cool, dark spot. Don’t refrigerate because moisture kills flavor.
Try to use them within two weeks. That way, you’ll keep that rich, fresh aroma every time. It really makes a difference!
Can I Use a Moka Pot to Make Tea?
You shouldn’t use a moka pot for tea because it over-extracts tannins, causing bitterness. Plus, tea leaves can clog the filter or even damage some parts.
It’s really better to stick to a teapot or an infuser. That way, you get a proper, flavorful brew without any hassle. Trust me, your tea will thank you!
What Safety Precautions Should I Take While Brewing?
Think of your moka pot as a pressure cooker’s delicate cousin. You’ve got to check the safety valve and avoid overfilling. Using medium-low heat is key to keeping things safe.
Make sure to let it cool before cleaning. And don’t forget to replace gaskets regularly to keep everything running smoothly. Taking these steps will help you brew safely and enjoy your coffee without any hassle.
Conclusion
Now that you know how to make espresso with a stovetop Moka pot, you’re set to enjoy rich, bold coffee anytime. Did you know that over 60% of Italian households use a Moka pot daily? That just goes to show its lasting popularity and convenience.
With just a few simple steps, you can brew café-quality espresso right at home. Remember, practice and care keep your Moka pot performing perfectly. So, savor each cup and keep experimenting!