To brew espresso with a moka pot, start by filling the bottom chamber with filtered water just below the safety valve. Add medium-fine coffee grounds to the filter basket without tamping, then assemble and tighten the pot securely.
Place it on medium heat and listen for a gentle gurgle signaling the extraction’s end. Remove it to avoid bitterness. Pour immediately and enjoy rich, aromatic coffee.
Follow these basics, and you’ll master the art of moka pot brewing with ease and precision. It’s really that simple once you get the hang of it!
Get Your Moka Pot and Ingredients Ready
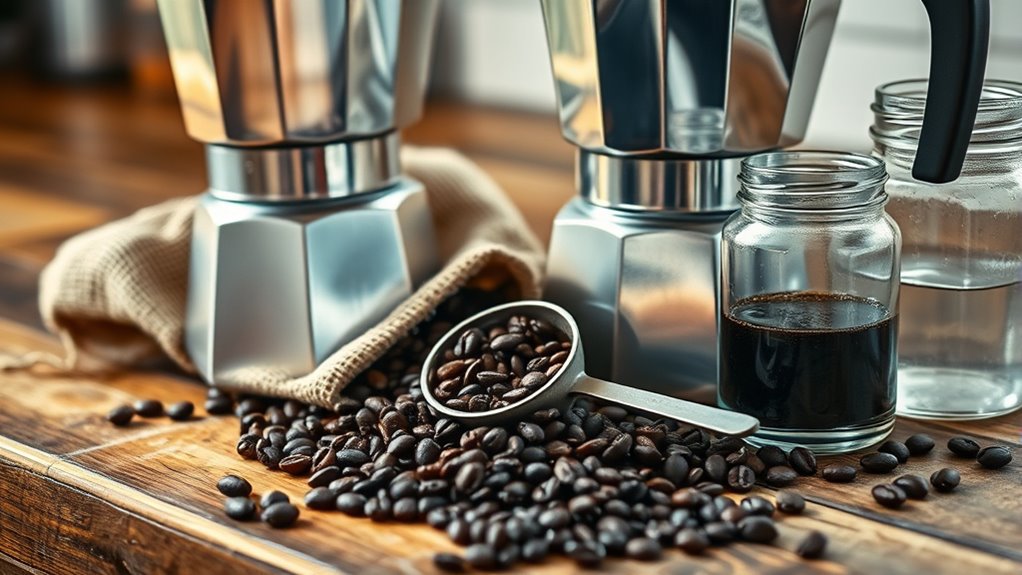
Before you start brewing, make sure you have a high-quality moka pot. Aluminum or stainless steel works best. Also, check that all its parts are clean and intact. Take a moment to inspect the gasket and filter for any wear or residue to avoid leaks or bitter flavors.
Next, use freshly ground coffee with a medium-fine consistency, kind of like table salt. This helps you get the best extraction.
Have cold, filtered water ready to fill the bottom chamber up to the safety valve or the designated fill line.
Prepare a clean espresso cup so you can enjoy your coffee right after brewing.
And make sure all your ingredients and equipment are within easy reach. This way, you can move smoothly through each step without any interruptions.
Getting everything ready like this really sets you up for a perfect moka pot espresso experience. Maintaining a consistent grind size is key to controlling extraction time and achieving balanced flavor.
Fill the Moka Pot Bottom Chamber With Water
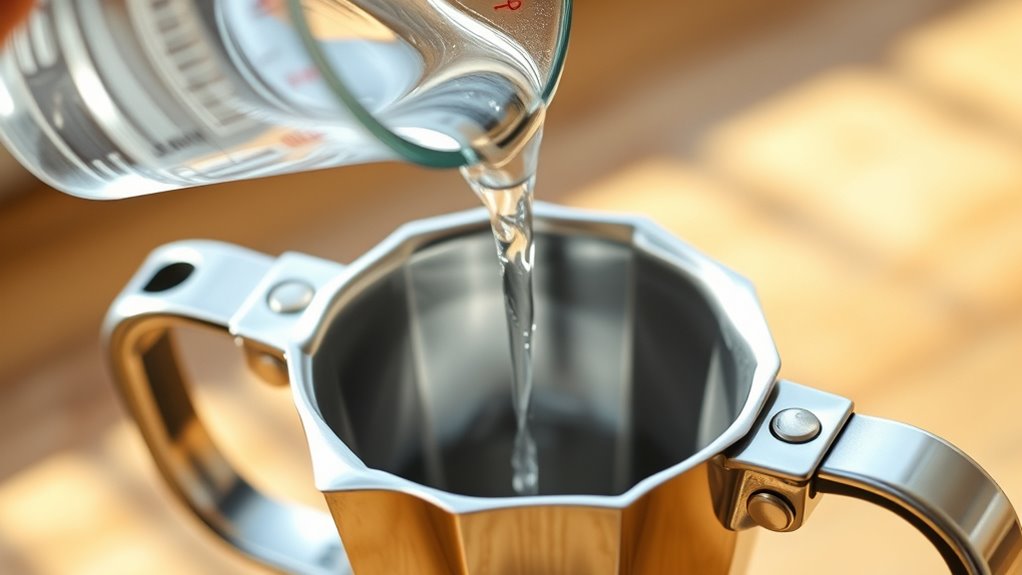
Start by filling the bottom chamber with cold, filtered water just below the safety valve. This helps guarantee proper pressure and prevents leaks.
Be careful not to overfill it, because that can cause damage or spills during brewing.
Keeping the water level just right means you’ll get the perfect extraction every time. Maintaining the correct water level is crucial for achieving the ideal pressure of around 9 bars needed for optimal espresso extraction.
Water Level Guidelines
How much water should you add to the bottom chamber of your moka pot? Fill it just up to the safety valve or the marked line. Overfilling can cause excessive pressure, leading to safety risks and poor extraction. Always keep the water below the valve before securing the top chamber.
Slightly preheating the water can speed up brewing and enhance flavor, but never exceed the valve level. Fresh water guarantees clean, balanced coffee without burnt notes.
Using filtered or low-mineral water is recommended to prevent mineral buildup and protect your equipment, which aligns with best practices for maintaining water quality.
| Guideline | Reason |
|---|---|
| Fill to safety valve | Ensures ideal pressure and safety |
| Avoid overfilling | Prevents excessive pressure buildup |
| Use fresh water | Avoids burnt flavors, guarantees proper extraction |
Cold Water Usage
Why should you always fill the bottom chamber of your moka pot with cold, fresh water? Starting with cold water ensures a controlled, gradual heating process. This helps extract the best flavors from your coffee grounds.
Cold water also prevents burning or bitterness that can happen if the water is too hot from the start. Fill the chamber just below the safety valve to keep proper pressure and avoid leaks.
Using hot or pre-heated water risks uneven brewing and can damage the gasket over time. That reduces your moka pot’s lifespan. Starting with cold water supports a controlled extraction process, which is essential for balanced flavor development.
Avoid Overfilling Chamber
Although it might seem minor, filling the bottom chamber of your moka pot just below the safety valve is essential for proper pressure buildup.
Overfilling past this valve can cause leaks and disrupt the brewing process, so always measure carefully.
For a standard 3-cup moka pot, about 120ml of water is ideal.
Make sure the water level stays below the valve to keep it unblocked, ensuring safe operation.
Filling beyond the valve risks spillage and prevents the moka pot from generating the necessary pressure to push water through the coffee grounds effectively.
While a moka pot does not produce the approximately 9 bars pressure of an espresso machine, maintaining the correct water level helps optimize extraction and flavor.
Add Properly Ground Coffee to Your Moka Pot
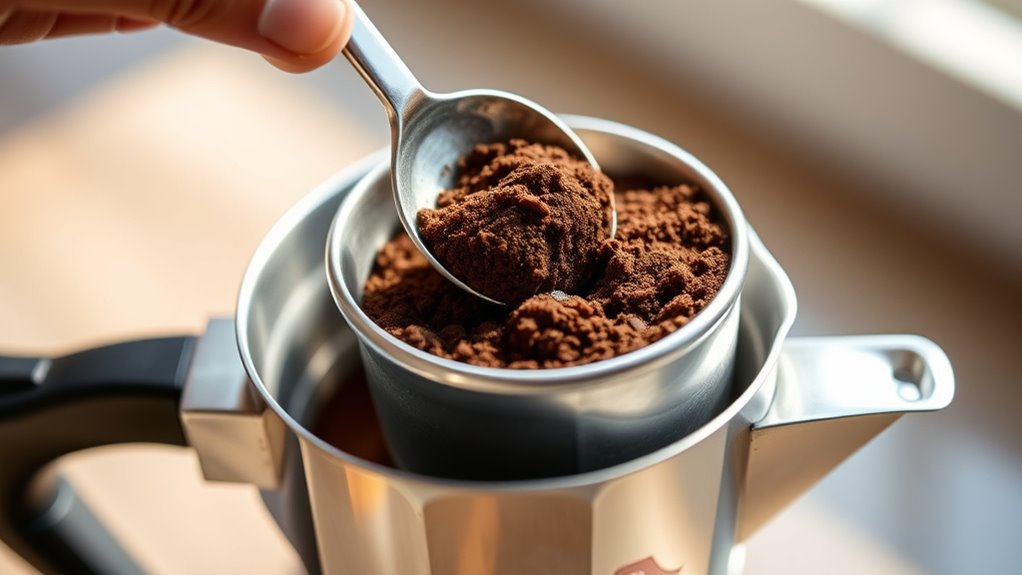
When you add coffee to your moka pot, use medium-fine grounds that resemble table salt in texture to get the best extraction. Fill the filter basket completely but don’t tamp the coffee. Instead, level the grounds gently to make sure water flows evenly without packing them down. Packing can cause too much pressure.
Avoid overfilling the basket. Keep the grounds slightly below the rim so there’s room for the coffee to expand during brewing.
Using fresh, evenly ground coffee helps keep the flavor consistent and prevents the filter from clogging. This careful approach makes sure your moka pot brews smoothly, giving you rich, balanced espresso without leaks or pressure problems.
Proper coffee prep is really the key to getting the most out of your moka pot. Adjusting grind size within the ideal micron range can significantly improve extraction time and flavor balance.
Assemble the Moka Pot and Secure the Seal
Before assembling your moka pot, make sure the rubber gasket and metal filter are clean and properly seated to guarantee a tight seal.
Fill the bottom chamber with water just below the safety valve. Avoid overfilling to prevent leaks.
Next, insert the funnel filled with your coffee grounds into the base. Level it gently without tamping to maintain the right pressure.
Now, screw the top and bottom parts together tightly, ensuring the sealing ring and gasket are correctly aligned and free of debris.
Tighten the lid securely but don’t use excessive force, as this can damage the seal and compromise the brewing process.
Taking these steps assures your moka pot stays airtight and ready for a perfect espresso extraction. Just a bit of care here makes all the difference! Proper extraction time is crucial for optimal flavor and crema quality, which can be impacted even when using a moka pot, so monitoring your brew process is essential for the best results with your espresso extraction.
Brew Moka Pot Coffee on Medium Heat Until Gurgling
Place your moka pot on medium heat to make sure the pressure builds up steadily and you don’t get any burnt flavors.
Keep an ear out for that gurgling sound—that’s your signal the coffee is almost ready. Once you hear it, take the pot off the heat right away to keep that rich, balanced flavor just the way you want it.
Maintaining the right temperature control is essential to avoid bitterness and preserve the coffee’s flavor.
Medium Heat Brewing
Although brewing your moka pot on high heat might seem faster, using medium heat is essential for extracting a smoother, richer coffee. Medium heat lets the water warm up gradually, which prevents burnt flavors and helps get a balanced extraction.
This steady temperature also helps pressure build slowly, so the coffee flows evenly through the grounds and develops a fuller aroma.
If the heat is too high, the water boils vigorously and causes over-extraction, making the coffee bitter. By keeping the heat consistent and medium, you avoid those problems and get a rich, full-bodied espresso-like brew.
As the coffee nears completion, you’ll notice changes in the sound and flow. That’s your cue to remove the moka pot from the heat to keep the ideal flavor profile.
Maintaining a stable water temperature range helps ensure balanced extraction and prevents bitterness or sourness in your brew.
Recognizing Gurgling Sounds
As you maintain medium heat, pay close attention to the sounds coming from your moka pot. The gurgling noise signals that the brewing process is almost complete, as water pressure pushes coffee into the upper chamber. When you hear a steady, gentle gurgle, it means extraction is near its end. It’s time to remove the pot from heat to avoid over-extraction and bitterness.
Loud or erratic gurgles, however, could indicate overheating or blockages, so watch carefully. This phase happens as the last water moves through the grounds, and the flow is about to stop. Proper brewing techniques, including controlling heat and extraction time, are key to achieving optimal flavor and caffeine content in your coffee.
Pour, Serve, and Clean Your Moka Pot Properly
When you pour your moka coffee, do so carefully into preheated cups to keep its heat and flavor. Using a spoon to transfer the foam can really boost both the aroma and texture. Serve it right away to enjoy the fresh moka’s perfect temperature and rich scent.
After you’re done, take apart your moka pot and rinse all the parts with warm water. Avoid using soap because it can mess with the internal patina. Make sure to dry everything thoroughly to stop oxidation and mold from forming, especially on the rubber gaskets and seals.
It’s a good idea to regularly check and replace any worn parts. This helps maintain a good seal and keeps your brewing quality on point.
| Step | Action | Tip |
|---|---|---|
| Pour | Into preheated cups | Use a spoon for foam |
| Serve | Immediately after pouring | Preserve aroma and heat |
| Clean | Rinse with warm water | Avoid soap to keep patina |
| Maintain | Inspect and replace parts | Prevent leaks and ensure quality |
Frequently Asked Questions
Can I Use a Moka Pot on an Induction Stove?
You can use a moka pot on an induction stove only if it’s stainless steel or has a magnetic base. Otherwise, you’ll need an induction-compatible adapter plate to guarantee it heats properly and brews your espresso.
If your moka pot isn’t made for induction, don’t worry. Just grab one of those adapter plates, and you’re good to go. It’s a simple fix to get that perfect cup of espresso without any hassle.
How Do I Descale My Moka Pot?
Think of descaling your Moka pot as giving it a fresh breath. Fill the bottom chamber with equal parts vinegar and water. Then brew as you normally would.
After that, rinse everything thoroughly with plain water. This helps keep your coffee tasting crisp and clean. It’s a simple step that makes a big difference!
What Grind Size Is Best for a Moka Pot?
You want a medium-fine grind, similar to table salt, for your moka pot. It guarantees proper water flow and balanced extraction, avoiding clogging or weak coffee.
Adjust grind size regularly to perfect your brew’s flavor. It’s a simple way to make sure your coffee tastes just right every time. Give it a try and see how it changes your cup!
Can I Reuse Coffee Grounds in a Moka Pot?
You wouldn’t want to reuse coffee grounds in your moka pot. It’s like expecting a wilted flower to bloom again.
Fresh grounds deliver rich flavor, prevent clogs, and keep your coffee tasting vibrant and clean every single time. Trust me, your moka pot and your taste buds will thank you!
How Long Does a Moka Pot Last With Regular Use?
Your moka pot can last 5 to 10 years with regular use if you clean it properly. Make sure to replace the gaskets every few years to keep it working well. Avoid over-tightening the parts, as that can cause damage.
Also, always store your moka pot dry to prevent any rust or corrosion. If you have an aluminum pot, it might even last longer with good care. Just treat it gently and keep it clean, and you’ll enjoy great coffee for years!
Conclusion
So, there you have it, your “espresso” from a humble moka pot, proving you don’t need a fancy machine to feel like a barista.
Sure, it’s not quite the velvety crema you’d get from a pricey espresso maker, but that’s part of the charm. With just water, coffee, and a bit of patience, you’ve mastered a brewing method that’s as old-school as it is satisfying.
Who knew simplicity could taste this good?