To make espresso powder easily, start by collecting fresh used espresso grounds right after brewing to preserve flavor. Spread them thinly on a parchment-lined baking sheet and dry in the oven at 175°F (80°C) for 1–3 hours. Make sure to stir them regularly until they’re crisp.
Once cooled, grind the dried grounds finely using a coffee grinder. Then, store the powder airtight in a cool, dark place. This simple process intensifies chocolate flavors and adds depth.
Give it a try and explore further to master customization and storage tips.
What Is Espresso Powder and Why Use It in Baking
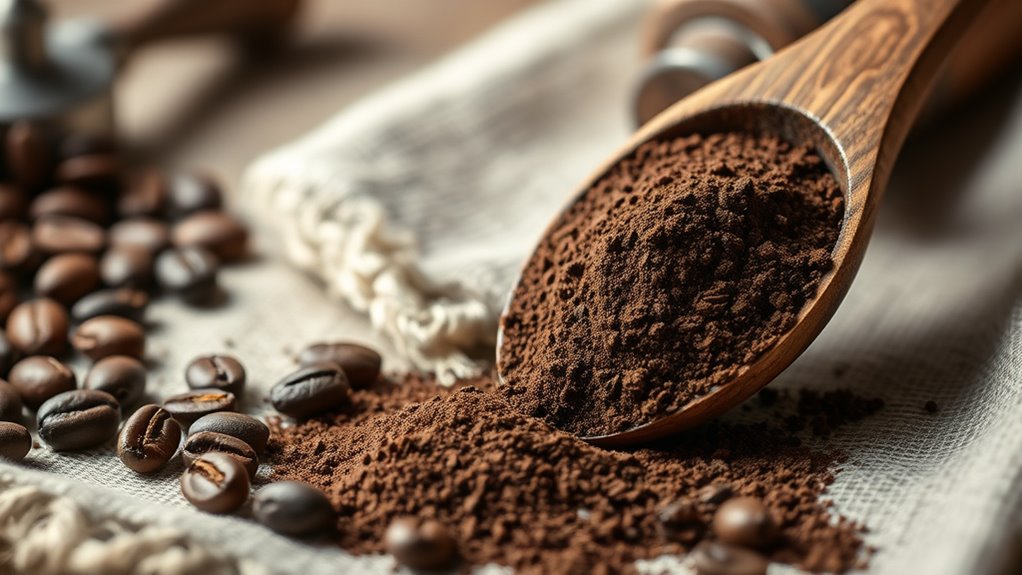
Although you might think espresso powder is just another coffee product, it’s actually a finely ground, dried form of brewed espresso or used espresso grounds designed specifically to enhance baked goods.
You’ll find it offers a concentrated, rich coffee flavor with deep, chocolate-leaning notes that amplify chocolate desserts beautifully.
Its fine texture allows it to dissolve quickly in liquids and blend seamlessly into dry ingredients, making it easy to incorporate.
When you add just 1 to 2 teaspoons to your recipes, you boost the overall flavor without overpowering with a strong coffee taste.
Using espresso powder adds depth, warmth, and complexity to cakes, cookies, and confections.
It really elevates your baked goods beyond ordinary chocolate or vanilla treats.
Proper extraction involves controlling extraction time to develop balanced flavors, which is reflected in the concentrated taste of espresso powder.
Choose the Right Espresso Beans for Homemade Powder
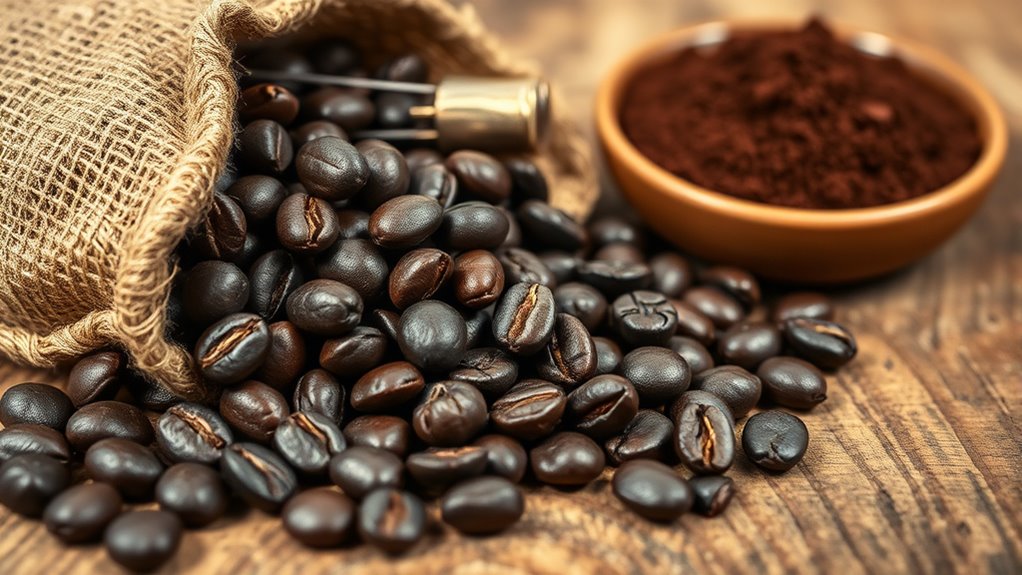
You’ll want to go for medium to dark roast espresso beans if you’re aiming for a rich, balanced flavor in your homemade powder. These roasts really bring out that deep, bold taste we all love.
Plus, choosing organic and locally roasted beans can make a difference. They often have fresher, more complex flavor profiles compared to the usual store-bought ones.
And if you’re sensitive to caffeine, no worries! Decaf espresso beans are a fantastic option that won’t compromise on flavor.
Typically, three shots of espresso provide between 180 and 225 mg of caffeine, so keep that caffeine content in mind when selecting your beans.
Selecting Bean Roast Level
When selecting beans for your homemade espresso powder, the roast level plays a crucial role in defining the flavor profile. Choosing the right roast lets you tailor the intensity and balance of your powder to suit your recipes.
Consider these options:
- Light Roast: Offers a milder, subtle flavor that adds gentle depth without overpowering.
- Medium Roast: Delivers balanced richness with minimal bitterness, perfect for versatile use.
- Dark Roast: Provides a bold, intense coffee flavor, ideal when you want a stronger espresso punch.
- Freshness Factor: Opt for freshly roasted beans to guarantee vibrant, rich flavors in your powder.
Keep in mind that light roasts retain more caffeine than dark roasts, which can influence both flavor and potency.
Organic Vs. Conventional Beans
While the choice between organic and conventional espresso beans might seem straightforward, it substantially influences the quality and ethics of your homemade espresso powder.
Organic beans are grown without synthetic pesticides or fertilizers, offering a cleaner, more natural flavor. They’re certified by organizations like USDA Organic, ensuring strict agricultural standards.
If you prioritize environmental sustainability and reduced chemical exposure, organic beans are the way to go.
Conventional beans, however, may be treated with chemical agents during farming and processing, which can subtly affect the taste and purity of your espresso powder.
Remember, though, the roast level and bean origin generally have a greater impact on flavor than whether the beans are organic or conventional.
Additionally, choosing the right beans includes considering the roast profile, as darker roasts typically enhance oils and flavor suitable for espresso powder.
Decaf Options For Sensitivity
Beyond choosing between organic and conventional beans, selecting decaffeinated espresso beans offers a practical solution if caffeine sensitivity is a concern. Decaf espresso beans let you make flavorful, caffeine-free powder that works perfectly in baking.
Keep these points in mind when choosing your beans: Use fresh, properly roasted decaf beans for the best flavor. Expect a milder, less intense flavor compared to caffeinated beans.
Brew and dry decaf beans just like regular espresso beans.
Store your homemade decaf espresso powder in an airtight container to preserve potency. It’s a simple step but really helps keep that rich taste locked in.
Decaf beans processed with the Swiss Water method typically retain the least caffeine, making them an excellent choice for those seeking minimal caffeine content.
Collect and Prepare Used Espresso Grounds
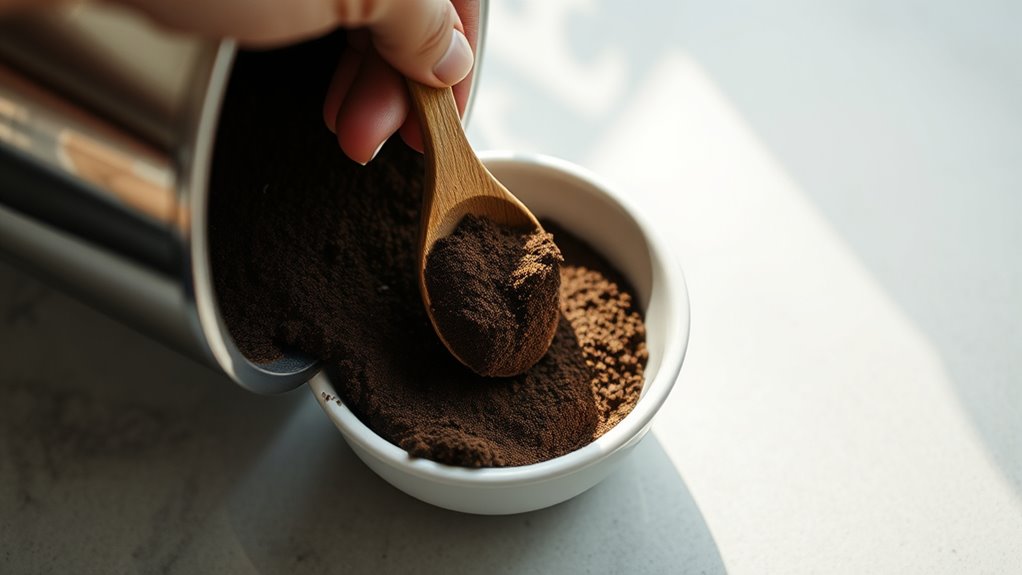
Collect your used espresso grounds right after brewing to keep that rich flavor intact and stop them from going bad. It’s best to spread them out thinly on a baking sheet lined with parchment paper.
Then, dry them thoroughly at a low temperature. Make sure to stir them regularly so the moisture evaporates evenly.
Once the grounds are completely dry and crisp, pop them into an airtight container.
Now, you’re all set to grind them into fine espresso powder whenever you need it!
For the best results, use freshly brewed espresso grounds as they contain essential oils and crema that enhance flavor and aroma, key elements of an Espresso Martini.
Gathering Used Grounds
How soon should you gather your used espresso grounds after brewing? You should collect them immediately to prevent mold growth and preserve the flavor for your espresso powder.
Once collected, follow these steps to prepare them properly:
- Spread the grounds evenly on a parchment-lined baking sheet.
- Make sure the layer is thin to promote even drying and avoid clumps.
- Dry the grounds completely in an oven or dehydrator until they become crunchy and moisture-free.
- Store the dried grounds in an airtight container to maintain freshness until you’re ready to grind them into espresso powder.
For best results, ensure your espresso machine is regularly cleaned to avoid coffee oils buildup that can affect the flavor of your grounds.
Ground Preparation Tips
Since used espresso grounds can compact quickly after brewing, you’ll want to break them up gently with your hands or a fork before drying. Collect the grounds immediately to prevent mold and preserve flavor.
Spread them in a thin, even layer on parchment-lined baking sheets to guarantee uniform drying. If you can’t dry them right away, store the grounds airtight in the fridge to keep them fresh. Aim for a slightly crunchy texture before processing to maximize quality.
Because espresso typically contains a higher caffeine concentration than other coffee types, the residual grounds will retain some caffeine even after brewing.
| Step | Action | Purpose |
|---|---|---|
| 1. Collect | Immediately after brewing | Prevent mold, preserve flavor |
| 2. Break up | Use hands or fork | Promote even drying |
| 3. Spread thin layer | On parchment-lined sheet | Uniform drying |
Moisture Removal Methods
Where should you begin once you have your used espresso grounds ready? Start by removing excess moisture to guarantee ideal drying and grinding. Follow these steps:
First, press the grounds with a paper towel or clean cloth to squeeze out as much water as possible. Then, spread the damp grounds evenly on a parchment-lined baking sheet in a thin layer.
Bake at roughly 175°F (80°C) for 1 to 3 hours, stirring every 30 minutes to promote even drying. Make sure the grounds are completely dry and crunchy before cooling them fully.
Once cooled, your espresso grounds are primed for grinding into fine powder. This moisture removal method preserves flavor and prevents clumping.
It really sets you up for perfect espresso powder. Regular cleaning and moisture control are essential to maintain optimal flavor quality throughout the process.
Dry Espresso Grounds in the Oven
Although drying espresso grounds might seem straightforward, achieving the perfect texture takes a bit of care. Start by spreading your brewed espresso grounds evenly in a thin layer on a parchment-lined baking sheet.
Preheat your oven to about 175°F (80°C). This low temperature gently removes moisture without burning the grounds.
Place the tray in the oven and bake for 1 to 3 hours.
Make sure to stir the grounds every 30 minutes. This helps them dry evenly.
Keep an eye on them until they become completely dry, crunchy, and free of moisture.
This slow, consistent process prevents clumping and preserves the flavor.
Once the grounds are dried, take the baking sheet out and let them cool fully before moving on.
Properly dried espresso grounds guarantee a smooth grind and the ideal powder consistency. It’s worth taking your time to get it just right!
For the best flavor retention, it’s important to maintain the correct water temperature during the initial espresso extraction before drying the grounds.
Grind Espresso Grounds Into Fine Powder
When you’re ready to transform your dried espresso grounds into a fine powder, use a high-powered coffee or spice grinder set to short bursts. This method prevents overheating and helps you achieve a smooth, uniform texture. Make certain your grounds are completely dry before grinding to avoid clumping.
Follow these steps for best results:
- Place dried espresso grounds in the grinder, filling it no more than halfway.
- Pulse the grinder in short bursts, about 10-15 seconds each, to avoid heat buildup.
- Sift the ground powder through a fine mesh sieve to remove any larger particles or clumps.
- Store the finely ground espresso powder in an airtight container to preserve freshness and potency.
This precise process ensures you get the perfect espresso powder for baking or flavoring. Give it a try, and you’ll notice the difference!
Toast Whole Espresso Beans (Alternative Method)
If you prefer starting with whole beans, toasting them at a low temperature is an excellent way to develop a rich, deep flavor before grinding. Preheat your oven to 200°F (93°C) and spread the espresso beans in a single layer on a baking sheet. Make sure they’re evenly spread out for uniform roasting.
Toast whole espresso beans at 200°F for rich, even flavor before grinding.
Roast the beans for about one hour. Stir or shake them every 15 to 20 minutes to prevent uneven heating and keep the toasting consistent. This little bit of attention really makes a difference.
Once roasted, let the beans cool completely. This helps preserve their flavor and makes grinding easier.
After they’ve cooled down, use a spice grinder, high-powered blender, or mortar and pestle to grind the beans into a fine, smooth powder.
This method really brings out the intensity of the espresso powder. It’s perfect for baking or adding extra flavor to your recipes.
Give it a try—you might be surprised at how much richer your dishes taste!
Store Espresso Powder for Maximum Freshness
After grinding your espresso beans into a fine powder, preserving its robust flavor becomes your next priority. Proper storage guarantees your espresso powder stays potent and fresh for every use.
Follow these steps to maintain maximum freshness:
First, store the powder in an airtight container to block moisture and air, which can degrade flavor. Then, keep the container in a cool, dark spot like a pantry or cupboard to avoid heat and light exposure.
If you need to store it longer, freeze the powder in a sealed bag or container. This helps extend its shelf life beyond a few months.
Don’t forget to label the container with the preparation date. That way, you can track freshness and check regularly for mold, clumping, or off odors before use.
Use Espresso Powder to Enhance Chocolate Flavor
Although espresso powder is often associated with coffee, it plays an essential role in elevating chocolate recipes by intensifying the cocoa’s natural richness without adding bitterness. Just a teaspoon of espresso powder can dramatically enhance the depth and complexity of your brownies, cakes, and cookies.
Its roasted notes and subtle caffeine content complement chocolate’s flavor, making your desserts taste richer and more luxurious. Whether you use homemade or store-bought espresso powder, incorporating it into your chocolate recipes adds a sophisticated layer of flavor that’s hard to achieve otherwise.
Next time you bake, sprinkle in espresso powder to reveal a fuller, more intense chocolate experience. It’s a simple trick that will impress anyone who tastes your creation.
Make Decaf Espresso Powder at Home
Start by picking out some high-quality decaf espresso beans or grounds—this way, you’ll get that rich flavor without any caffeine.
Once you’ve brewed your espresso or used the grounds, the next step is to dry them out evenly. Just keep the temperature low and stir regularly so everything dries consistently and crisply.
After they’ve cooled down, go ahead and grind the dried grounds into a fine powder.
Finally, make sure to store your decaf espresso powder in an airtight container, keeping it in a cool, dry place to keep it fresh for as long as possible.
Choosing Decaf Espresso Beans
When you’re making decaf espresso powder at home, selecting the right beans is essential to preserving rich flavor despite the absence of caffeine. Your choice impacts the strength and depth of the final powder. Here’s what to keep in mind:
Opt for decaffeinated espresso beans labeled specifically for espresso to guarantee boldness.
Choose medium-roast or dark-roast beans to extract a richer, more robust coffee flavor. Avoid light roasts, as they often lack the intensity needed for a strong espresso powder.
Prioritize fresh beans to maximize aroma and taste, which compensates for caffeine removal. It really makes a difference when you want that full-bodied espresso experience without the caffeine kick.
Drying Decaf Grounds
How do you guarantee your decaf espresso grounds transform into a fine, flavorful powder? Start by making sure the grounds are completely dry and moisture-free. Spread them evenly in a thin layer on a parchment-lined baking sheet to promote consistent drying.
Bake at a low temperature, around 175°F (80°C), for 1 to 2 hours. Stir every 30 minutes to avoid clumping and ensure uniform moisture removal.
Once dry, let the grounds cool thoroughly before grinding to preserve their flavor and texture.
Proper drying prevents clumping and extends shelf life. After drying and cooling, your decaf espresso grounds are ready to be ground into powder.
Store the finished powder in an airtight container, keeping it in a cool, dry place for up to six months to maintain freshness.
Grinding And Storage Tips
Once your decaf espresso grounds are thoroughly dried and cooled, you’re ready to grind them into a fine powder. Follow these tips to guarantee quality and longevity:
Use a high-powered coffee or spice grinder to achieve a smooth, even powder that blends well in recipes. Avoid grinding while grounds are warm or moist to prevent clumping and inconsistent texture.
Store the powder in an airtight container, keeping it in a cool, dark place. You can refrigerate or freeze it for longer shelf life.
Label your container with the grinding date to track freshness. Properly stored decaf espresso powder remains potent for up to six months.
These steps will help you maintain the flavor and potency of your homemade decaf espresso powder for all your culinary needs.
Compare Homemade and Store-Bought Espresso Powder
Although both homemade and store-bought espresso powders serve the same purpose, they differ markedly in flavor, texture, and convenience. When you make espresso powder at home from dried brewed grounds, you’ll notice a softer, more nuanced flavor that’s less bitter than commercial powders.
Homemade espresso powder offers a softer, nuanced flavor less bitter than its store-bought counterpart.
Store-bought versions, often freeze- or spray-dried, deliver a sharper, more intense coffee taste and dissolve more smoothly in recipes.
Homemade espresso powder lets you reuse grounds, reduce waste, and customize choices, like using decaf. But its texture can be less uniform.
On the other hand, store-bought powders offer consistent solubility and texture, making them more reliable for quick baking or beverage prep.
Ultimately, your choice depends on whether you prioritize flavor subtlety and sustainability or convenience and consistency.
Frequently Asked Questions
Can I Use Espresso Powder in Savory Recipes?
Yes, you can use espresso powder in savory recipes. It adds smoky, roasted depth and enhances umami in stews, chili, and marinades.
Just dissolve it in liquids to avoid clumping and to distribute the flavor evenly throughout your dish. Give it a try next time you want to add a little extra something to your cooking!
How Much Espresso Powder Equals One Shot of Espresso?
You’ll need about 1 teaspoon of espresso powder to match the flavor intensity of one shot of espresso. Adjust based on concentration, but this amount usually balances strength and bitterness perfectly in recipes or drinks.
Think of it as a handy shortcut when you don’t have a shot of espresso on hand. Just keep in mind, you might want to tweak the amount a bit depending on how strong or mild you like your coffee flavor.
Does Espresso Powder Contain Caffeine?
Yes, espresso powder contains caffeine because it’s made from concentrated coffee grounds. The caffeine amount varies by bean type and roast, but it generally packs 30 to 60 milligrams per teaspoon.
That means it gives you a solid energy boost. So, if you’re using espresso powder in your recipes, just know there’s a good caffeine kick in there!
Can I Substitute Instant Coffee for Espresso Powder?
You can substitute instant coffee for espresso powder, but use half the amount since it’s more bitter and concentrated.
Finely grind it or dissolve it in hot water for better texture and flavor balance in your recipe.
This way, your dish will still have that rich coffee taste without getting too overpowering. Give it a try and see how it works for you!
How Long Does Espresso Powder Last Once Opened?
Once opened, your espresso powder’s magic lasts about six months in an airtight container.
Keep it cool and dark to stretch that freshness. Or, freeze it to preserve its bold punch for up to a year.
Conclusion
Now that you know how to make espresso powder at home, you can elevate your baking with richer, deeper chocolate flavors. Remember, good things come to those who wait. Drying and grinding your grounds carefully guarantees the best results.
Whether you go homemade or store-bought, espresso powder adds that perfect touch of intensity to your recipes. Just keep it fresh and store it well.
Enjoy the delicious difference in every bite!