Choose high-quality, dark roasted espresso beans. Then melt keto-friendly dark chocolate using short bursts in the microwave or a double boiler, stirring constantly to avoid seizing.
Dip each bean fully, shaking off excess chocolate for a smooth, glossy finish. Chill coated beans in the fridge to set a firm shell.
You can add flavors like vanilla or sprinkle sea salt before setting for extra flair. Want to master perfect coating and storage? Keep exploring for more tips.
Selecting Espresso Beans and Chocolate
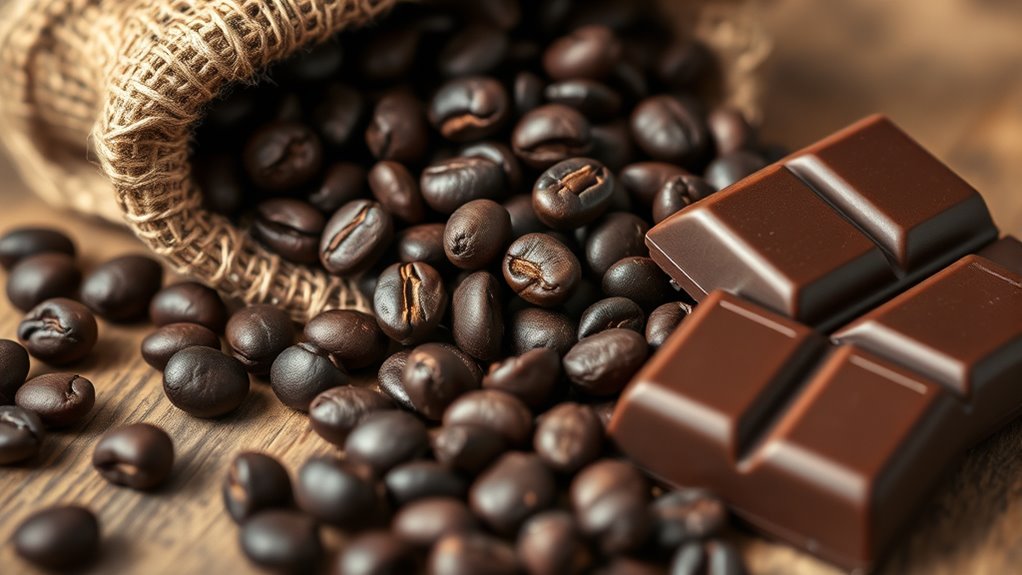
When selecting espresso beans and chocolate for your chocolate-covered espresso beans, start by choosing high-quality, dark roasted coffee beans that deliver a rich flavor and a strong caffeine kick. Pick beans that are uniform in size so each one gets an even chocolate coating, creating a consistent bite every time.
Make sure the beans are dry and free of oil to help the chocolate stick better.
For chocolate, go with semi-sweet or dark varieties. Their bitterness perfectly complements the espresso’s robust notes.
If you want to get creative, consider adding vanilla or hazelnut beans to introduce subtle, complementary flavors that elevate the taste.
With these choices, you’re setting the stage for a deliciously balanced treat that’s rich, bold, and satisfying. It’s all about finding that perfect combo that hits all the right notes.
Also, grinding the beans just before brewing is essential to preserve the freshness and aroma which can enhance the overall flavor experience of your chocolate-covered espresso beans.
Melting Chocolate Perfectly
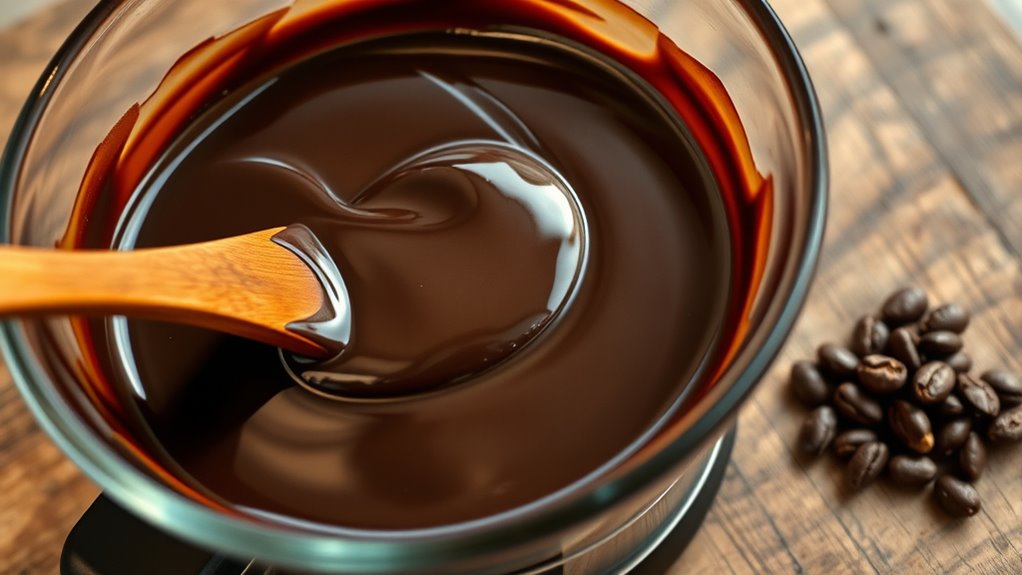
Although melting chocolate may seem straightforward, achieving a smooth, glossy finish requires careful temperature control and patience.
Start by placing your chocolate in a microwave-safe bowl and heat it in 10- to 15-second bursts. Make sure to stir thoroughly between each burst to distribute heat evenly.
Alternatively, you can set up a double boiler, which is basically a heatproof bowl over simmering water. Stir constantly as the chocolate gently melts.
Remove the chocolate just before it’s fully melted because the residual heat will finish the job perfectly. This helps prevent burning or graininess.
Keep the temperature below 115°F (46°C) to avoid seizing.
If your chocolate thickens, just stir in a small amount of vegetable oil or cocoa butter to bring back that silky, workable texture.
This careful, gradual approach is really the key to flawless chocolate for coating your espresso beans.
Maintaining consistent temperature control is essential to ensure the chocolate’s texture and flavor remain optimal during melting.
Coating Espresso Beans Step-by-Step
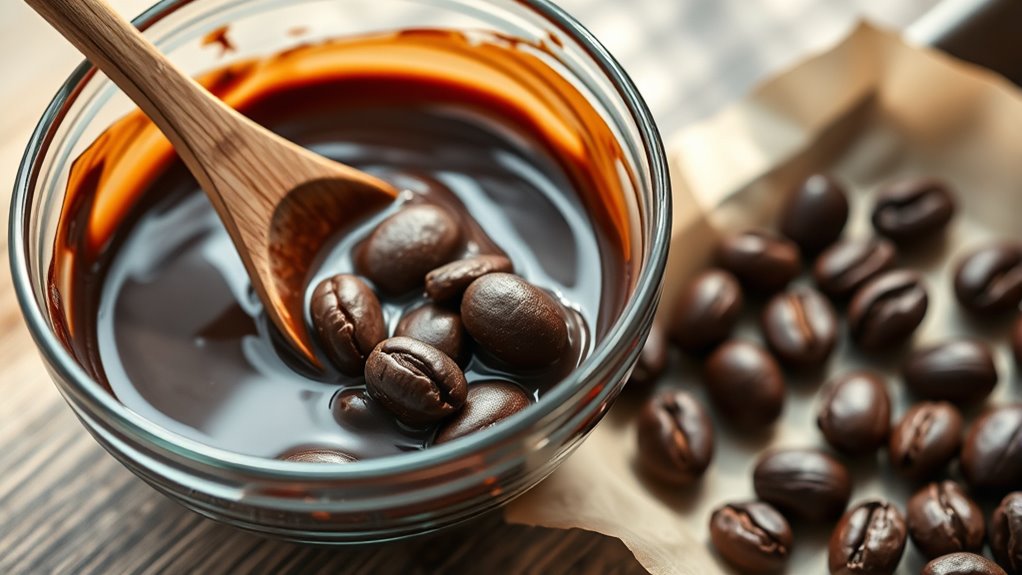
Before you start dipping, make sure your melted chocolate is smooth and warm enough to coat each espresso bean evenly. Use a fork to pick up one bean at a time, fully immersing it in the glossy chocolate. Lift it out slowly, watching the rich chocolate cascade off the bean’s surface.
Gently tap the fork’s edge against the bowl to shake off excess chocolate, preventing clumps. Then, carefully place the coated bean onto a parchment-lined baking sheet, creating neat rows. Repeat this process until all beans are covered in luscious chocolate.
Once done, pop the tray into the refrigerator to chill. This step firms up the coating, locking in that shiny, satisfying shell you’re aiming for. It’ll be perfectly smooth, crisp, and ready to enjoy.
Since espresso beans are typically darker roasted to optimize flavor, they provide a bold and rich taste that complements the chocolate coating perfectly, enhancing the overall flavor experience of your chocolate covered espresso beans with their dark roast profile.
Adding Flavors and Toppings
Since the chocolate is still soft and inviting, you can elevate your espresso beans by adding flavors and toppings that bring new layers of taste and texture. Mix in flavor extracts like hazelnut or vanilla into the melted chocolate for an aromatic twist before coating.
Then, while the chocolate is wet, sprinkle cacao powder, freeze-dried fruit, or sea salt for a nice crunch and contrasting flavor. For a dramatic finish, drizzle white or milk chocolate once the coating sets.
To ensure the best flavor retention in your espresso beans, it’s important to use freshly ground coffee and maintain proper temperature control during preparation.
| Flavor Infusions | Toppings | Chocolate Varieties |
|---|---|---|
| Hazelnut Extract | Cacao Powder | Chili-Flavored |
| Vanilla Beans | Freeze-Dried Fruit | Mint |
| Flavor Oils (e.g., almond) | Sea Salt & Hemp Seeds | Semi-Sweet |
Play with these combinations to craft your perfect bite!
Setting and Storing Chocolate-Covered Beans
Once you’ve coated your espresso beans in chocolate, just let them rest at room temperature or toss them in the fridge to set for about 30 to 60 minutes.
You want to make sure they’re completely dry before storing—this helps keep that glossy finish looking perfect.
Then, pop them into an airtight container—chilling them is best—to keep that satisfying crunch and rich flavor locked in.
Because espresso contains a concentrated amount of caffeine per ounce, be mindful of caffeine intake when enjoying these treats.
Cooling Techniques
How do you guarantee your chocolate-covered espresso beans achieve that perfect, glossy finish without sticking together? Start by letting the beans cool at room temperature for a few minutes after coating. This gentle pause helps the chocolate begin to set without losing its shine.
Next, transfer the beans to the refrigerator on a lined baking sheet for 15-30 minutes. This quick chill firms the chocolate, locking in that smooth, glossy texture. Make sure not to pile the beans on top of each other before they’re fully set. This prevents clumping and uneven coatings.
Once cooled, you can safely handle and enjoy your beans without worry. These simple cooling techniques ensure each bean shines beautifully, ready for the next steps in your chocolate-covered espresso bean journey. For best results, store the finished beans in an airtight container in the fridge to maintain freshness and prevent spoilage due to oxidation.
Storage Tips
Although your chocolate-covered espresso beans look irresistible right after cooling, proper storage is key to preserving their glossy finish and rich flavor. First, let the beans set fully at room temperature or chill them briefly in the refrigerator.
Once set, arrange them in an airtight container, spacing the beans apart to prevent sticking and maintain their perfect shape.
Keep this container away from sunlight and heat sources to avoid melting or that dull, powdery bloom on the chocolate.
For short-term enjoyment, store the beans in the fridge for up to one week. If you want to savor them longer, freeze the container for up to a month.
This careful storage keeps your chocolate crisp, your espresso beans fresh, and every bite as delightful as the first. Just a little care goes a long way!
Remember that bean freshness also affects flavor retention, so using freshly roasted beans before coating enhances the taste experience.
Dietary Variations and Adjustments
When tailoring chocolate-covered espresso beans to fit your dietary needs, you’ll find plenty of delicious alternatives that don’t compromise on flavor. Whether you’re vegan, keto, gluten-free, or watching sugar intake, it’s easy to customize your treat.
Consider these adjustments:
Use dairy-free dark or plant-based chocolate chips to keep it vegan and creamy.
Opt for keto-friendly chocolates like Choczero or Lily’s 55% dark for minimal sugar.
Choose certified gluten-free chocolate and toppings to avoid cross-contamination.
Pick sugar-free chocolates or skip sweet toppings to cut down on sugar.
With these tweaks, you can enjoy rich, satisfying chocolate-covered espresso beans tailored perfectly to your lifestyle. Give them a try and see how tasty healthy can be! Additionally, selecting dark roast coffee beans can enhance the bold flavor profile of your chocolate-covered espresso beans.
Serving and Enjoying Chocolate-Covered Espresso Beans
Whether you’re looking to impress guests or simply treat yourself, serving chocolate-covered espresso beans in small, elegant bowls or decorative gift tins instantly elevates their appeal. You can enjoy them as a quick energy boost during busy mornings or afternoon breaks. They also make a delightful garnish on desserts like cupcakes, brownies, or ice cream, adding both flavor and crunch.
Remember to store leftovers in an airtight container in the fridge to keep them fresh and crunchy. Sharing these homemade treats with friends or colleagues is a wonderful way to spread joy and caffeine-fueled energy. The rich flavor and texture of chocolate-covered espresso beans echo the importance of high-pressure extraction in crafting quality espresso.
| Occasion | Serving Style | Benefit |
|---|---|---|
| Morning boost | Small bowl | Quick energy lift |
| Party favor | Gift tins | Thoughtful presentation |
| Dessert garnish | Sprinkled on sweets | Adds texture and flavor |
| Office snack | Shared in container | Encourages socializing |
| Storage | Airtight container | Maintains freshness |
Troubleshooting Common Problems
If your chocolate seizes or the coating looks uneven, don’t worry—you can fix it with a few simple tricks. Just keep an eye on the chocolate’s temperature and smoothness. That way, you’ll get that perfect glossy finish on each bean.
Now, if the coating feels sticky or won’t set right, try chilling the beans properly. This step really helps lock in that satisfying snap you’re aiming for.
Also, keep in mind that the caffeine content in espresso beans varies depending on the decaffeination method, which can subtly affect the flavor and bitterness of your chocolate-covered beans.
Chocolate Seizing Solutions
Although working with melted chocolate can feel like a delicate dance, you’ll want to keep every tool and bowl completely dry to avoid the dreaded seizing. That’s when smooth chocolate suddenly turns grainy and thick.
Seizing usually happens when even a drop of water or steam sneaks in, instantly ruining your glossy melt.
To keep your chocolate silky and perfect, follow these steps:
- Thoroughly dry all utensils and bowls before use.
- Use high-quality, properly tempered chocolate for a smooth texture.
- Avoid any contact with water or steam during melting.
- If seizing occurs, gently stir in warm, dry vegetable oil or shortening until smooth.
With these tips, you’ll rescue your chocolate and keep it luscious for coating those espresso beans beautifully. It’s easier than you might think!
Uneven Bean Coating
When melted chocolate thickens or cools too fast, it can cling unevenly to your espresso beans, leaving some spots bare and others overloaded. To avoid this, make sure your chocolate is smooth and fluid before you dip.
Use a dipping fork with gentle, swirling motions to coat each bean evenly, letting excess chocolate drip off naturally.
After dipping, give the beans a few moments to settle; this helps the coating smooth out. If you spot any thin areas, quickly add a little extra chocolate or toppings while the layer is still soft to create a uniform finish.
Setting Issues
Ensuring your chocolate coating sets perfectly requires careful attention to temperature and timing throughout the process. If your coating isn’t firming up, here’s what to check:
Make sure the chocolate is fully melted but not overheated. Heat it gently to avoid seizing or thinning.
Dip beans at room temperature. Cold beans can cause cracking or prevent proper setting.
Work in a cool, dry space since humidity and warmth can ruin the finish.
After coating, chill the beans for at least 30 minutes to let the chocolate harden completely. That way, you’ll get a nice, smooth finish every time.
Frequently Asked Questions
Can I Use Milk Chocolate Instead of Dark Chocolate?
You can definitely use milk chocolate instead of dark. It melts faster, so watch closely to avoid burning. Expect a creamier, sweeter coating that beautifully balances the bold espresso beans with a smooth, glossy finish.
Just keep an eye on it while melting because milk chocolate can be a bit more delicate. It’s a great choice if you want something sweeter and less intense than dark chocolate. Give it a try and see how you like the flavor combo!
How Long Do Chocolate-Covered Espresso Beans Last?
You’ll find chocolate-covered espresso beans last about a week at room temp in an airtight container. Refrigerate them, and you’ll extend freshness up to two weeks.
Freezing can preserve them for a month, though the texture might shift a bit. So, if you want to keep them longer, freezing is your best bet. Just keep in mind the change in texture when you thaw them out.
Can I Make These Beans Ahead for Gifts?
Yes, you can make chocolate-covered espresso beans ahead! Store them airtight in the fridge or at room temperature for a week.
If you want them to last longer, just freeze them. When you’re ready, package them beautifully for a perfect, irresistible homemade gift. Anyone will love it!
What Equipment Is Best for Melting Chocolate Evenly?
Think of melting chocolate like a gentle ocean tide. You want smooth, even warmth. Use a double boiler or microwave-safe glass bowl with low heat.
Stir often with a silicone spatula to prevent scorching and guarantee silky chocolate. It helps keep the texture just right. Taking your time here really pays off.
Are Chocolate-Covered Espresso Beans Safe for Children?
You shouldn’t give chocolate-covered espresso beans to children because the caffeine can make their hearts race and keep them up at night. Even a few can cause jitters and discomfort, so it’s best to avoid them altogether.
It’s really not worth the risk when it comes to kids. There are plenty of other treats that won’t cause those kinds of problems. So, stick to safer snacks and keep the espresso beans away from little ones.
Conclusion
Now that you’ve crafted your own chocolate-covered espresso beans, imagine this: Americans consume about 400 million cups of coffee daily, and your treat perfectly captures that buzz in every bite.
With the rich, glossy chocolate coating melting into the intense espresso bean inside, you’ve created a little powerhouse of flavor and energy.
Keep experimenting with flavors and enjoy sharing these irresistible bites that combine the best of both worlds, coffee and chocolate, in one delicious snack.