To steam milk with your espresso machine like a pro, start with cold whole milk and a properly sized pitcher. Purge the steam wand, then place its tip just below the milk surface off-center to create a whirlpool. This helps introduce a steady airflow for fine microfoam.
Heat the milk until it reaches 130-140°F, but be careful to stop before it gets too hot—otherwise, it might taste bitter. Once you’re done steaming, swirl the milk for that velvety texture everyone loves.
With these basics, you’re all set to perfect your technique and elevate your drinks. It’s easier than you think once you get the hang of it!
How to Choose the Best Milk and Pitcher for Steaming

When choosing the best milk and pitcher for steaming, start by selecting whole milk or half-and-half. Their higher fat content creates the creamiest, most velvety microfoam. Always use cold, fresh milk to guarantee ideal texture and flavor.
Pick a stainless steel pitcher sized appropriately. A 12 oz pitcher works well for lattes, while a 20 oz suits cappuccinos. This gives you enough room for the milk to expand.
Choose a pitcher with a narrow spout to give you precise control when pouring. This is especially useful for latte art.
Also, make sure it has a sturdy handle and thick walls. These features help the pitcher withstand high temperatures and keep it stable during steaming.
These choices set you up for smooth, consistent microfoam every time. Proper technique and attention to pressure control during steaming are essential for achieving the best milk texture.
Preparing Your Espresso Machine and Purging the Steam Wand
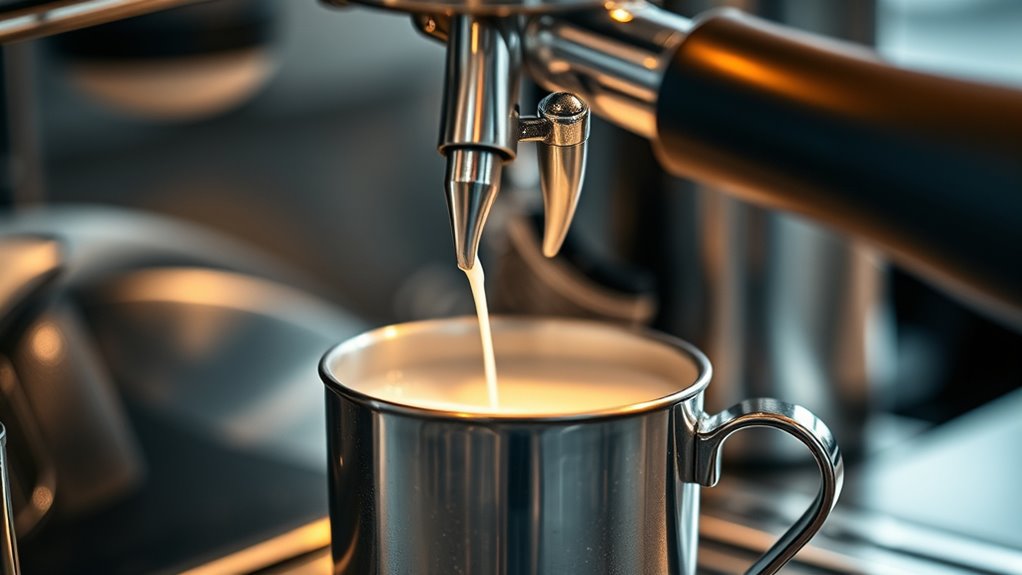
Before steaming your milk, make sure to turn on your espresso machine early so it has enough time to warm up and build the necessary steam pressure. This step is vital for achieving consistent, velvety microfoam.
Next, prepare the steam wand properly by following these essential steps:
- Briefly purge the steam wand to release any residual water or old milk inside.
- Check that the steam wand tip is clean and free from blockages to ensure smooth steam flow.
- Immediately wipe the steam wand with a damp cloth after purging to prevent milk residue from drying and clogging the nozzle.
Taking these precautions guarantees a clean, efficient steam wand. This sets you up for perfectly steamed milk every time. Proper machine temperature maintenance also ensures optimal steam pressure for consistent milk texture, as explained in espresso machine pressure.
Positioning Milk and Steam Wand to Start Steaming
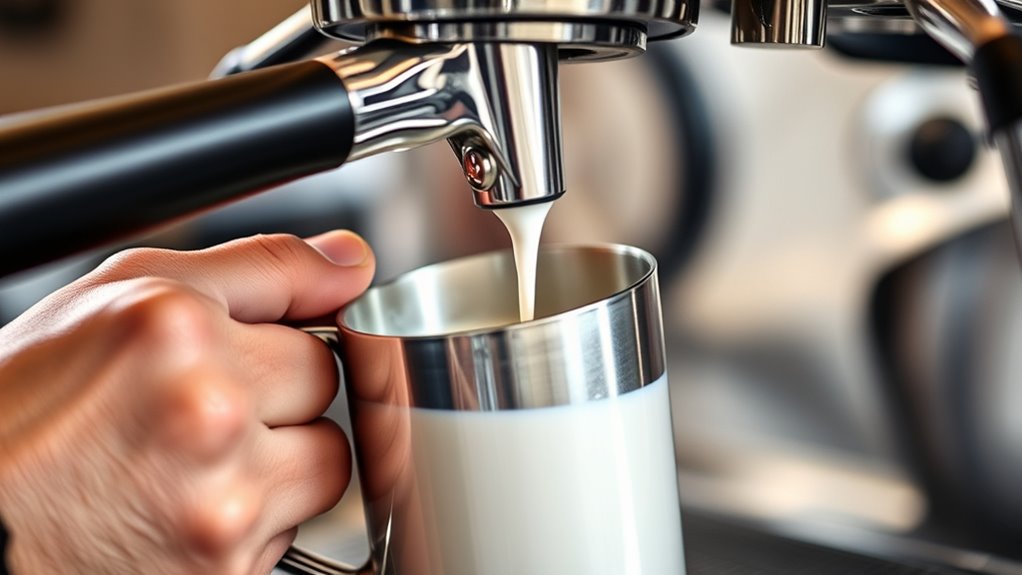
Although steaming milk might seem straightforward, positioning the steam wand and milk correctly is essential for creating smooth, velvety microfoam.
Start by placing the steam wand tip just 1/4 inch below the cold milk’s surface. Rest it against the pitcher’s side at a slight angle, not dead center, to generate a whirlpool effect.
Keep the tip slightly off-center to encourage milk rotation and even heating. Adjust the pitcher so the wand points toward one quadrant, ensuring controlled airflow.
Begin aerating gently by inserting the wand tip just beneath the surface, then lower the pitcher as you steam while maintaining the correct angle.
Using a steam wand with high-capacity steam wands like those on commercial machines helps achieve better milk frothing results.
How to Introduce Air and Create Smooth Microfoam
To create smooth microfoam, start by positioning the steam wand tip just below the milk’s surface at a slight angle. This helps you gently incorporate air.
You’ll want to listen for a steady hissing sound—that’s your cue to control the airflow and avoid making big bubbles.
Keep adjusting as you go until the milk develops a velvety texture and expands just a bit.
Pay attention to temperature, aiming for about 150°F to preserve velvety mouthfeel and sweetness in the milk.
Correct Steam Wand Position
When steaming milk, positioning the steam wand correctly is vital for introducing the right amount of air and creating smooth microfoam. Place the wand tip just below the milk’s surface and slightly off-center to gently introduce air without splashing.
Keep the wand at a shallow angle pointing toward one quadrant of the pitcher to generate a whirlpool effect, which evenly distributes heat and texture.
To master the correct steam wand position, follow these key steps:
- Insert the wand tip just below the milk surface, slightly off-center.
- Angle the wand shallowly toward a quadrant to create a consistent whirlpool.
- Maintain a steady position throughout steaming to avoid large bubbles and promote velvet-smooth microfoam.
This approach guarantees controlled aeration and a creamy, professional-quality finish.
Give it a try, and you’ll notice how much better your milk texture gets every time. Proper machine maintenance and water temperature (195-205°F) also help ensure consistent steam performance for optimal milk texture and flavor extraction, as seen in brewing parameters.
Controlled Air Incorporation
How exactly do you introduce just the right amount of air to create silky, smooth microfoam? Start by slightly lowering your pitcher so the steam wand tip sits just below the milk’s surface, slightly off-center. This positioning creates a vortex that evenly incorporates air.
Listen carefully for a gentle hiss or sizzling sound, like tearing paper or bacon, which signals proper aeration without overdoing it. Control the airflow by adjusting the steam valve or pitcher angle to produce tiny, fine bubbles.
Once you achieve the desired microfoam consistency, gradually submerge the wand deeper into the milk to stop introducing air. This careful balance ensures you add just enough air to create smooth, creamy microfoam that will elevate your espresso-based drinks.
Using the right brew pressure during extraction also complements the texture and flavor of the microfoam when paired with espresso.
Achieving Velvet Microfoam
Mastering the art of introducing air just right sets the foundation for achieving velvet microfoam. To create that smooth, glossy texture, follow these essential steps:
Lower the pitcher slightly and position the steam wand tip just below the milk’s surface. Listen for a gentle hissing or tearing paper sound. This signals proper aeration without overdoing it.
Control air intake by adjusting the wand’s angle and position. Allow only a small amount of microfoam to develop, ensuring a silky consistency.
Once stretched, fully submerge the wand to swirl the milk. This helps integrate foam and liquid for that marshmallow fluff texture.
Keep steady control of temperature and air introduction to produce glossy, velvety microfoam. It’s perfect for latte art and a rich mouthfeel.
Understanding how brewing parameters influence caffeine can also enhance your overall espresso experience when paired with perfectly steamed milk.
Keep a Whirlpool Motion While Heating Milk
Keep the milk swirling in a steady vortex while you steam—it really helps with even heating and smooth microfoam.
Just position your steam wand just below the surface and a little off-center to get that whirlpool going. This motion breaks down bigger bubbles and stops hot spots from forming, so you end up with that perfect, velvety texture every time. Using proper milk frothing techniques alongside espresso machine steaming ensures the best texture and flavor for your drinks.
Maintaining Consistent Vortex
Although steaming milk can seem straightforward, maintaining a consistent vortex is key to achieving smooth, velvety microfoam. This steady whirlpool evenly distributes air and heat, preventing large bubbles and ensuring the milk heats uniformly.
To keep that vortex going, focus on a few critical steps. Position the steam wand just below the milk’s surface and slightly off-center to create a natural whirlpool. Gently move the pitcher in small circular motions to sustain the vortex throughout steaming.
Watch for a consistent swirling motion. A glossy, even texture signals you’re on the right track. Mastering the vortex technique is as essential as achieving microfoam stability for bar-quality espresso drinks.
Benefits Of Whirlpool Motion
When you maintain a whirlpool motion while heating milk, you guarantee heat spreads evenly and prevent a skin from forming on the surface. This swirling action breaks down larger bubbles, creating smooth, velvety microfoam.
By keeping the whirlpool consistent, you incorporate air uniformly, which is essential for that creamy texture every barista aims for.
The motion also helps maintain microfoam consistency, preventing separation or uneven heating. Plus, the glossy, shiny milk surface it produces is perfect for latte art, enhancing both texture and presentation.
Using milk with the right temperature, typically between 150°F and 155°F, is crucial for achieving optimal microfoam quality.
How to Monitor Steamed Milk Temperature for Sweetness
Since the sweetness and texture of steamed milk depend heavily on temperature, you’ll want to monitor it closely as you steam. Milk tastes best around 130-135°F, where its natural sweetness and flavor fully develop.
The perfect steamed milk temperature is 130-135°F for optimal sweetness and texture.
You can use these tips to keep track:
- Use a thermometer for precise temperature control, making sure you don’t overheat the milk.
- Feel the pitcher’s temperature—when it’s comfortably hot to the touch, it’s probably in the ideal range.
- Watch for signs that milk is nearing 140°F, because scalding starts here, which reduces sweetness and harms the flavor.
When and How to Stop Steaming to Avoid Scalding
Keeping a close eye on the milk’s temperature sets you up to stop steaming at just the right moment. Aim to stop steaming once the milk hits about 140°F. You can use a thermometer or the hand test to avoid going over 150°F. Going past that risks scalding, which ruins the flavor.
Turn off the steam wand promptly when you hit the right temperature. Then, remove the pitcher to prevent any leftover heat from overcooking the milk. It’s all about timing to get that perfect taste and texture.
| Temperature (°F) | Action | Result |
|---|---|---|
| Below 140°F | Continue steaming | Milk warms, sweetens |
| Around 140°F | Stop steaming | Optimal flavor, texture |
| 140°F – 150°F | Caution, prepare to stop | Risk of overheating |
| Above 150°F | Avoid | Scalded, burnt taste |
Cleaning Your Steam Wand After Steaming Milk
Although it might be tempting to delay, you should immediately clear your steam wand right after steaming milk to clear any residual buildup. This quick action prevents milk from hardening inside and ensures your steam wand stays hygienic and functional.
To clean your steam wand properly, follow these three steps:
- Purge the wand by releasing steam for a few seconds immediately after use.
- Wipe the wand tip with a damp cloth while it’s still warm to remove milk residue.
- Regularly use a clean, damp brush or cloth to thoroughly clean the tip and surrounding area without submerging the wand in water.
How to Get Perfect Microfoam Every Time
To get perfect microfoam every time, you’ve got to control how much air you introduce by positioning the steam wand just right. It’s all about finding that sweet spot.
Next, keep an eye on the milk temperature—aim for somewhere between 130°F and 140°F because that’s when you get the best texture and sweetness.
And finally, focus on creating a smooth, consistent whirlpool. This helps break down the bubbles and gives you that velvety finish you’re after.
Controlling Air Intake
When you adjust the angle and depth of your steam wand just right, you control how much air enters the milk. This is key to creating smooth, velvety microfoam.
Start by positioning the wand tip just below the milk’s surface with a slight gap to introduce a small amount of air.
Listen closely for a subtle tearing or hissing sound. This auditory cue means you’re incorporating air correctly.
Keep a steady, gentle motion to avoid excessive aeration that creates large bubbles.
To master air intake, adjust the wand angle and depth to regulate air flow precisely.
Introduce air gradually, starting with a small gap at the milk surface.
Use sound cues to intuitively gauge the right air amount for perfect microfoam.
Practice consistently to develop this skill effortlessly.
Monitoring Milk Temperature
How do you know when your milk has reached the perfect temperature for steaming? You can use a thermometer or carefully feel the pitcher’s side. Aim for around 130-135°F to create ideal microfoam.
Keep a close eye on the temperature as you steam. Turn off the steam wand once the milk hits about 140°F. This prevents overheating, which can dull the milk’s natural sweetness.
Avoid going beyond 150°F since higher heat risks scalding the milk and ruining its smooth texture. Consistently monitoring temperature gives you precise control. It helps you produce velvety microfoam perfect for latte art and flavor enhancement.
Mastering this step ensures every cup has that creamy, luscious quality you’re aiming for. It’s all about getting that smooth, delicious finish every time.
Achieving Smooth Texture
Although steaming milk might seem straightforward, achieving the perfect smooth texture requires careful technique and attention. To get flawless microfoam every time, focus on these key steps:
- Keep the steam wand just below the milk surface to introduce the right amount of air. Position it slightly off-center to create a whirlpool, breaking down larger bubbles into tiny, velvety foam.
- Listen for a gentle tearing paper sound, which signals proper aeration without large bubbles forming.
- Swirl the milk pitcher after steaming to distribute microbubbles evenly, producing a glossy, homogeneous texture.
Remember to monitor the temperature carefully, aiming for 130-135°F to ensure your microfoam is naturally sweet and smooth without overheating. It really makes a difference when you keep an eye on the heat.
Troubleshooting Common Problems When Steaming Milk
If your steamed milk isn’t turning out as expected, identifying common issues can help you quickly adjust your technique. Large bubbles or frothy texture usually mean you’re over-foaming or not controlling air intake properly. Try repositioning the steam wand to fix this.
If you hear sputtering or screeching, reduce steam flow and adjust the wand angle.
Dull, quickly dissipating microfoam signals overheating or incomplete aeration, so watch your temperature closely.
Persistent splattering often happens when you forget to purge the wand or position the pitcher incorrectly. Check these before steaming.
Finally, if your microfoam isn’t shiny and smooth, you’re likely overheating or not swirling the milk correctly. Focus on precise temperature control and creating a strong vortex for the best results every time.
Frequently Asked Questions
Can I Steam Non-Dairy Milk the Same Way as Regular Milk?
You can steam non-dairy milk similarly, but you’ll need to adjust time and temperature carefully. Use barista-style versions for best froth, and watch for curdling or separation to create smooth, creamy foam every time.
It’s all about finding that sweet spot with heat and technique. Keep an eye on the texture as you steam, and don’t be afraid to experiment a little until you get it just right.
How Long Does It Take to Steam Milk Properly?
Steaming milk properly takes about 20 to 30 seconds. That’s just enough time to catch lightning in a bottle. You’ll want to hit around 140°F, avoiding overheating to keep that creamy sweetness intact.
It’s all about timing and temperature. Too hot, and you lose that smooth flavor. Just right, and your milk will be perfectly creamy every time.
Is Whole Milk Better for Frothing Than Skim Milk?
Yes, whole milk froths better than skim milk because its higher fat content creates creamier, more stable microfoam. You’ll get a smoother texture and richer flavor, perfect for lattes and beautiful latte art.
It’s kind of like the fat helps everything stick together and feel more velvety in your cup. Skim milk can froth too, but it usually ends up lighter and less creamy. So if you want that rich, cozy vibe in your coffee, whole milk’s the way to go.
Can I Reuse Steamed Milk for Multiple Drinks?
You shouldn’t reuse steamed milk for multiple drinks because its microfoam breaks down quickly, losing texture and freshness.
Steaming only what you need guarantees each drink tastes velvety and stays safe from bacterial growth.
It’s always better to make fresh steamed milk for every cup to keep that perfect creamy vibe.
What Is the Best Way to Store Leftover Steamed Milk?
Store leftover steamed milk airtight and chill it promptly. Make sure to consume it within 24 hours. Always check for freshness before reheating it gently.
Never boil the milk when reheating. Avoid freezing it to keep the texture intact. This way, you preserve the flavor and microfoam quality for your next cup.
Conclusion
Steaming milk with your espresso machine is like painting a masterpiece. Each step adds detail and texture. Choosing the right milk and pitcher sets your canvas.
Positioning the steam wand and introducing air blend your colors smoothly. Keep the whirlpool motion flowing to create that perfect microfoam texture. Stop before scalding, and clean your tools like a true artist.
With practice, your milk will transform every cup into a creamy, velvety work of art. It really just takes a little patience and a bit of love. You’ll get the hang of it in no time!