To make a latte with your espresso machine, first turn it on and let it heat to around 200°F. Grind fresh coffee beans to a fine, sandy texture and tamp them evenly with steady pressure. Brew a double shot of espresso into a warmed cup.
Steam whole milk just below 140°F to create smooth microfoam. Then pour gently using wrist motions to form latte art. Add syrups carefully to keep the foam intact.
Master these basics, and you’ll soon perfect your favorite café-style latte. It’s easier than you might think once you get the hang of it!
How To Turn On Your Espresso Machine For Latte Making

Before you start making your latte, you’ll need to turn on your espresso machine properly. Locate the “on” switch on the right side of the machine, towards the back on the lower half. Flip it to power up the espresso machine.
Start your latte by powering on the espresso machine using the switch on the right rear lower side.
Don’t forget to turn on the steamer as well since you’ll need it to steam your milk later. Once both are on, the machine begins heating up. Watch for the ready light or temperature display; it should reach about 200°F.
Wait until the temperature stabilizes at this level before proceeding. Ensuring the steam wand is heating up along with the espresso machine guarantees smooth milk steaming.
Turning on your machine correctly sets a solid foundation for a perfect latte. Maintaining the machine temperature around 200°F is essential for optimal espresso extraction and milk steaming.
Choosing And Grinding The Best Espresso Beans For Latte
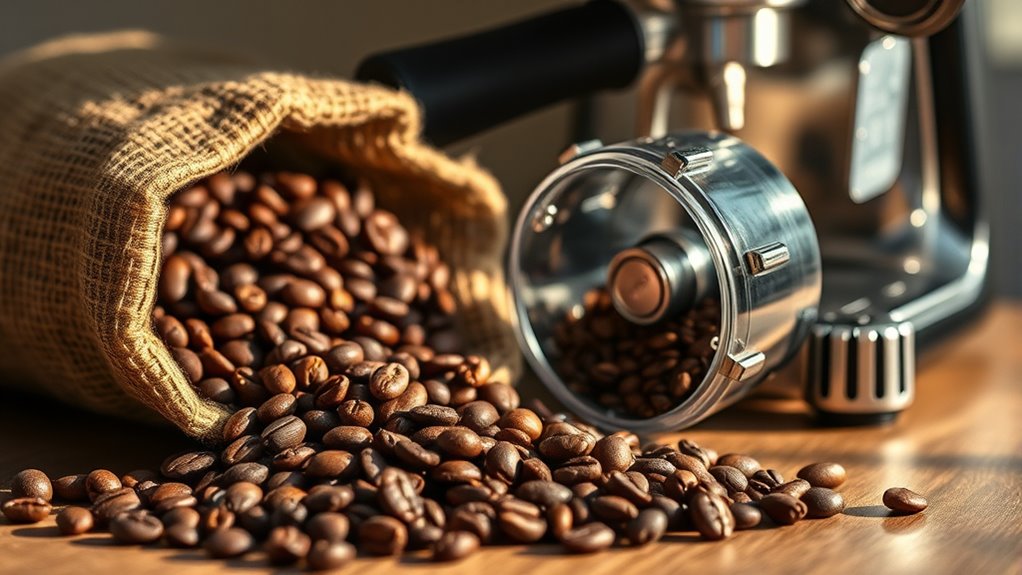
If you want the best flavor in your latte, start by choosing high-quality, fresh espresso beans. Ideally, pick beans that have been roasted within the last week. This freshness really makes a difference in taste.
Next, grind your beans just before you brew. This helps preserve all those wonderful aromas.
When grinding, aim for a sandy texture—it’s the sweet spot that supports the perfect extraction.
Keep in mind, you might need to tweak the grind size depending on how fresh your beans are. This helps control the brewing time of your shot and ensures you get a consistent, delicious result every time.
For optimal flavor and extraction, it’s essential to use a consistent grind size to prevent channeling and achieve an even shot.
Selecting Espresso Beans
How do you guarantee your latte starts with the best possible espresso? It all begins by selecting the right beans and keeping them fresh. Here’s what you need to do:
Choose high-quality, whole espresso beans roasted within the last 7 days. Store beans in an airtight container in the freezer immediately after purchase. Avoid pre-ground or stale beans to preserve aroma and flavor.
Buy from reputable roasters who prioritize freshness and quality. Use about 18 grams for a double shot, measuring with a digital scale for consistency.
Additionally, maintaining your machine through regular cleaning and maintenance ensures the true flavor of your espresso shines through.
Following these tips will help you make a great espresso every time.
Grinding For Optimal Extraction
Once you’ve secured fresh, high-quality espresso beans, grinding them correctly becomes essential to release their full flavor potential. Aim for a grind size that resembles salt, fine enough to allow ideal extraction without over-extracting.
Weigh about 18 grams of grounds for a double shot to maintain consistency.
Store your beans in an airtight container in the freezer to keep them fresh and prevent staling. If your shot pulls too quickly or tastes sour, adjust the grind finer. Conversely, if it runs too slow or tastes bitter, make it coarser.
These adjustments help balance extraction and flavor, ensuring your latte starts with the perfect espresso base every time.
Mastering your grind is key to revealing the rich, nuanced flavors you want in your cup.
Using a digital scale to measure your espresso yield by weight will help you achieve consistent extraction results and maintain the desired flavor profile.
How To Tamp Coffee Grounds For Even Extraction
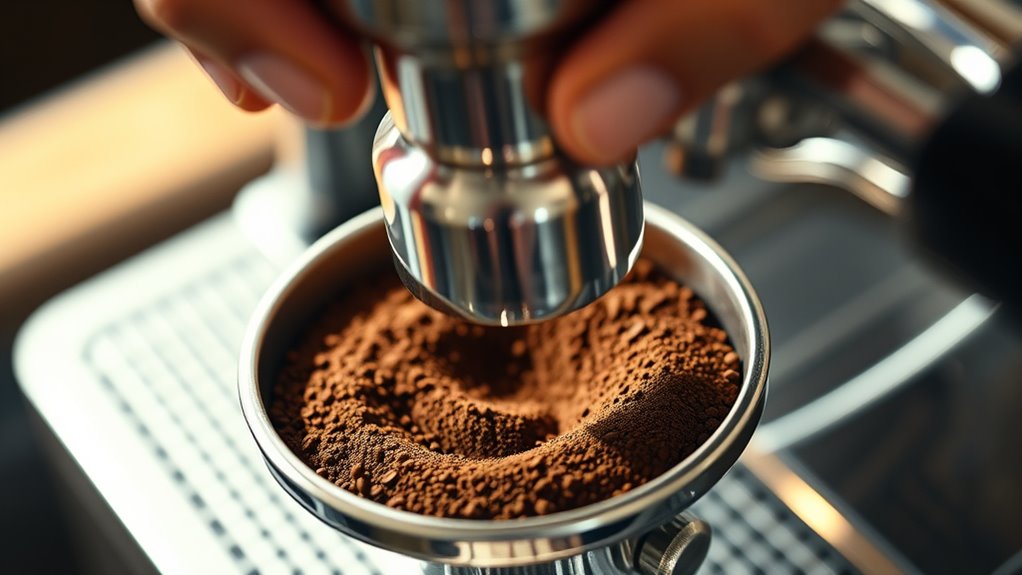
Although tamping might seem straightforward, applying consistent pressure and even distribution of coffee grounds is crucial for a balanced extraction. Here’s how to tamp effectively:
Distribute grounds evenly in the portafilter to avoid channeling. Use about 30 pounds of force with your tamper for proper compaction.
Apply steady, downward pressure and rotate the tamper 90 degrees halfway through.
Make certain the coffee surface is level, firm, and free of loose grounds around the edges. Compact the puck tightly so it resists water flow, promoting even extraction.
Following these steps will help you get the most flavor out of your coffee. Proper tamping also ensures optimal brewing conditions that can influence the cardiovascular response to espresso consumption.
Choosing The Right Number Of Espresso Shots For Your Latte
When you’re making a latte, deciding whether to use a single or double shot of espresso really changes the flavor and strength of your drink.
A double shot gives you a richer, bolder taste and packs more caffeine. On the other hand, a single shot results in a milder, lighter latte.
The great thing is, you can easily tweak the number of shots to suit how strong or smooth you want your latte to be. It’s all about finding the right balance that works for your taste buds.
Keep in mind that a double shot typically contains around 126 mg of caffeine, providing a solid boost of energy for your day.
Single Versus Double Shots
How many espresso shots should you use in your latte? It really depends on your taste and how much caffeine you want.
Here’s what to keep in mind when choosing between a single and double shot:
A single shot uses 7-10 grams of coffee, yielding about 1 ounce of espresso. A double shot uses 15-18 grams, producing roughly 2 ounces of espresso.
Single shots deliver 40-50 mg of caffeine while doubles provide 80-100 mg.
Double shots are more common if you want a stronger, balanced latte. Your choice should match your caffeine tolerance and the size of your latte.
Most baristas recommend a double shot for an ideal, robust latte. But if you prefer a milder coffee kick, a single shot works perfectly too.
Just pick what suits you best! Keep in mind that espresso is brewed under high pressure, which enhances its rich flavor and crema.
Impact On Latte Flavor
Choosing the right number of espresso shots directly shapes your latte’s flavor profile. Using one shot gives you a milder, smoother taste, perfect for those who prefer subtle coffee notes.
Two shots, around 15-18 grams of coffee, bring a more balanced yet robust flavor, enhancing richness without overpowering the milk.
If you add a third shot, your latte becomes bolder and more intense, with a stronger espresso presence and higher caffeine content.
Remember, the size of your drink and your personal preference play key roles in deciding the shot count.
Also, the quality of your beans and proper extraction influence how rich and bitter your espresso tastes, ultimately affecting your latte’s overall flavor.
Choose wisely to create the perfect cup every time.
Regular maintenance, including descaling your espresso machine, ensures consistent extraction and optimal flavor in every shot.
Adjusting Shots For Strength
Since the number of espresso shots directly impacts your latte’s strength and flavor, adjusting this element lets you tailor the drink to your taste and caffeine needs. A standard latte usually has one or two shots, but you can easily customize this.
Consider these points when choosing your shot count:
- One shot (7-10g) offers a mild, lighter coffee flavor.
- Two shots (15-18g) provide a balanced, richer taste.
- Three or more shots intensify espresso flavor and boost caffeine.
- More shots shift the balance between coffee strength and milk volume.
- Adjust shots based on how strong or caffeinated you want your latte.
Experimenting with these options helps you find the perfect strength for your ideal latte experience. Keep in mind that a standard single shot contains roughly 63 mg of caffeine, which scales up proportionally with more shots.
How To Pull The Perfect Espresso Shot
Although pulling the perfect espresso shot requires attention to detail, mastering this process will elevate your latte to café-quality.
Start by measuring about 18 grams of finely ground coffee and tamp it evenly with roughly 30 pounds of pressure to create a smooth, flat surface.
Insert the portafilter into your espresso machine and lock it securely.
Place a pre-warmed cup beneath the spout to catch the espresso as it brews.
Activate the shot by pulling the lever or pressing the button, aiming for an extraction time between 20 and 30 seconds.
Watch closely for a steady, caramel-colored flow topped with a thick, rich crema.
This careful process guarantees a balanced, flavorful espresso base for your latte.
Be sure to include the pre-infusion step in your timing to promote even saturation and consistent extraction.
Selecting Milk Types And Pitchers For Perfect Latte Foam
To create perfect latte foam, start by picking the right milk. Whole milk gives you that rich, creamy texture, but if you’re going for plant-based options like oat or soy, just know they need a bit more technique.
Then, you’ll want to choose a steaming pitcher that fits your espresso machine and the amount of milk you’re using. Usually, something between 8 to 12 ounces works well for single or double shots.
Using a stainless steel pitcher is a smart move because it helps you control the heat and aeration, which means smooth, consistent foam every time.
Milk Options Explained
When selecting milk for your latte, understanding how different types affect foam quality can really elevate your brewing experience. Whole milk stands out for its rich, creamy microfoam thanks to higher fat content that boosts texture and flavor.
Plant-based alternatives like oat, almond, and soy also steam well but yield varied foam textures.
Keep these points in mind: whole milk produces the creamiest, most stable microfoam. Oat milk offers a smooth, slightly sweet foam that’s great for lattes. Almond and soy milk foam too, but they can be lighter and less stable.
Choose milk based on your taste preference and dietary needs. Also, avoid incompatible pitchers that hinder proper steaming and frothing.
Selecting the right milk sets the foundation for perfect latte foam every time. It’s all about finding what works best for you!
Choosing The Right Pitcher
Picking the right pitcher can make all the difference in achieving perfect latte foam. Use a 16 oz stainless steel pitcher with a narrow spout for precise pouring and great heat retention. Match the pitcher size to your espresso volume.
For a double shot, 12-20 oz works well. Whole milk yields the creamiest foam, but oat or almond milk can also steam nicely. Look for pitchers with heat-resistant handles and flat bottoms to guarantee stability and safety during steaming.
| Feature | Benefit | Recommendation |
|---|---|---|
| Size | Matches espresso volume | 12-20 oz for double shot |
| Spout | Controls milk flow for latte art | Narrow spout |
| Material & Design | Heat retention & safety | 16 oz stainless steel, heat-resistant handle, flat bottom |
How To Steam Milk For Smooth Latte Microfoam
Although steaming milk can seem straightforward, achieving smooth microfoam requires careful technique and attention to detail. To get that velvety texture perfect for a latte, follow these essential steps:
Purge the steam wand briefly to clear any residual water or milk. Submerge the wand tip just about 1 millimeter below the milk’s surface to introduce air gently. Tilt the pitcher slightly and create a whirlpool by rotating it, ensuring even aeration.
Stop steaming once the milk hits roughly 140°F or the pitcher feels too hot to hold. Then tap the pitcher on a flat surface and swirl the milk to break up large bubbles and blend the foam smoothly.
Mastering these steps sets you up for beautifully textured microfoam every time. It might take a little practice, but once you get the hang of it, your lattes will be café-quality at home.
Pouring Steamed Milk To Create A Classic Latte
With perfectly steamed milk in hand, you’re ready to pour it into your espresso to craft a classic latte. Start by tilting the cup slightly and pour about one-third of the milk to create a smooth, creamy base.
Then, use a quick, gentle wrist motion to move the pitcher back and forth during the second pour, forming a heart shape.
As you pour the final third, gradually increase the stream to shape the heart’s tip or add other latte art patterns. Keep your pour steady and maintain a consistent height to blend the microfoam seamlessly with the espresso, ensuring a clear design.
Practice pouring slowly and smoothly to gain control, helping you create well-defined, professional-looking latte art every time.
Adding Flavors To Your Latte Without Losing Texture
When you add flavors to your latte, doing so carefully helps preserve the milk’s delicate microfoam and creamy texture. To keep that perfect balance, follow these tips:
Add flavored syrup to your cup before pulling the espresso shot for better blending. Preheat your cup with hot water or steam the syrup with the milk to integrate flavors smoothly. Choose natural flavor extracts or infused syrups to avoid compromising microfoam quality.
Pour syrup into the cup after brewing, then gently swirl to distribute flavor evenly. Avoid mixing flavors directly into milk before steaming, as this can break down the microfoam and reduce creaminess. Just a few simple steps can make all the difference!
Troubleshooting Common Latte-Making Problems
If your latte isn’t turning out as expected, chances are the issue lies in either the milk steaming or the espresso extraction process. Overheating milk above 140°F or failing to create smooth microfoam often causes inconsistent texture.
Thick or rubbery foam usually means you’re incorporating too much air or not aerating enough.
For espresso, sour or bitter shots often result from incorrect grind size, tamping pressure, or extraction time.
Poor latte art typically comes down to uneven pouring or inconsistent microfoam texture.
Ultimately, don’t forget to clean your steam wand and machine regularly. Milk residue buildup can ruin both texture and flavor.
Frequently Asked Questions
How Do I Clean My Espresso Machine After Making a Latte?
After steaming milk, wipe the steam wand with a damp cloth, then purge it briefly. This helps keep the wand clean and ready for next time.
Don’t forget to clean the drip tray and water reservoir regularly. It’s a simple step that prevents buildup and keeps everything running smoothly.
Also, run a cleaning cycle with a suitable solution every now and then. This will keep your machine in top shape and ensure great-tasting espresso every time.
Can I Use Non-Dairy Milk for a Latte?
You can use oat milk for a latte. It froths beautifully, creating creamy microfoam. Just remember, different non-dairy milks froth differently.
What’s the Ideal Water Temperature for Brewing Espresso?
You want your water temperature between 195°F and 205°F for brewing espresso. Staying within this range guarantees balanced extraction, avoiding sourness or bitterness. So your espresso tastes rich, smooth, and full-bodied every time you pull a shot.
How Long Should I Wait Between Shots for Best Flavor?
Think of your espresso machine as a marathon runner. It needs about 30 seconds to recover between shots.
Waiting this long guarantees stable temperature and pressure. This helps you pull rich, balanced espresso every time.
Can I Make Iced Lattes With an Espresso Machine?
Yes, you can make iced lattes with your espresso machine. Brew a shot and pour it over ice. Then add cold steamed milk.
Using chilled milk helps keep it cold without watering down your delicious latte. It’s a simple way to enjoy a refreshing coffee treat anytime. Give it a try!
Conclusion
Making a latte with your espresso machine is like painting a morning masterpiece. Each step, from grinding beans to steaming milk, adds a brushstroke of flavor and texture.
When you pull the perfect shot and pour silky microfoam, you’re crafting more than coffee. You’re creating a moment of warmth and comfort.
Keep practicing, and soon your latte will be a cup of art. It’ll be ready to brighten any day with every sip.